Getting started with FORMAS.AI for Trimble Connect
Turn project images and 3D views into renders. Use a project image or capture a model view inside Trimble Connect for Browser. Your source model remains unchanged.

Trimble Connect demo · 1 min 19 sec
Before you start
You will need a Trimble Connect account, access to a project in Trimble Connect for Browser, and a project image or 3D view. The integration is free to install and uses your existing FORMAS account; renders use FORMAS credits.
Installation links and supported platforms
01 — Install the extension
- For first-time access, open FORMAS.AI + Connect in the Trimble Partner Marketplace and select Contact Us. Follow the setup instructions supplied for your project.
- The video demonstrates manual setup for users with custom-app access: open Settings → Apps & Capabilities → Add Custom, choose Manifest URL, paste the address below and click Add. Ask your project administrator if you cannot add apps.
MANIFEST URL — COPY INTO TRIMBLE CONNECT
https://www.formas.ai/tc-extension/manifest.json
Copy and paste this address into the Manifest URL field described above. It points to the app’s configuration file; it is not an installation link.
02 — Import an image or 3D view
Open FORMAS.AI and sign in with your existing FORMAS account. Rendering is one of the features available through the FORMAS.AI extension in Trimble Connect; you can also access other native FORMAS tools there.
- Select Choose project images to use an image from your project.
- Or select Capture 3D View. This opens the model from your Trimble Connect project, including any views you’ve saved in the 3D Viewer. Choose the view you want to render, then click Import current view.
03 — Render your images
- Choose an output size. Add reference images or instructions if you want to guide the result. Check the displayed credit cost, then click Render.
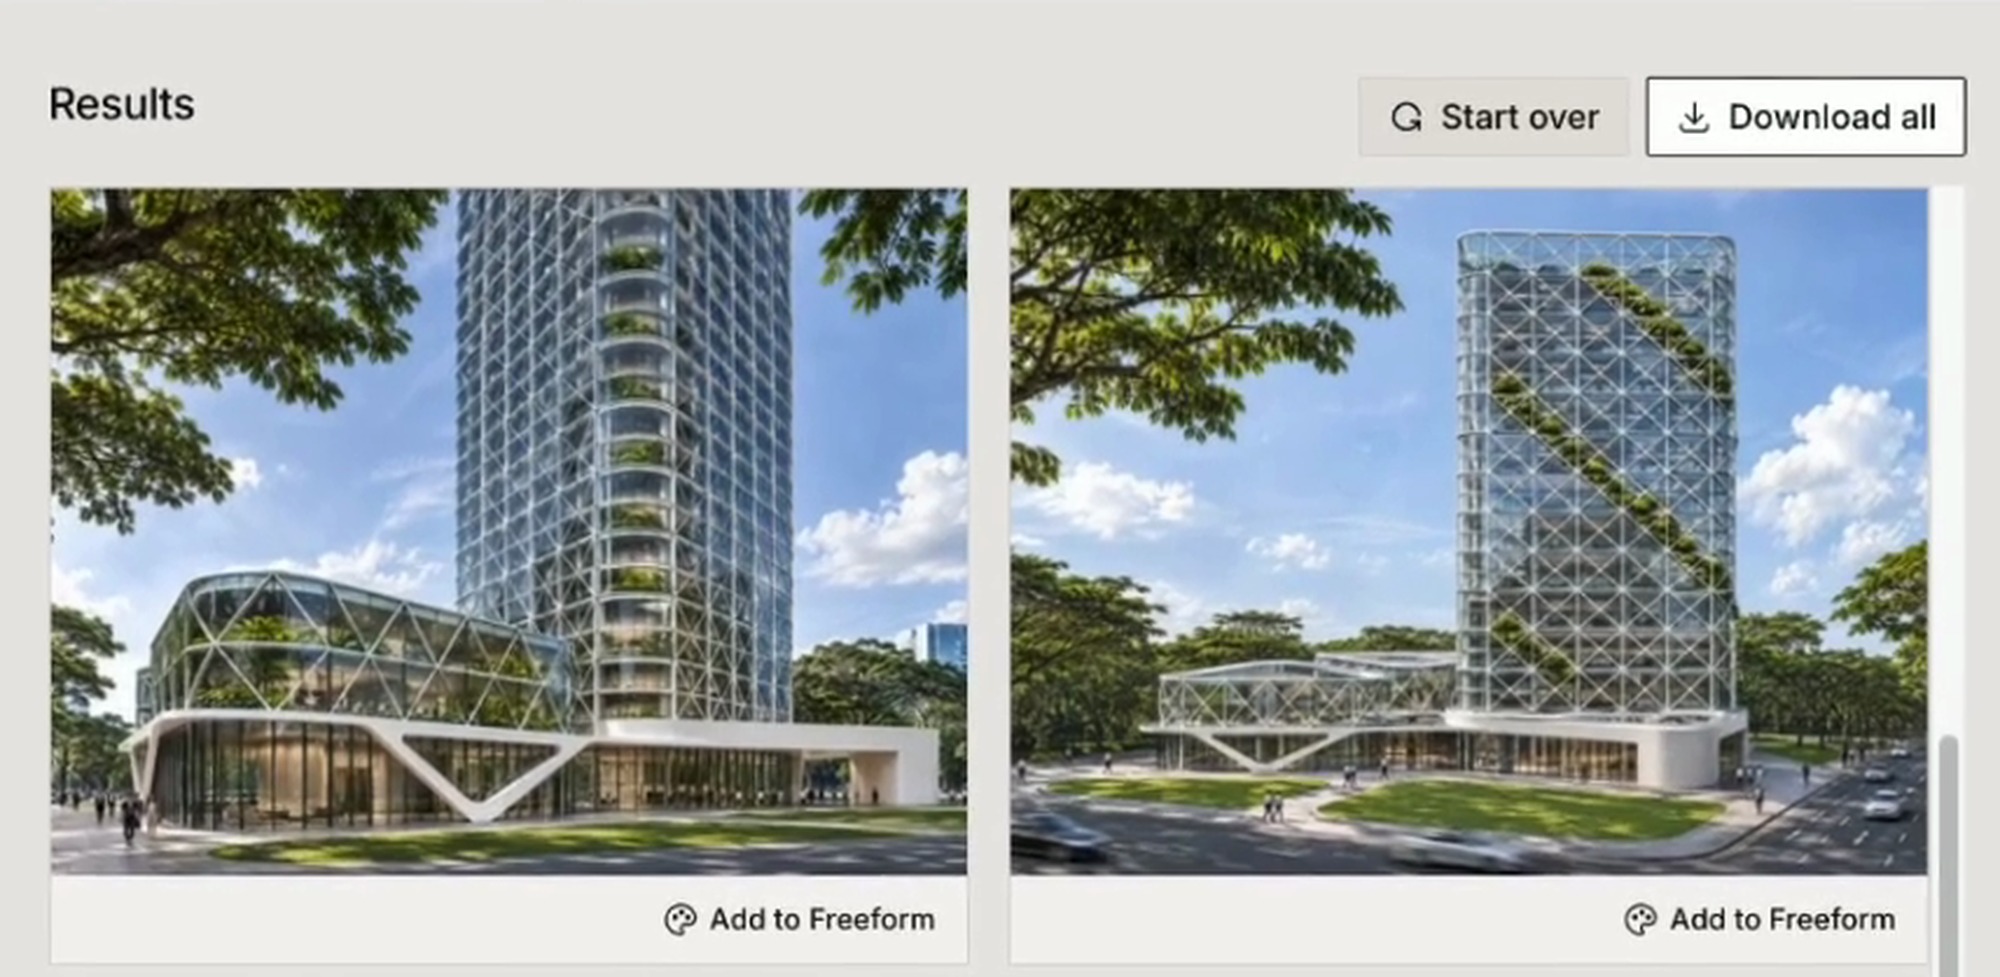
- Compare the render with the starting view, checking the main shapes, openings and materials.
Download or continue in Freeform
Click Download all above the results to download the generated images to your computer. To continue editing a result, click Add to Freeform beneath that image.
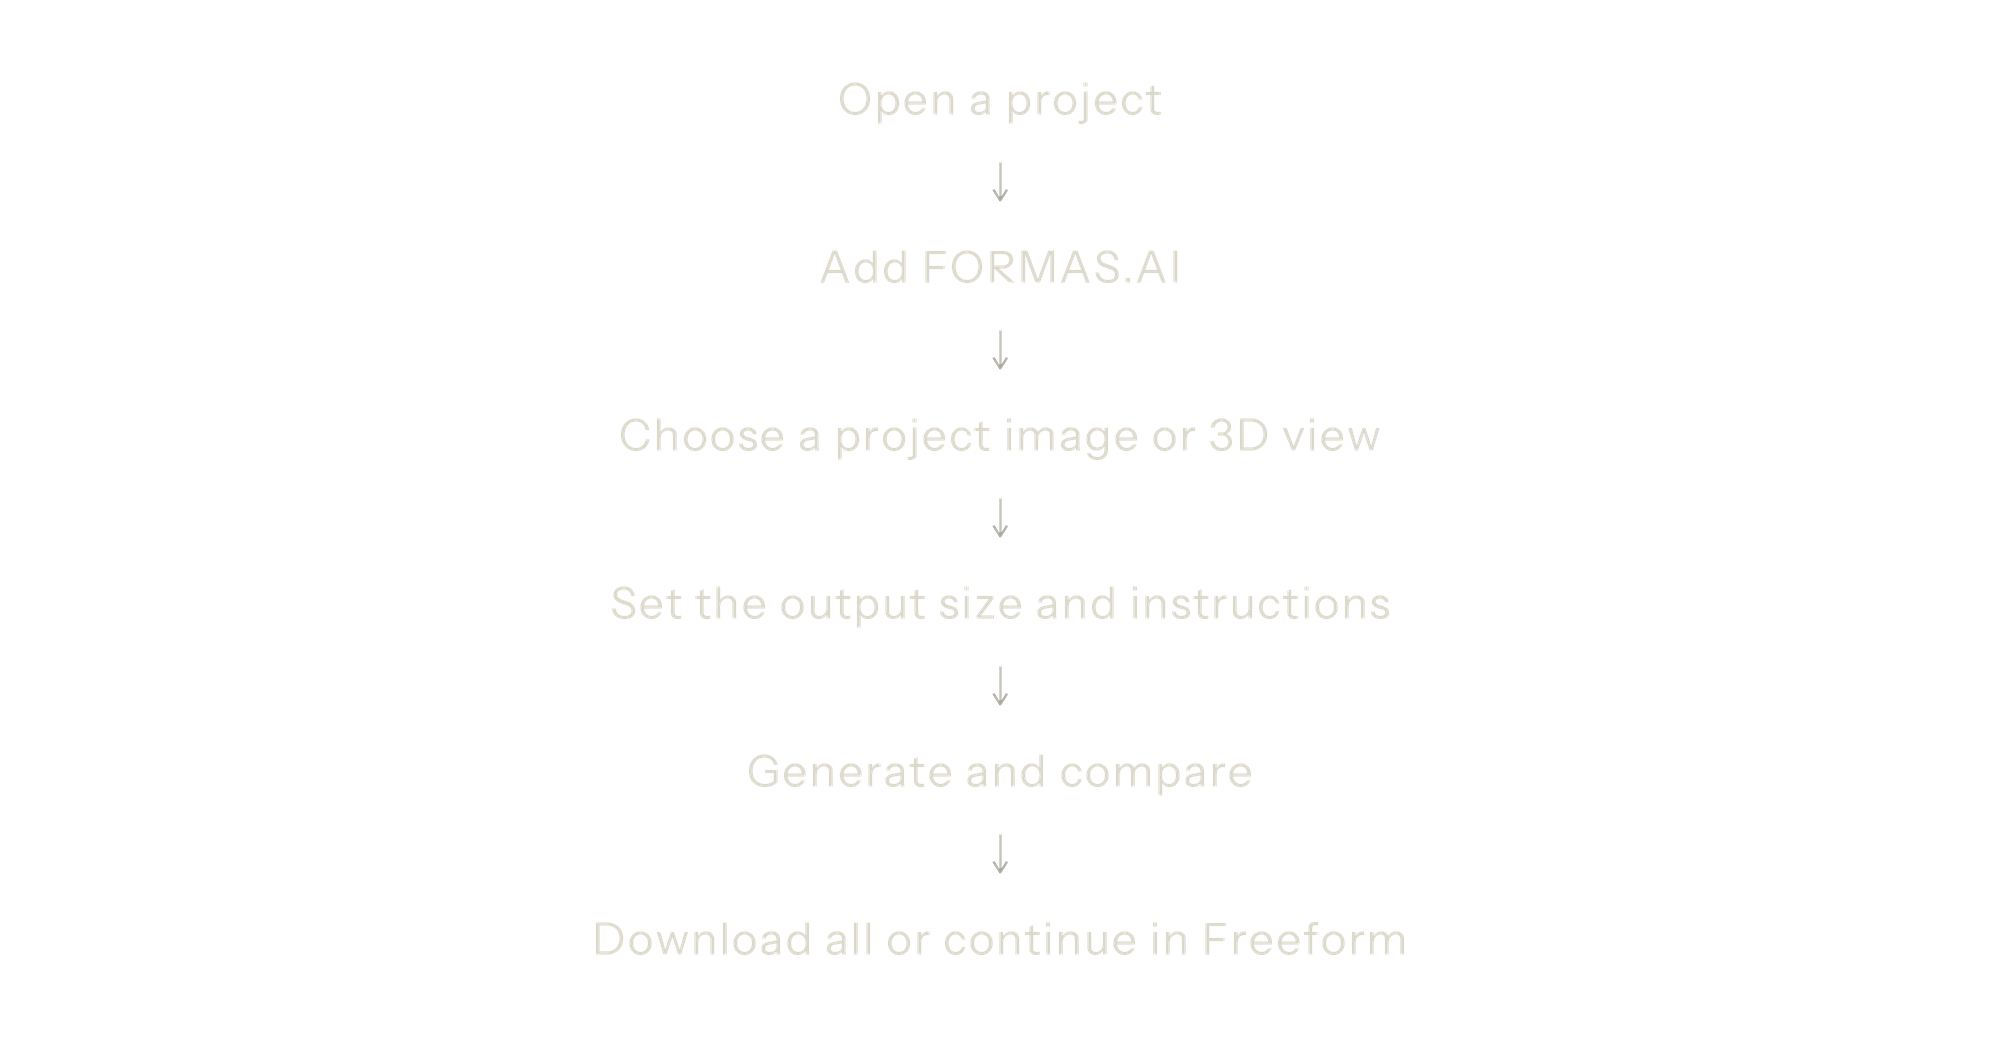
04 — Workflow at a glance
Read next
How to turn a furniture image into a 3D model — create a reusable mesh asset
Apps: How to render 3D model screenshots — render with a standalone App
How to turn a 3D model screenshot into a realistic render — use Freeform Studio
All How-to Guides — browse the full tutorial library


