How to turn a furniture image into a 3D model
Turn a furniture reference image into a 3D model using Freeform Studio or Design Chat. Choose a conversion model, generate a first result, then check the shape and materials against your source image.

Turn a furniture reference image into a 3D model using Freeform Studio or Design Chat. Choose a conversion model, generate a first result, then check the shape and materials against your source image.
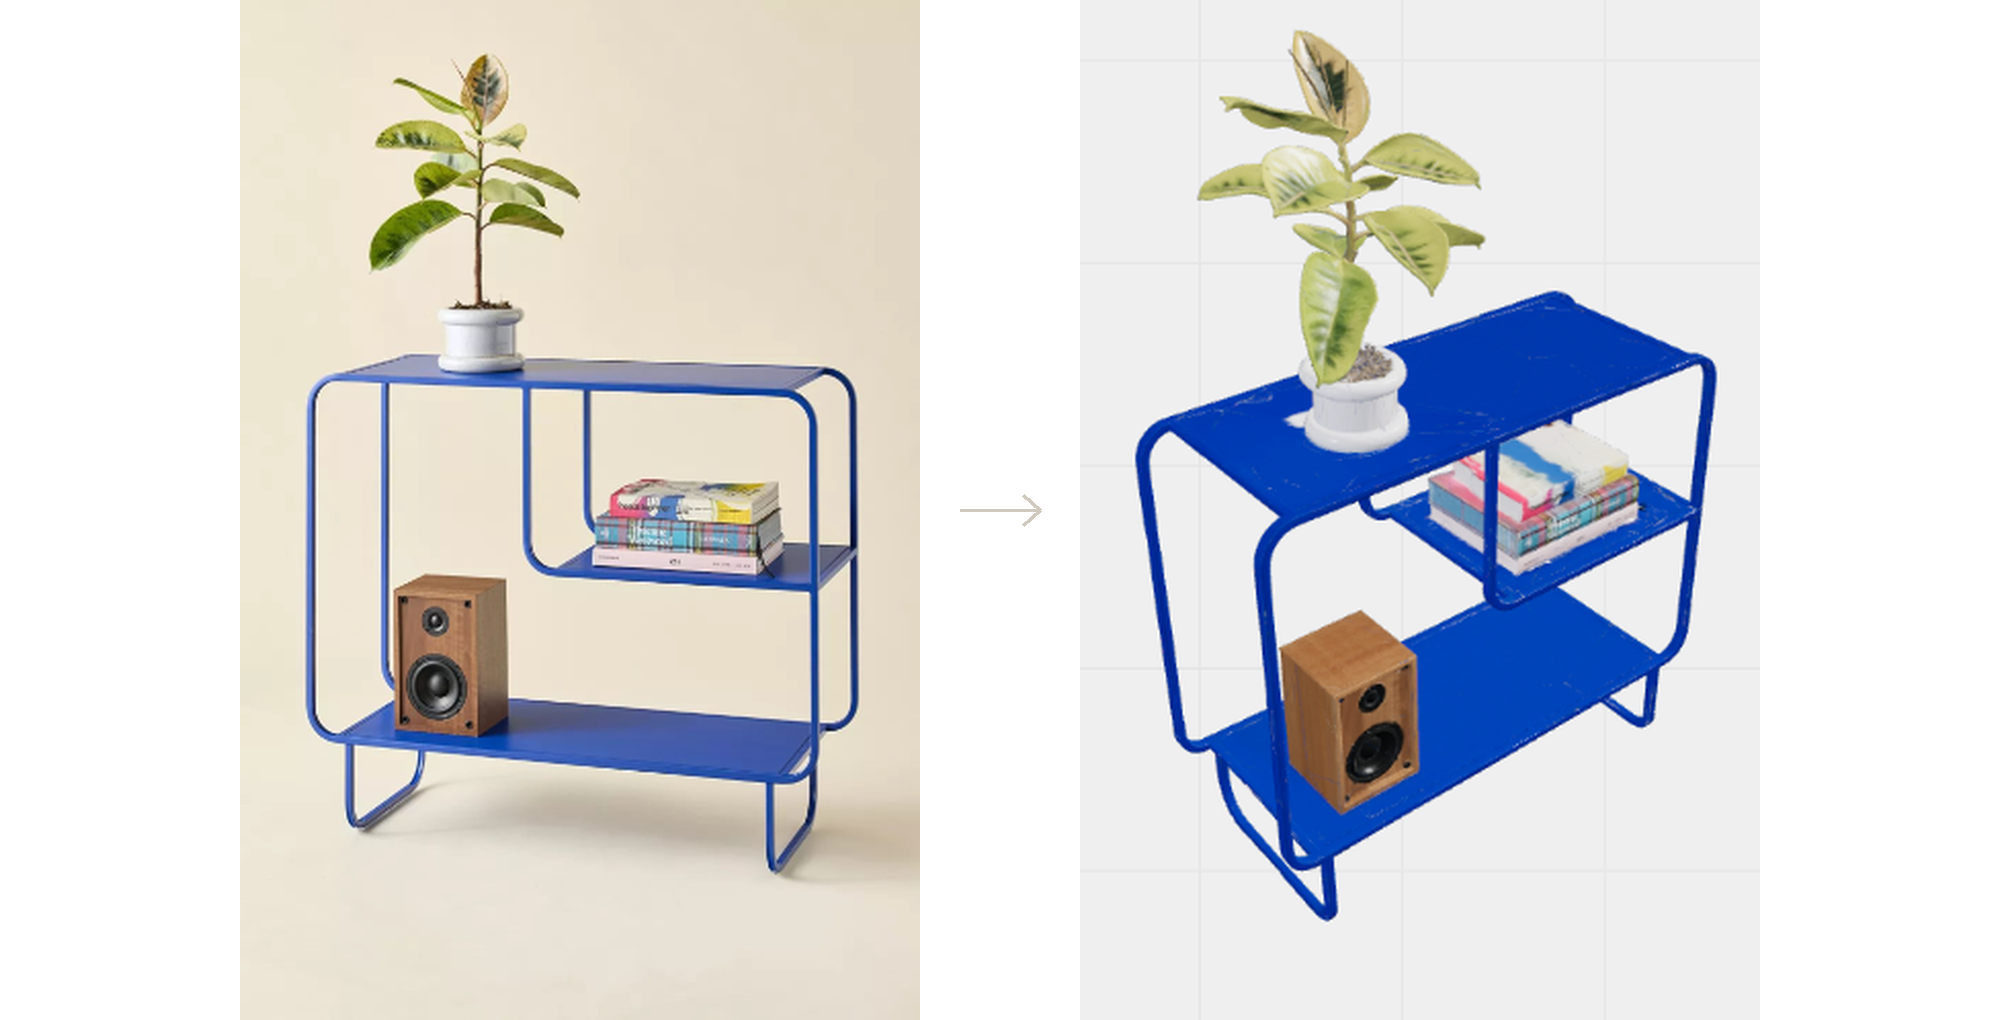
01 — Choose your starting route
Use Freeform Studio if your image is already on the canvas. Use Design Chat if you prefer to start with an uploaded image and a short instruction. These are two alternative ways to begin.
Option A — Start in Freeform Studio
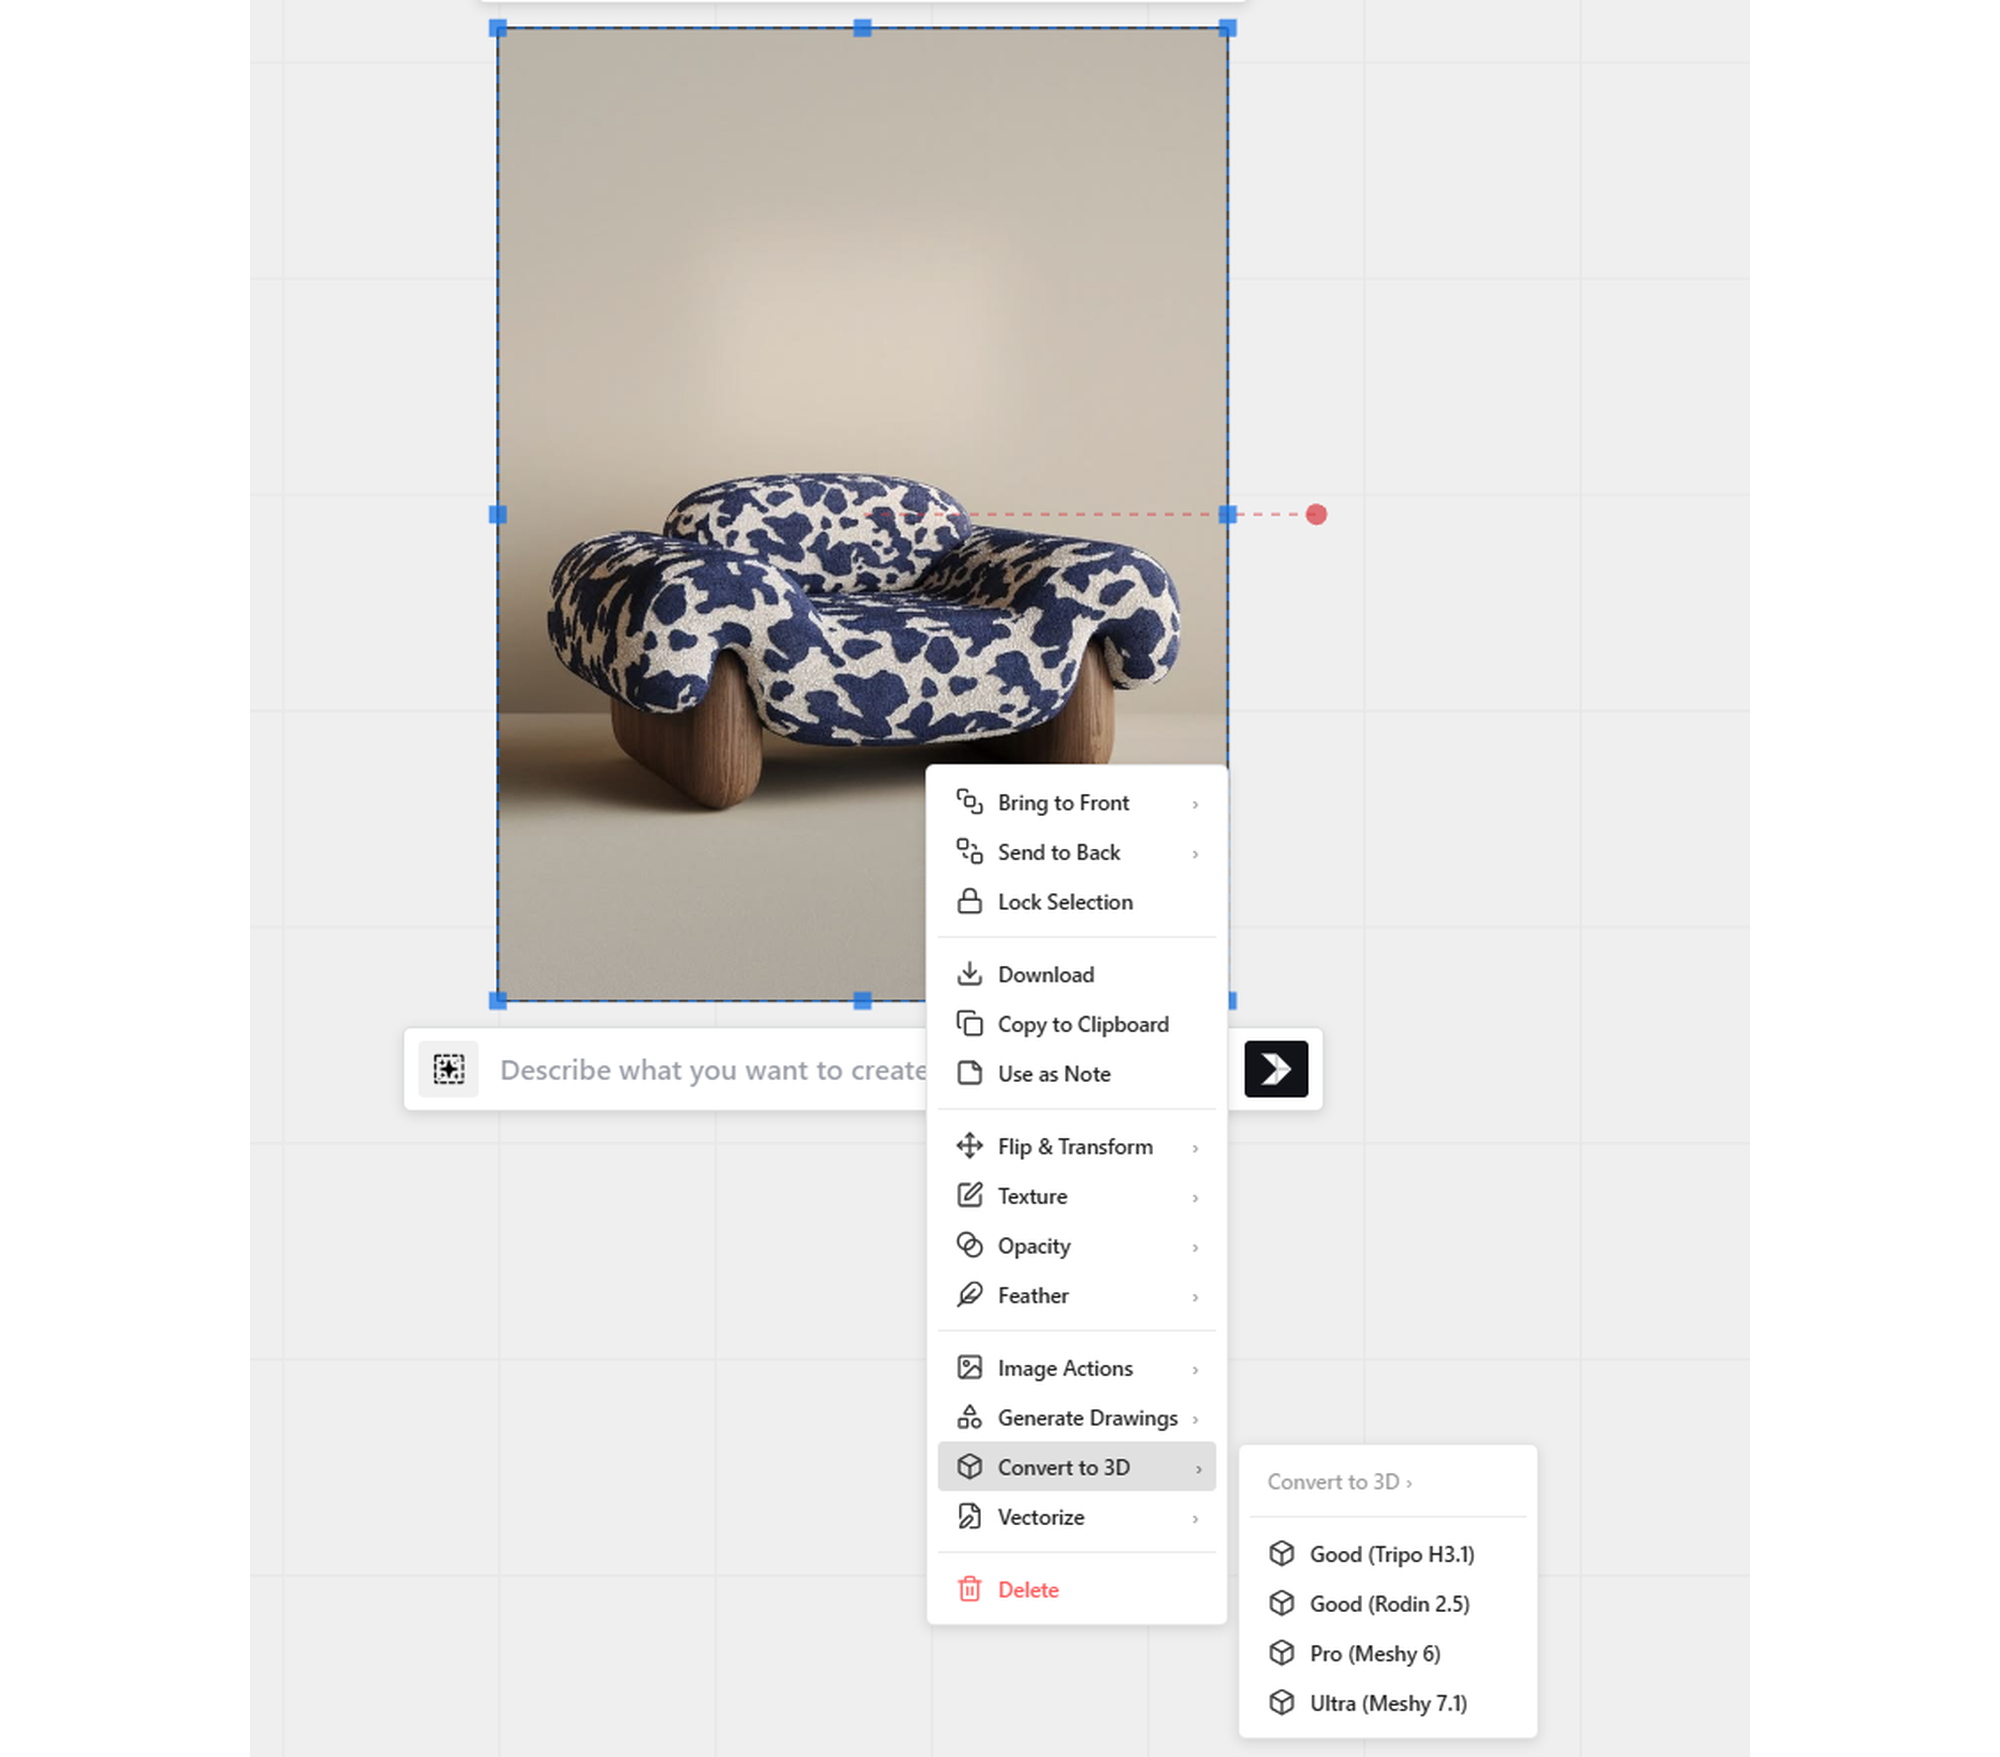
Drag your furniture image onto the canvas. Choose a clear image that shows the whole object and its main details.
Right-click the image and choose Convert to 3D. Select one of the conversion models shown in the menu. The example includes Good (Tripo H3.1), Good (Rodin 2.5), Pro (Meshy 6) and Ultra (Meshy 7.1).
Compare the example results
The comparison below shows the same shelving unit and armchair converted with four models. In this example, the results vary in proportions, surface texture and small details such as the plant and books. Use the comparison to decide what to inspect in your own model; it is not a guarantee of the same result for every image.
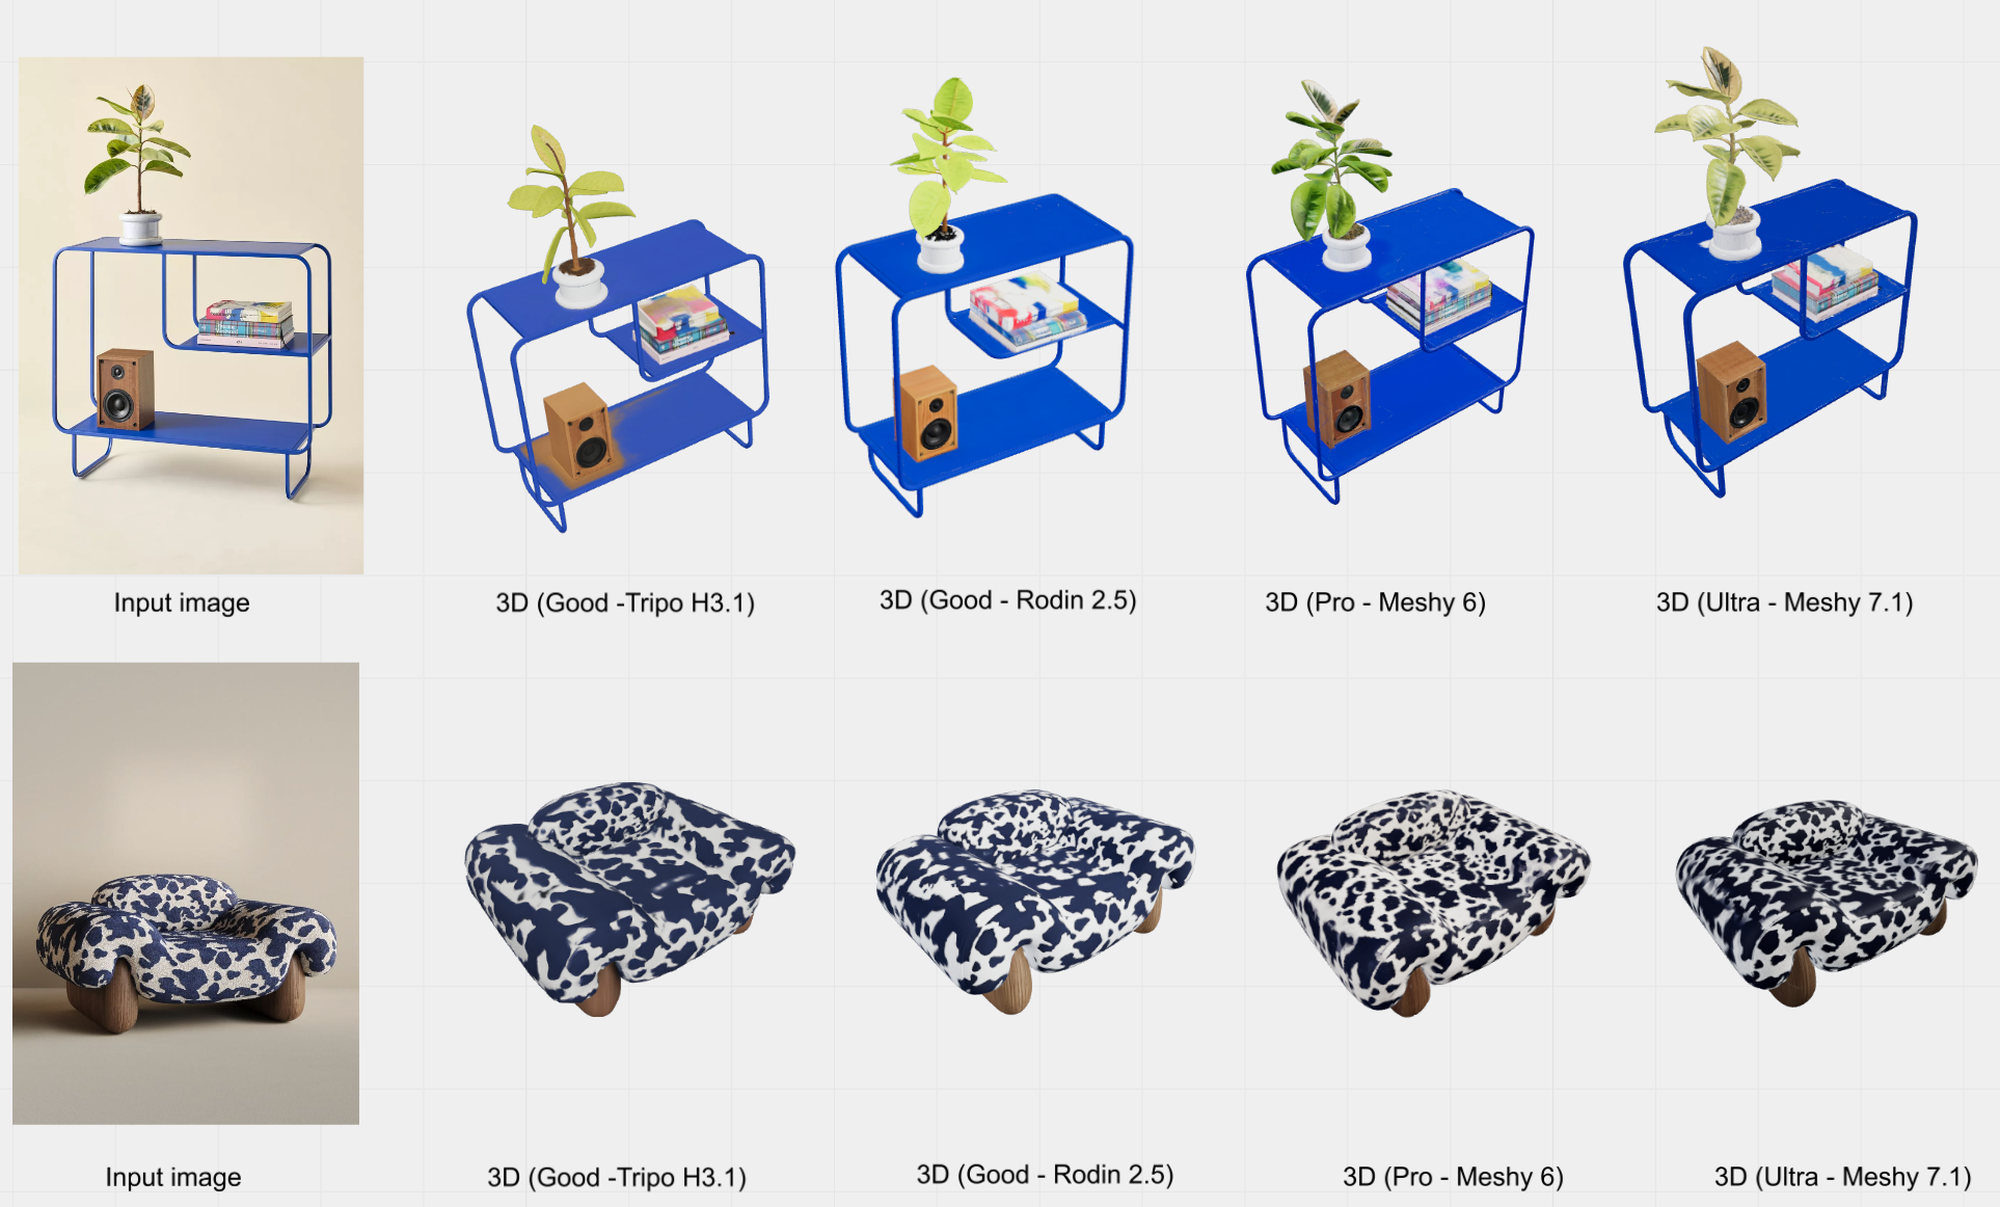
Input images and example 3D results: Tripo H3.1, Rodin 2.5, Meshy 6 and Meshy 7.1.
Option B — Start in Design Chat
Click + Add images in the Design Chat toolbar and upload your furniture image. Check that its thumbnail appears above the prompt box.
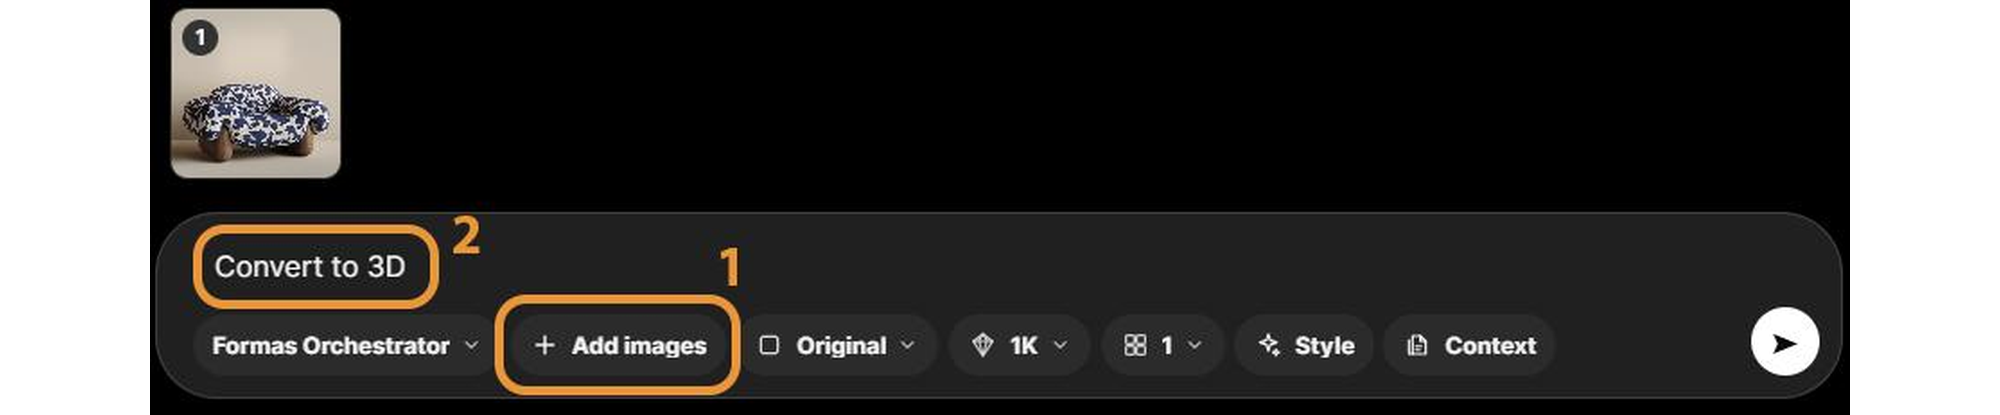
Enter a conversion instruction
Type the instruction below, then click Send. The example opens 3D Creation Settings.
02 — Choose a conversion model
In 3D Creation Settings, select an available model. The example lists Tripo H3.1, Rodin 2.5, Meshy 6 and Meshy 7.1. Check the options and cost shown in your current interface.
03 — Adjust the output settings
Use the controls available for your selected model. Start with the defaults, then change the settings that matter for how you will use the asset.
Surface and texture
Texture: choose Standard or HD where available. Review the result to see whether the extra texture detail is useful.
PBR Materials: enable this option when you need material maps for use with lighting in a 3D scene.
Geometry and mesh
Geometry Quality: choose Standard for a first test, or Detailed when you need more geometry. Check the generated model before using it in a project.
Quad Mesh: enable this if you need quad-based geometry for later editing. Inspect the resulting topology in your 3D software.
Orientation and face limit
Orientation: use the default or adjust it to match how the object should sit in your scene.
Face Limit: leave it on Auto for an initial test, or set a limit to suit your destination software.
04 — Generate and review the model
Start the conversion using the generation control shown in your interface. When it finishes, inspect the model from several angles.
Check the overall proportions, legs or supports, openings, textures and smaller accessories. Pay particular attention to surfaces that were hidden in the source photo. Compare them with your design intent before placing the asset in a project.
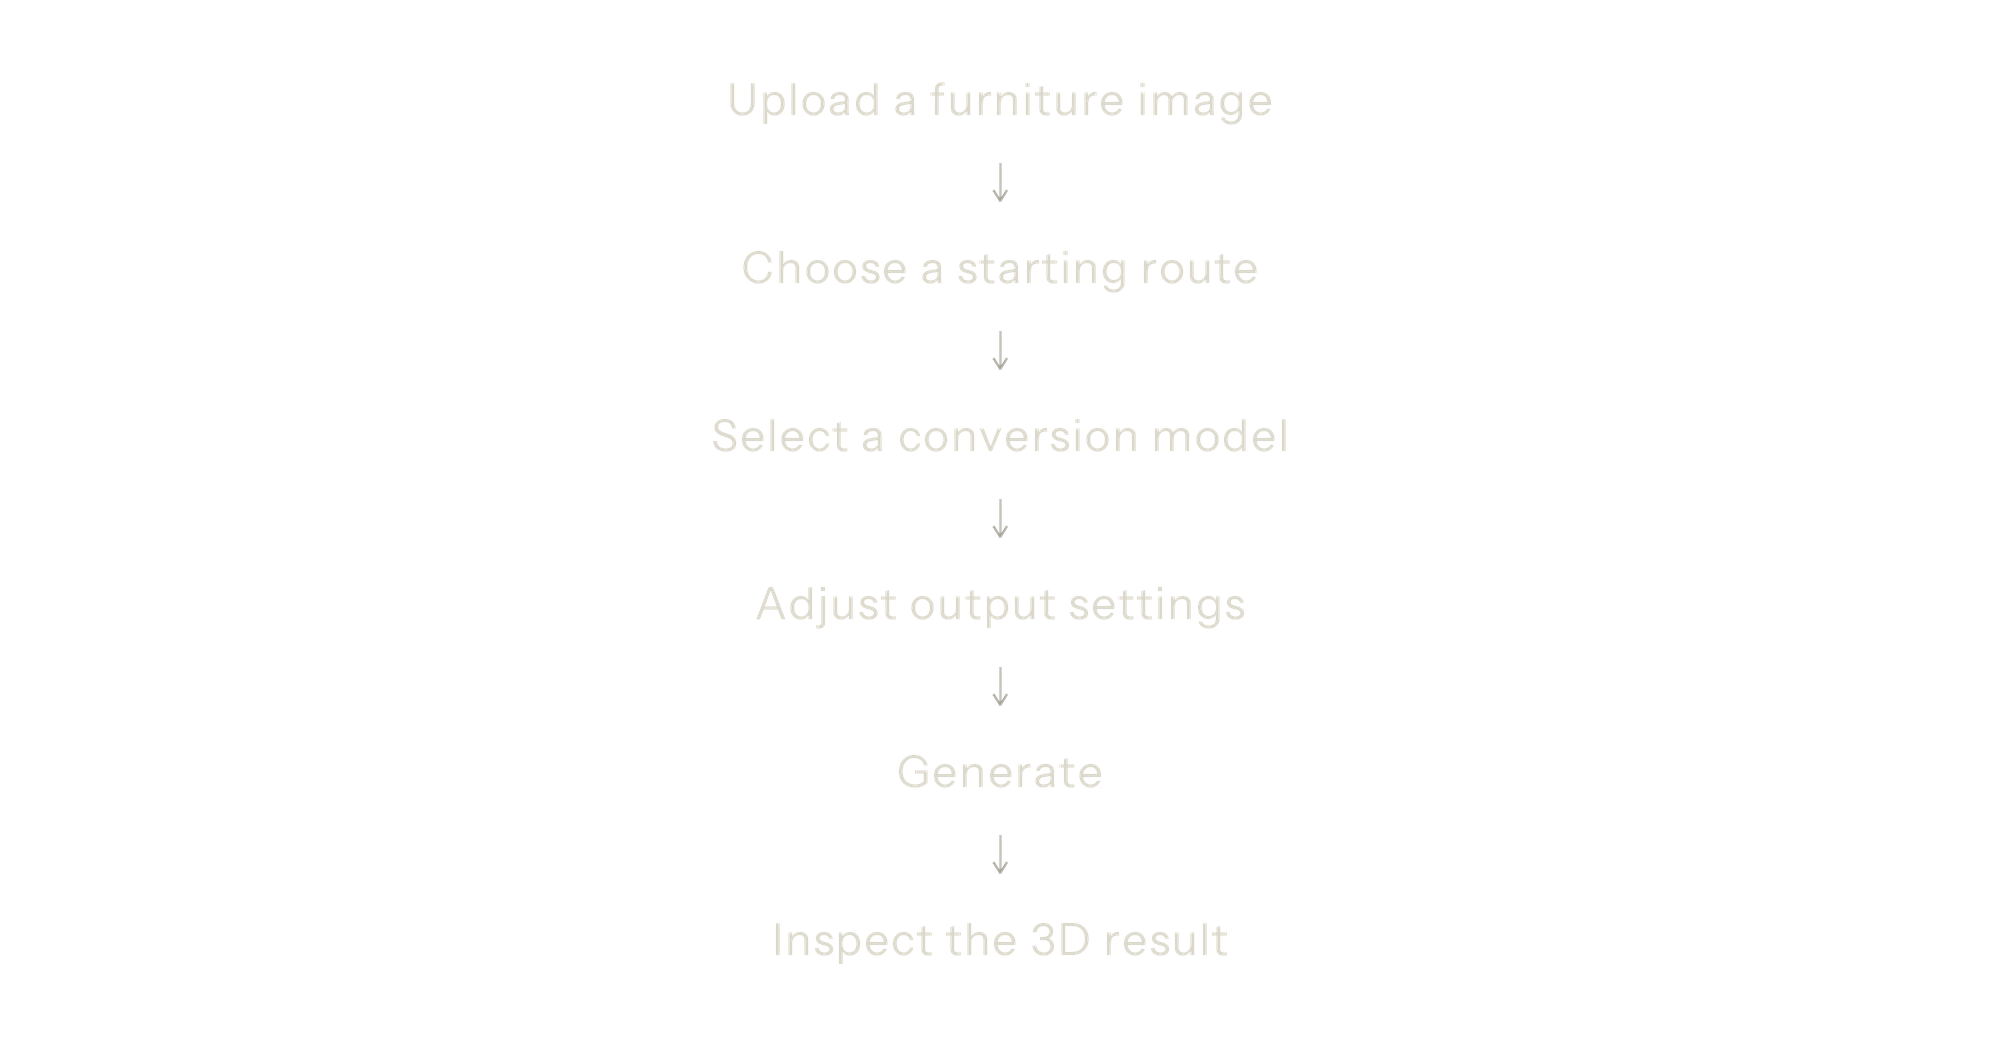
05 — Workflow at a glance