Create a Realistic 360° Panorama from 4 Images
Turn four views of the same room into a 360° panorama with FORMAS.AI. This example uses white renders, material references and Smart Notes to develop a consistent interior concept, then connects the views for panorama generation.

Turn four views of the same room into a 360° panorama with FORMAS.AI. This example uses white renders, material references and Smart Notes to develop a consistent interior concept, then connects the views for panorama generation.
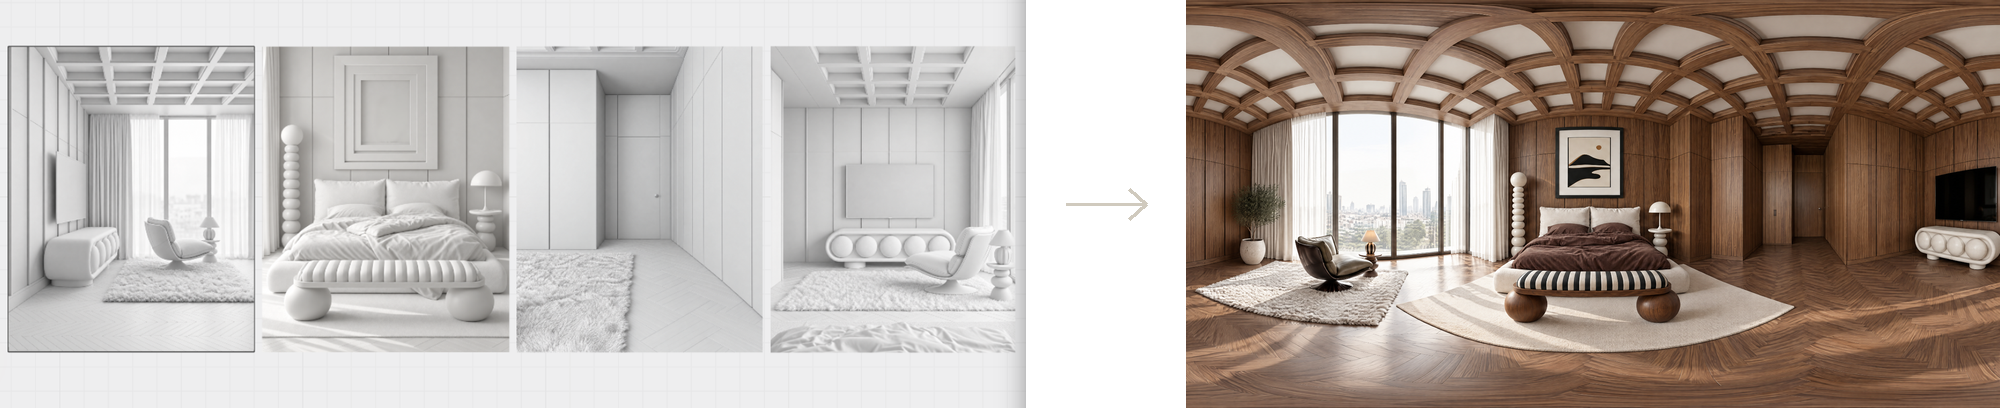
01 — Import your room views
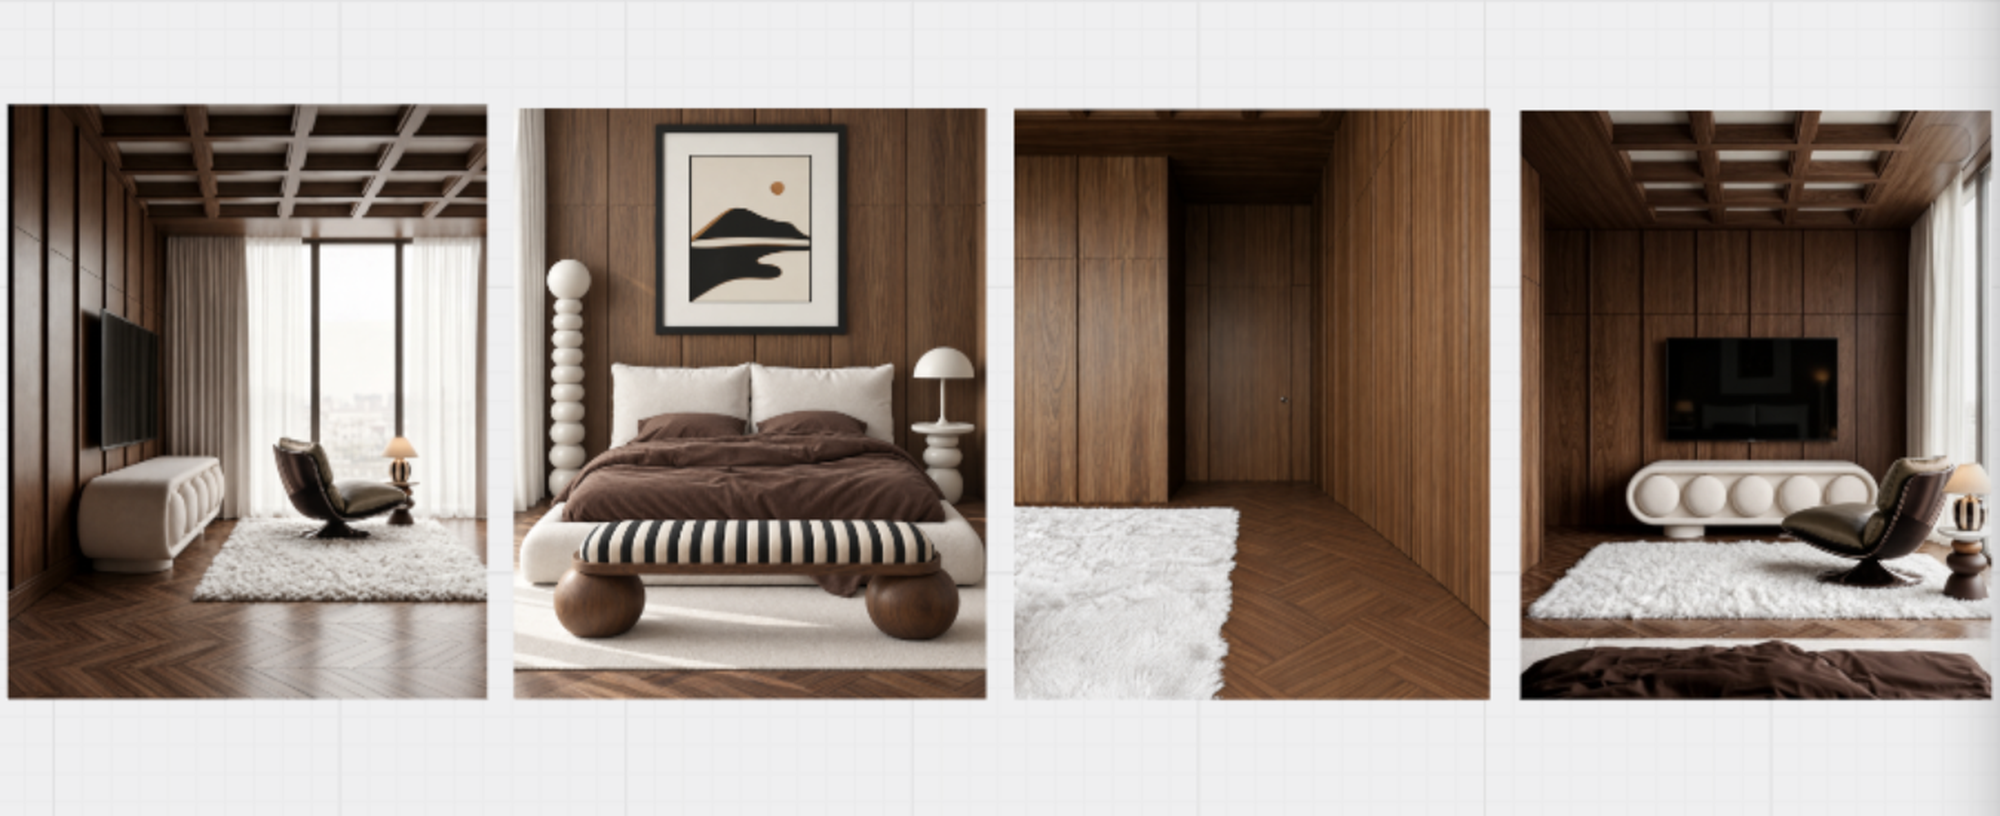
Start with four screenshots or white renders from your preferred 3D modelling software. Use different angles that cover all four sides of the same room.
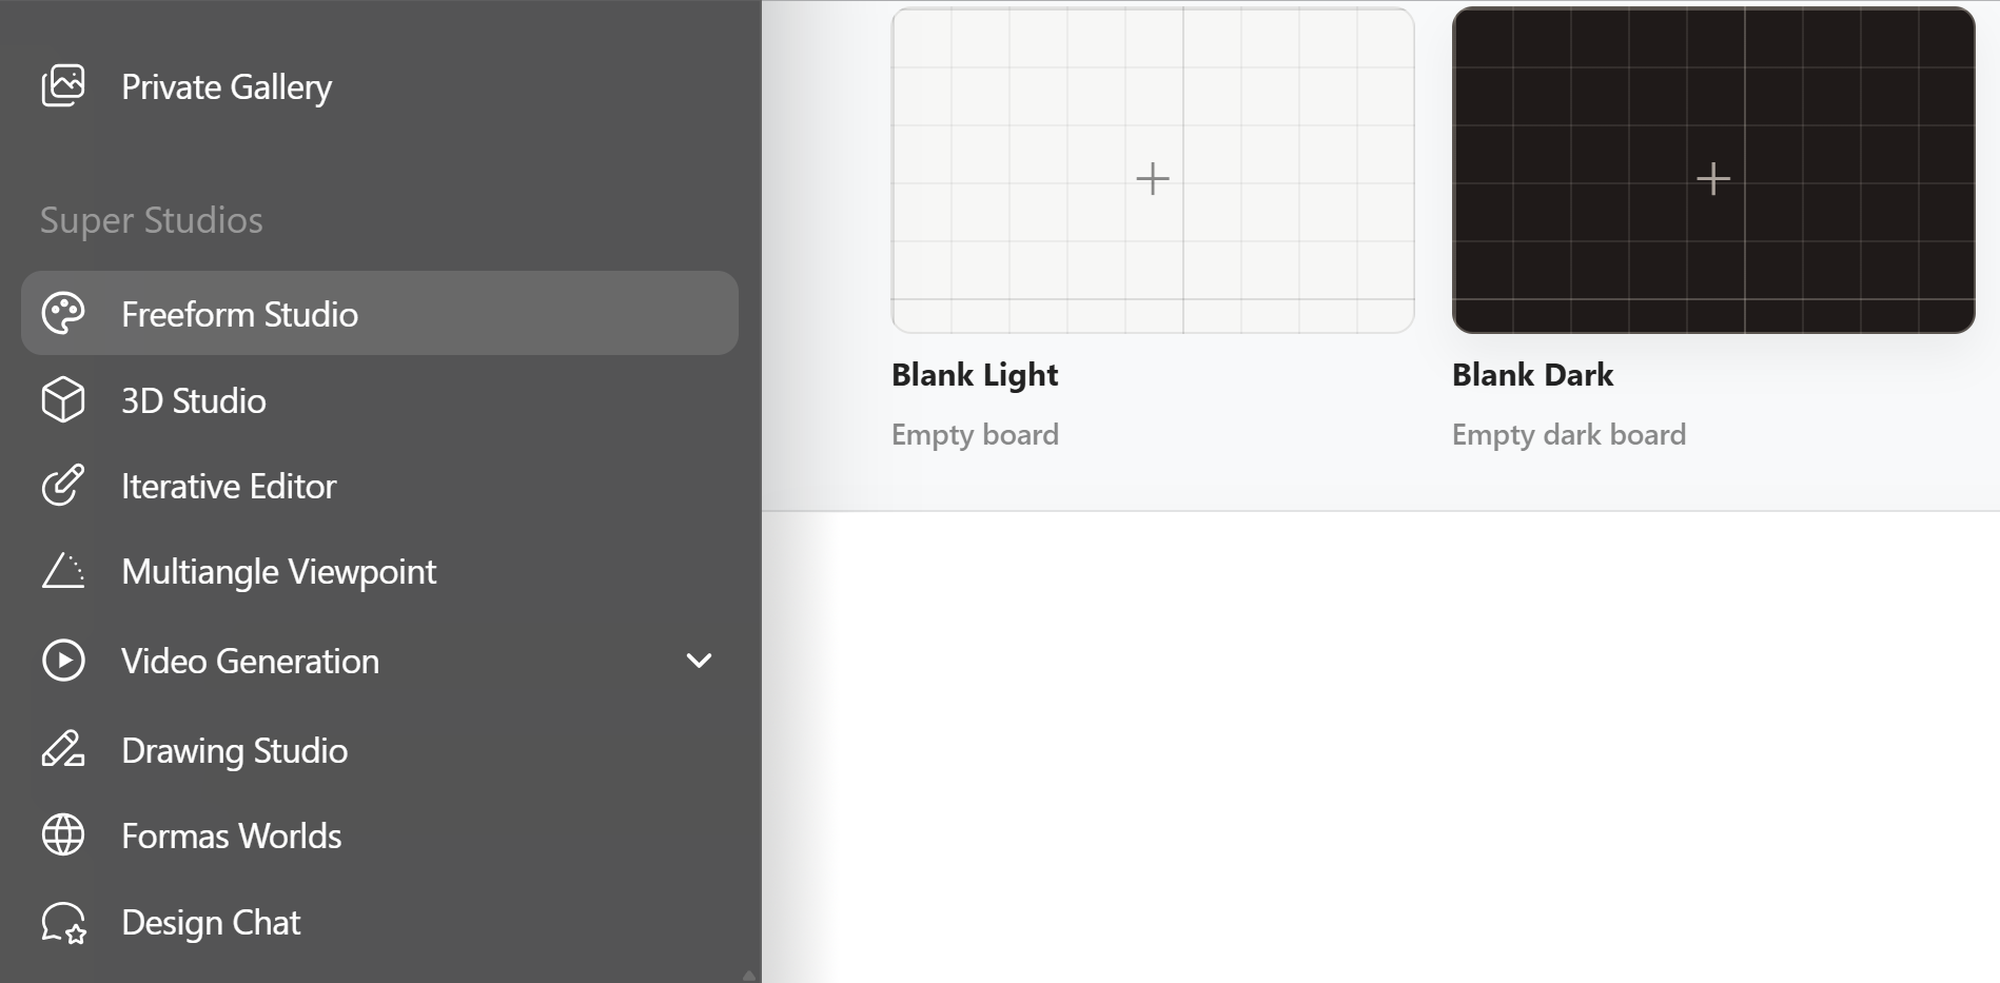
Step 1.1 Open Freeform Studio
Open Freeform Studio and choose a blank light or dark canvas.
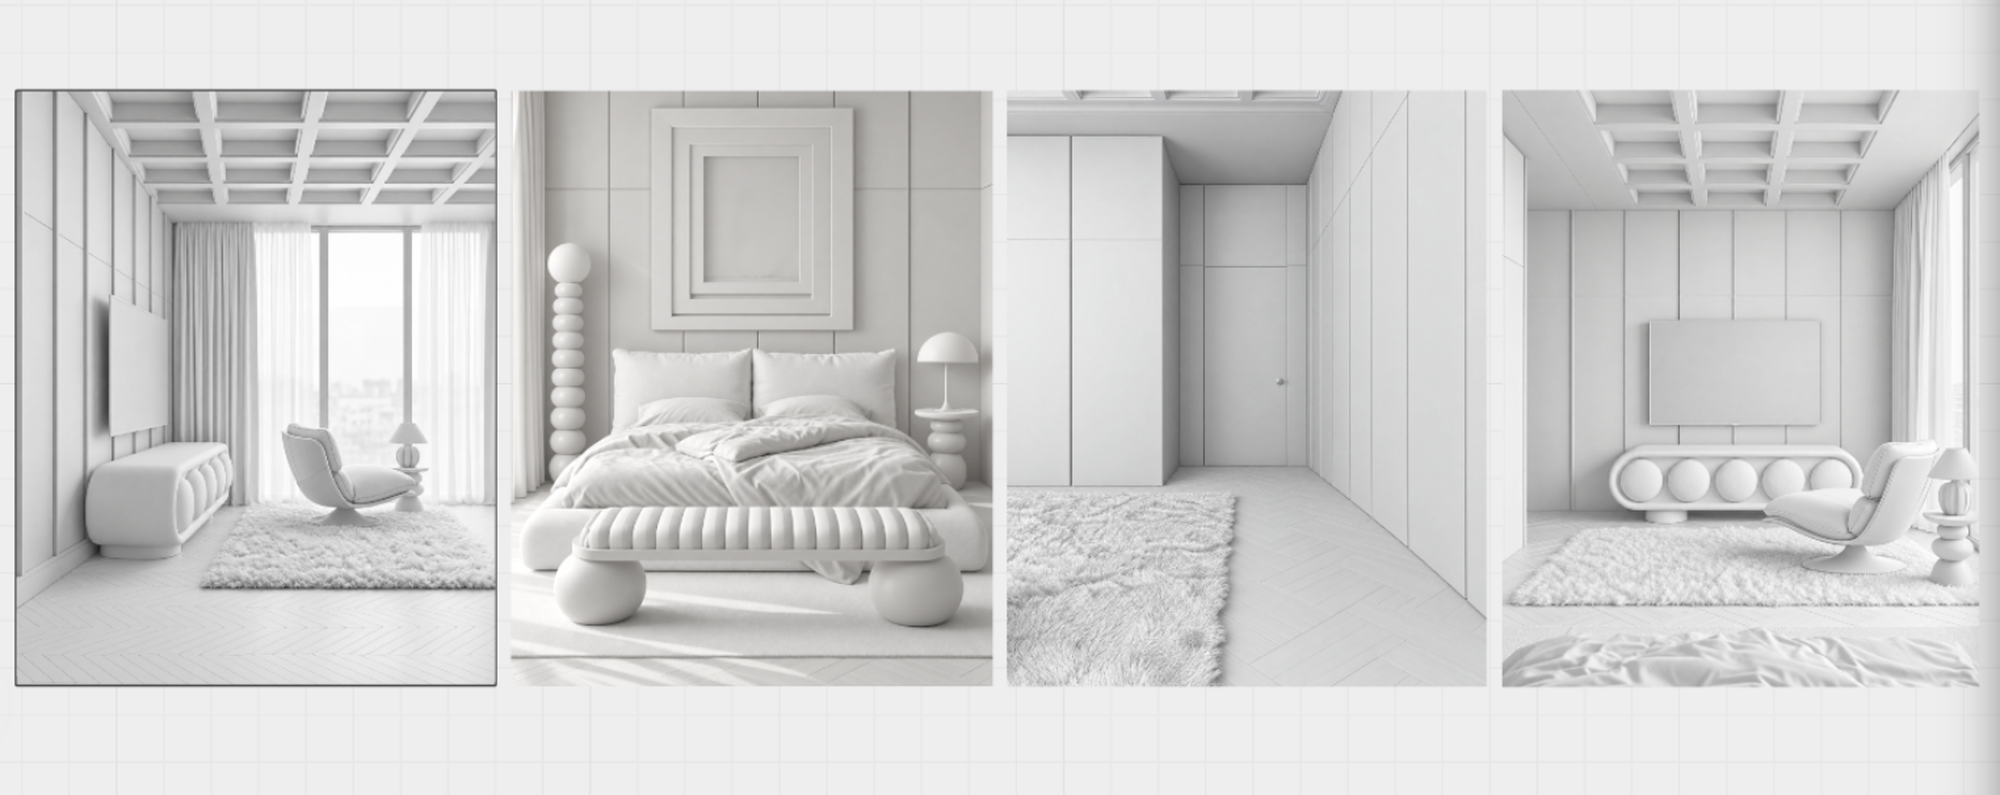
Step 1.2 Import four room views
Drag the four screenshots or white renders onto the canvas.
Choose clear views that show the room boundaries, openings and layout. Keep the room and design consistent across all four images.
02 — Add material references
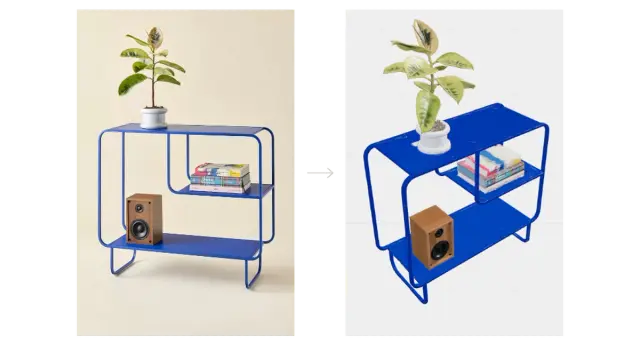
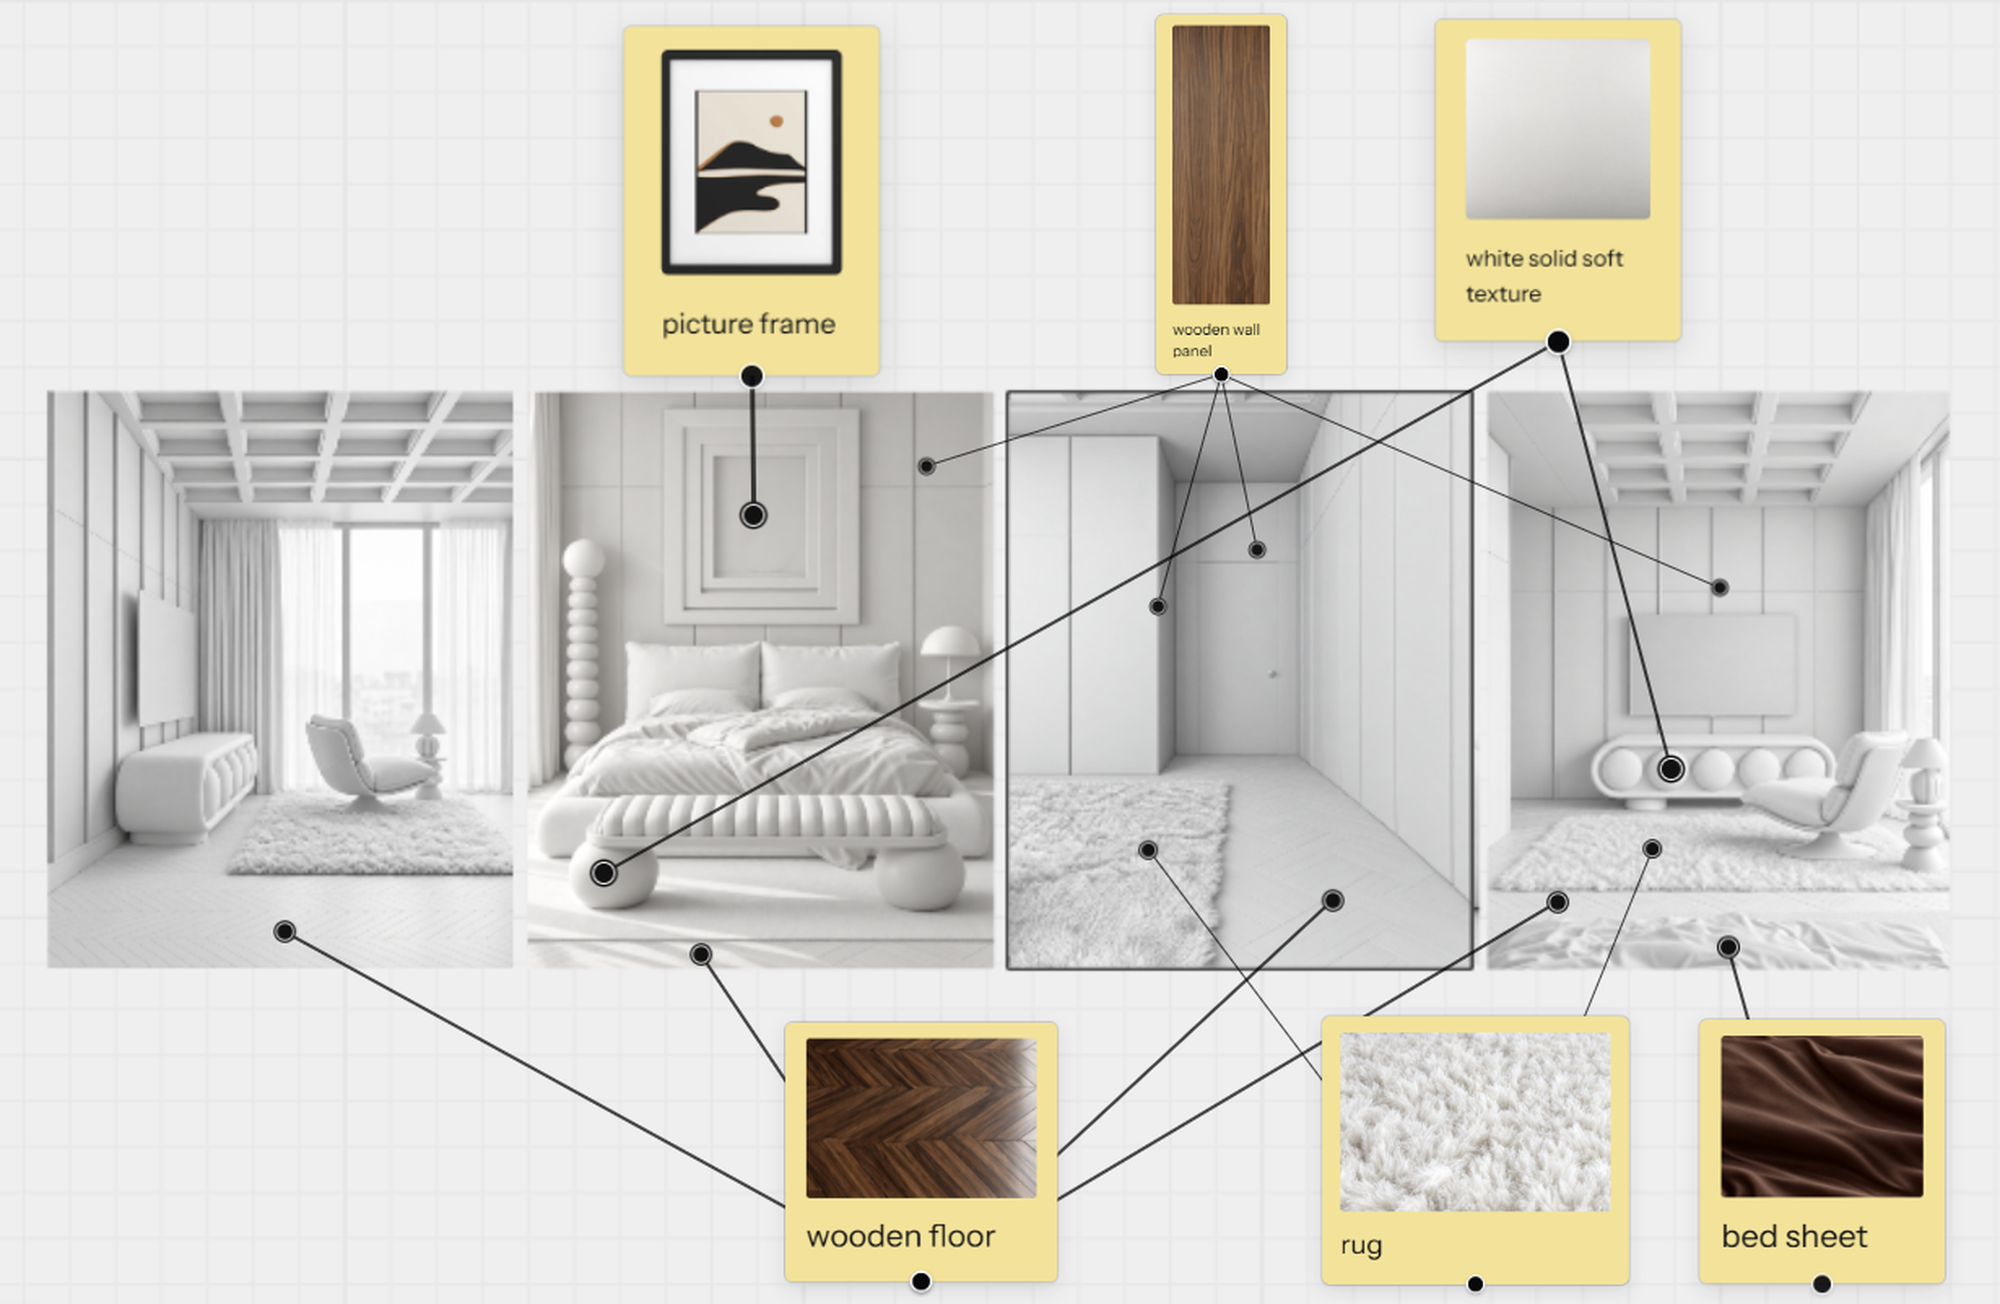
Import material textures and turn them into Smart Notes. Use each note to identify a finish and the surface where it should appear.
Drag texture images onto the canvas. Include references for flooring, walls, wood, stone, fabrics or furniture finishes as needed.
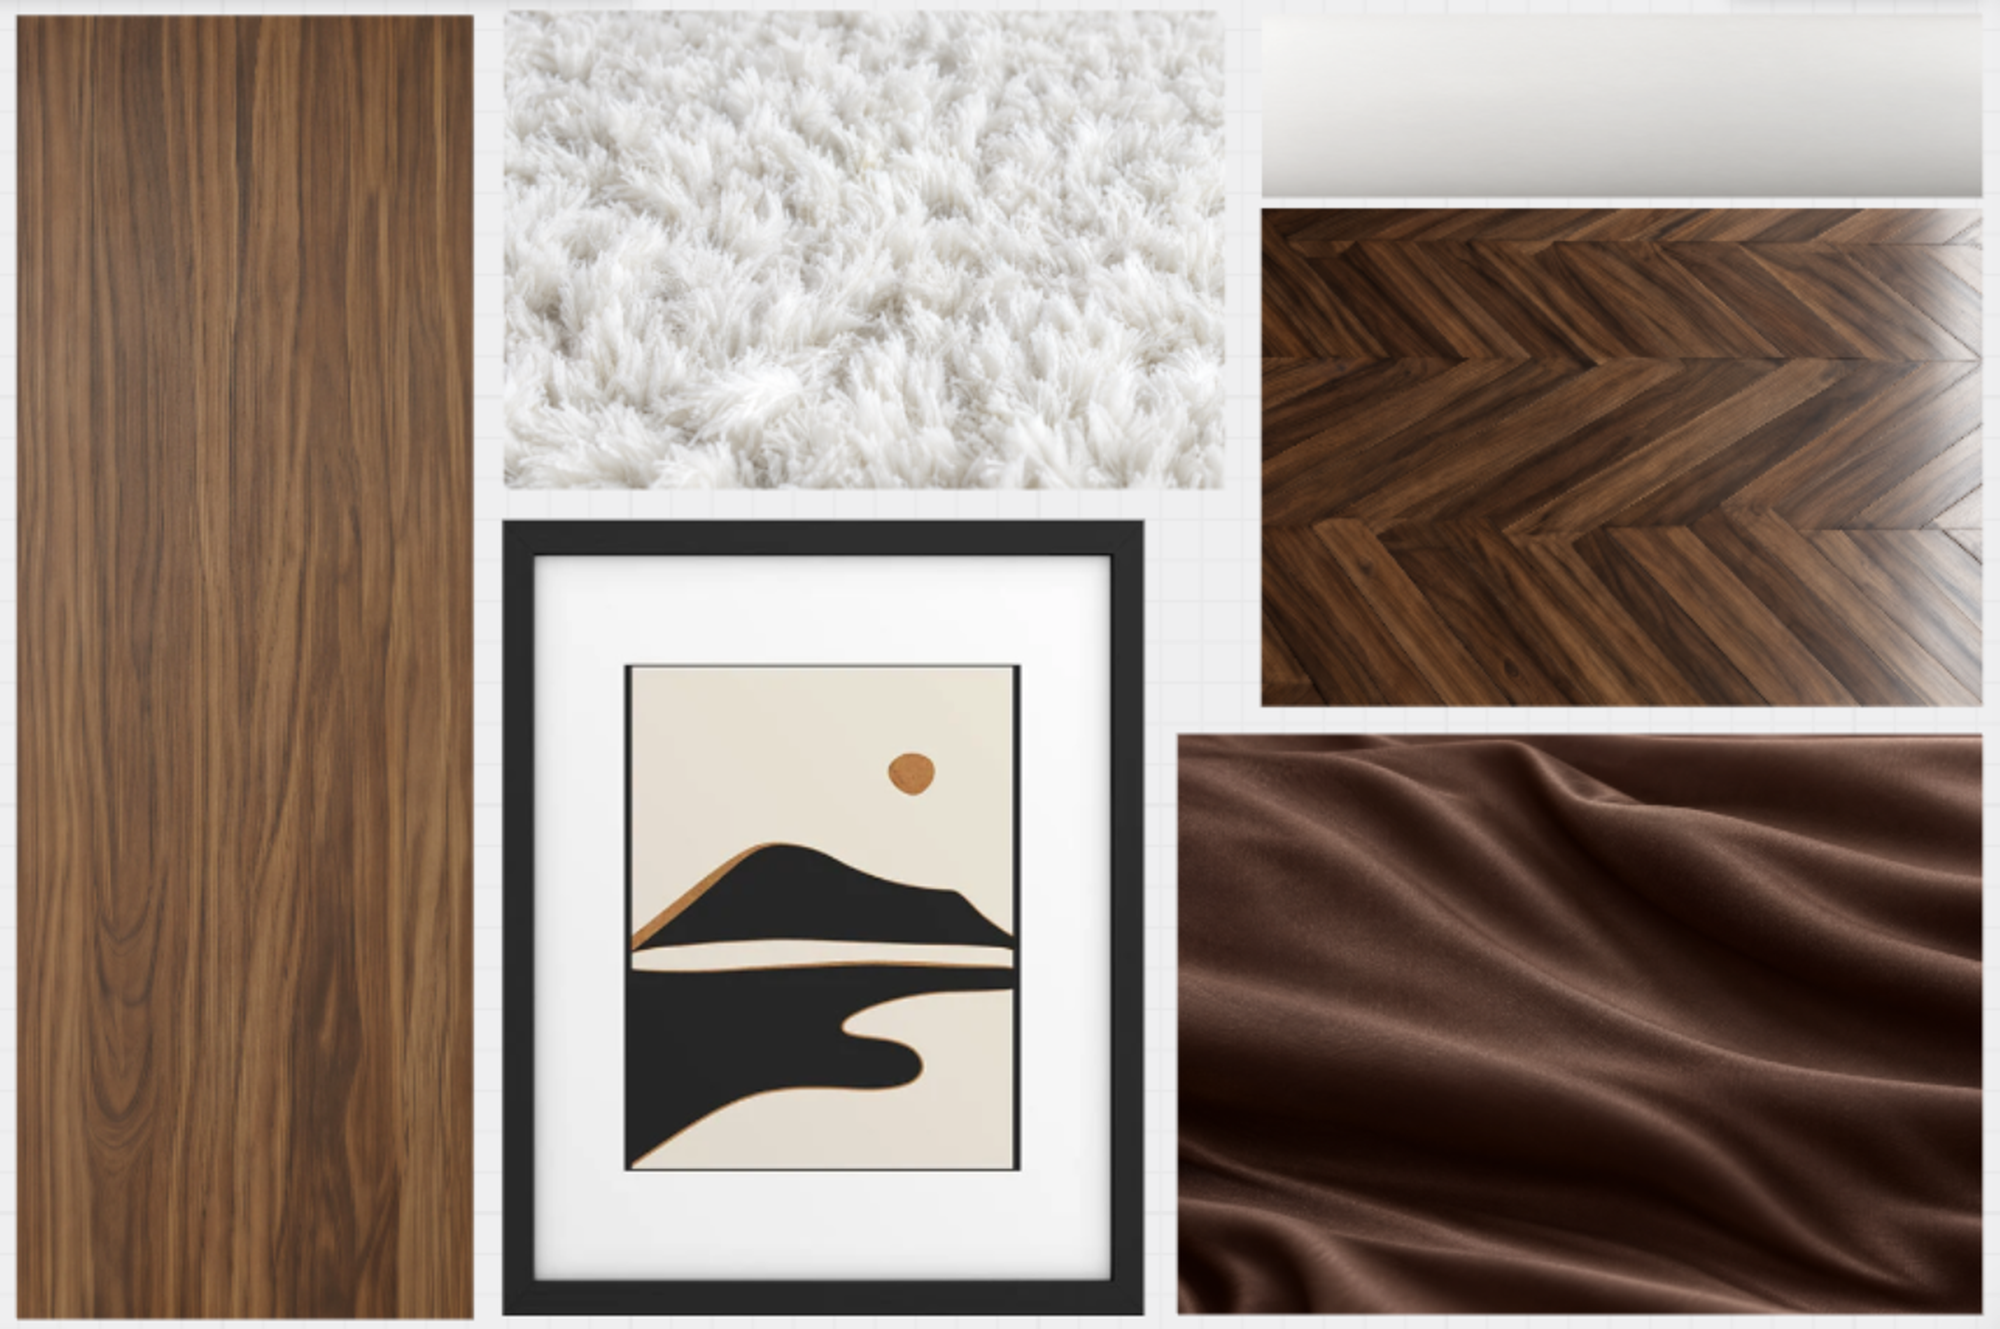
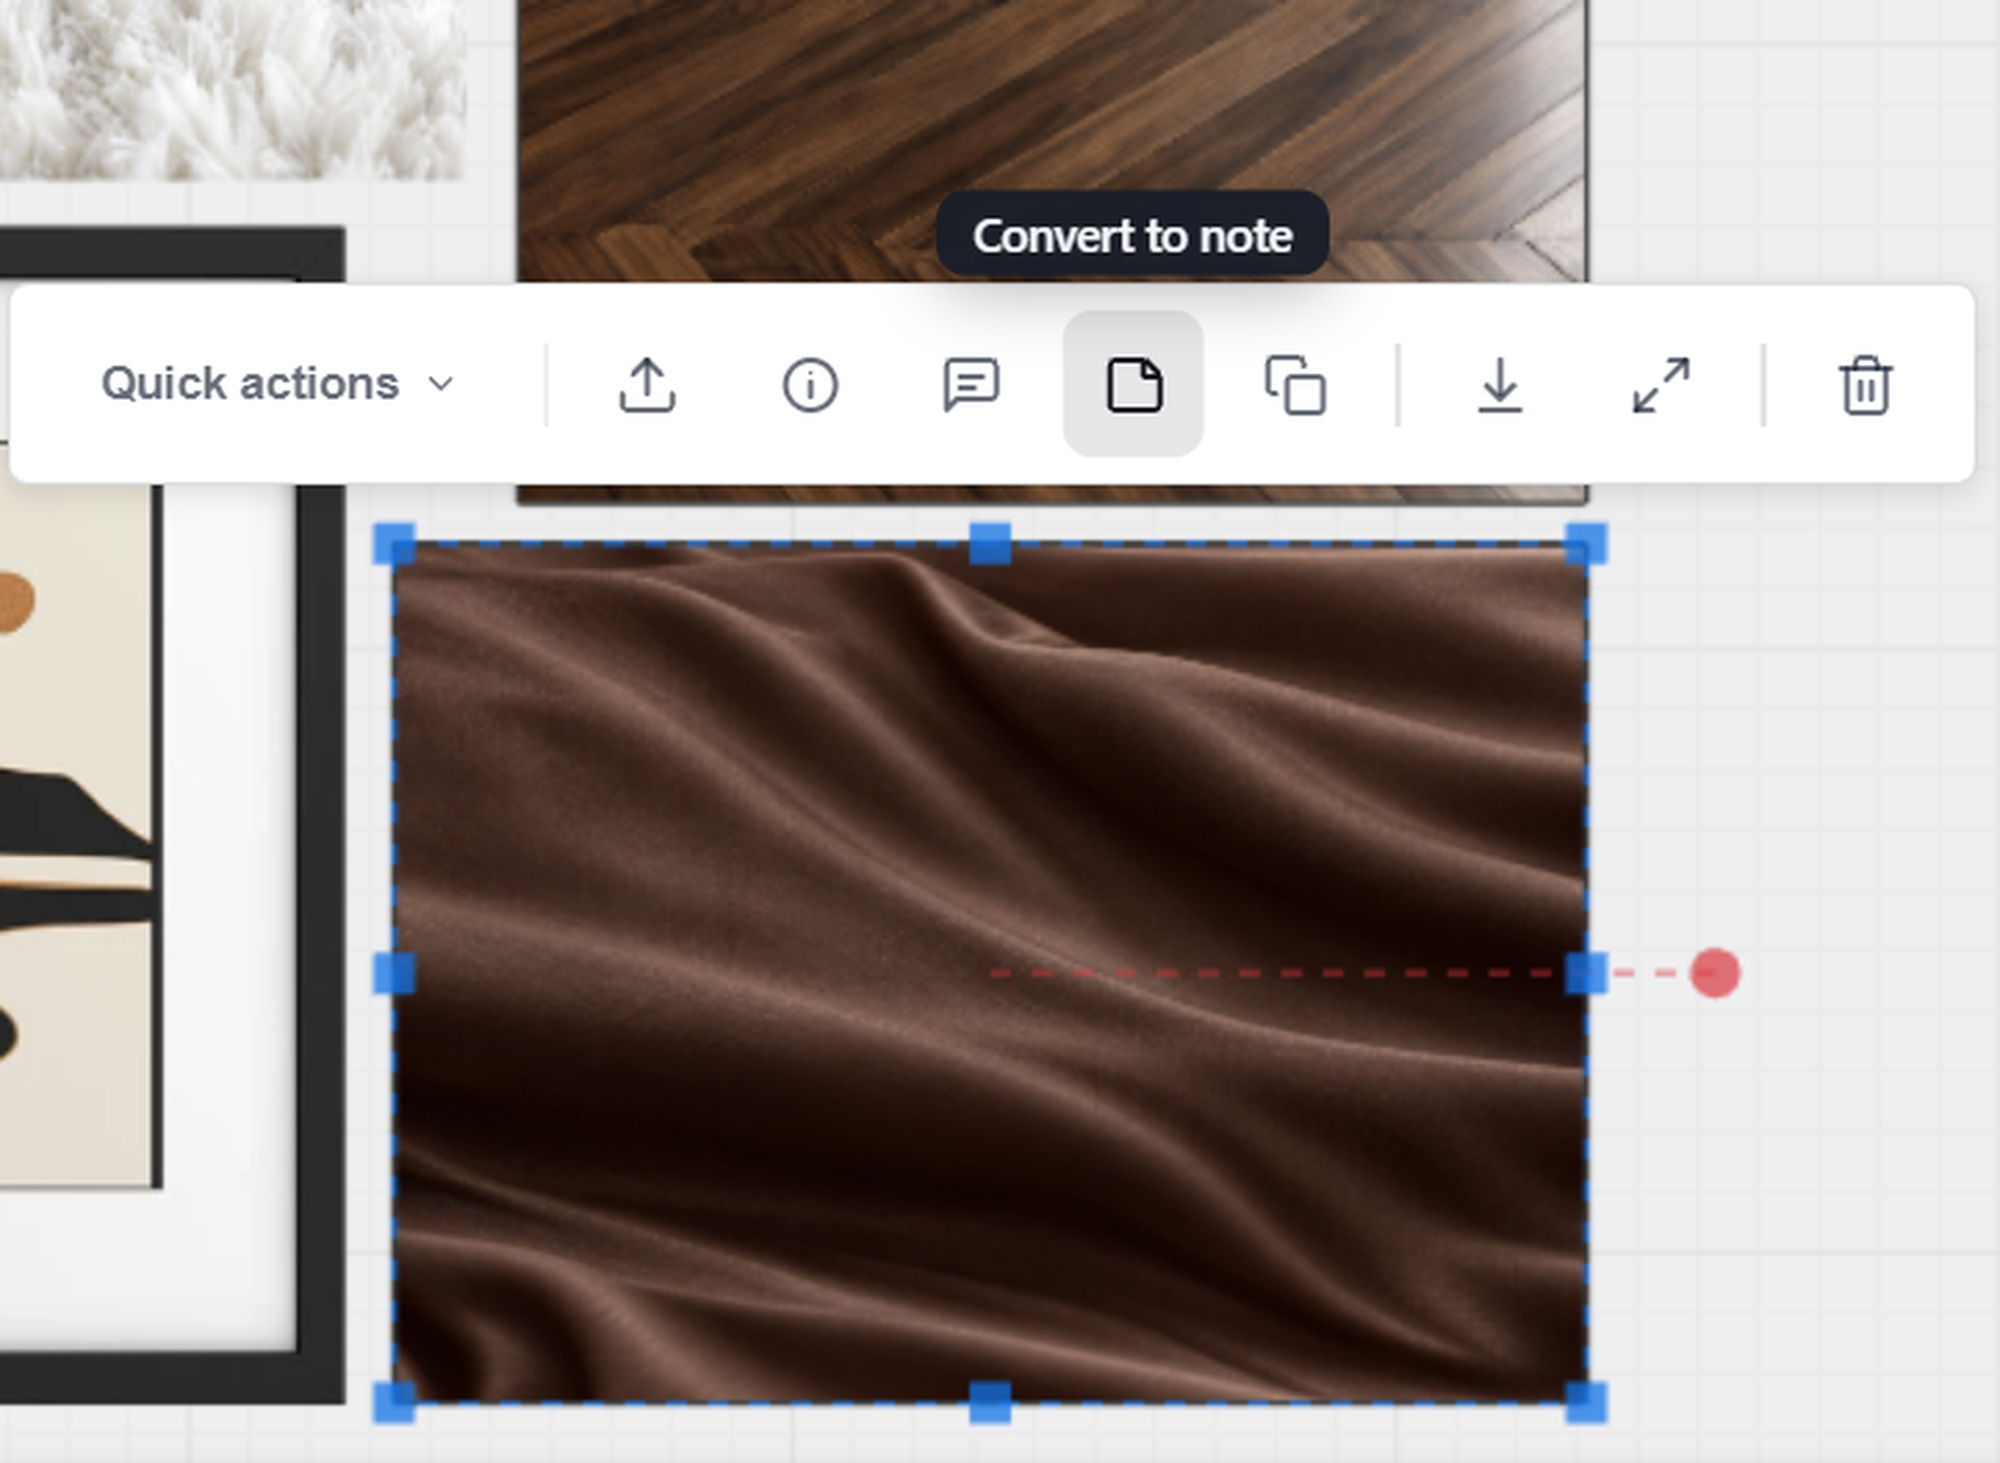
Select a texture and click Convert to Note in the top toolbar. Repeat for each material reference.
Attach each material note to the corresponding surface in the white render. Keep each note focused on the finish you want to apply.
03 — Write your prompt and generate room views
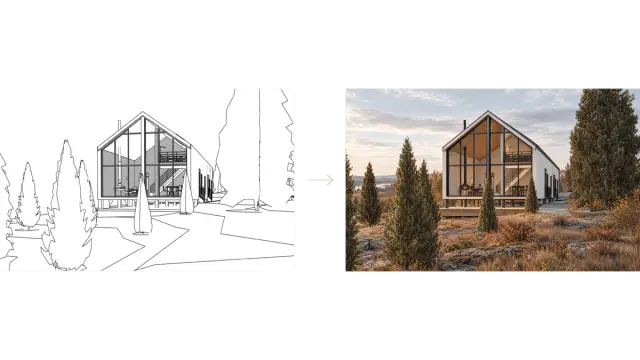
Select each white render individually. Use the Smart Notes for specific finishes and keep the main prompt focused on the overall style, lighting and atmosphere.
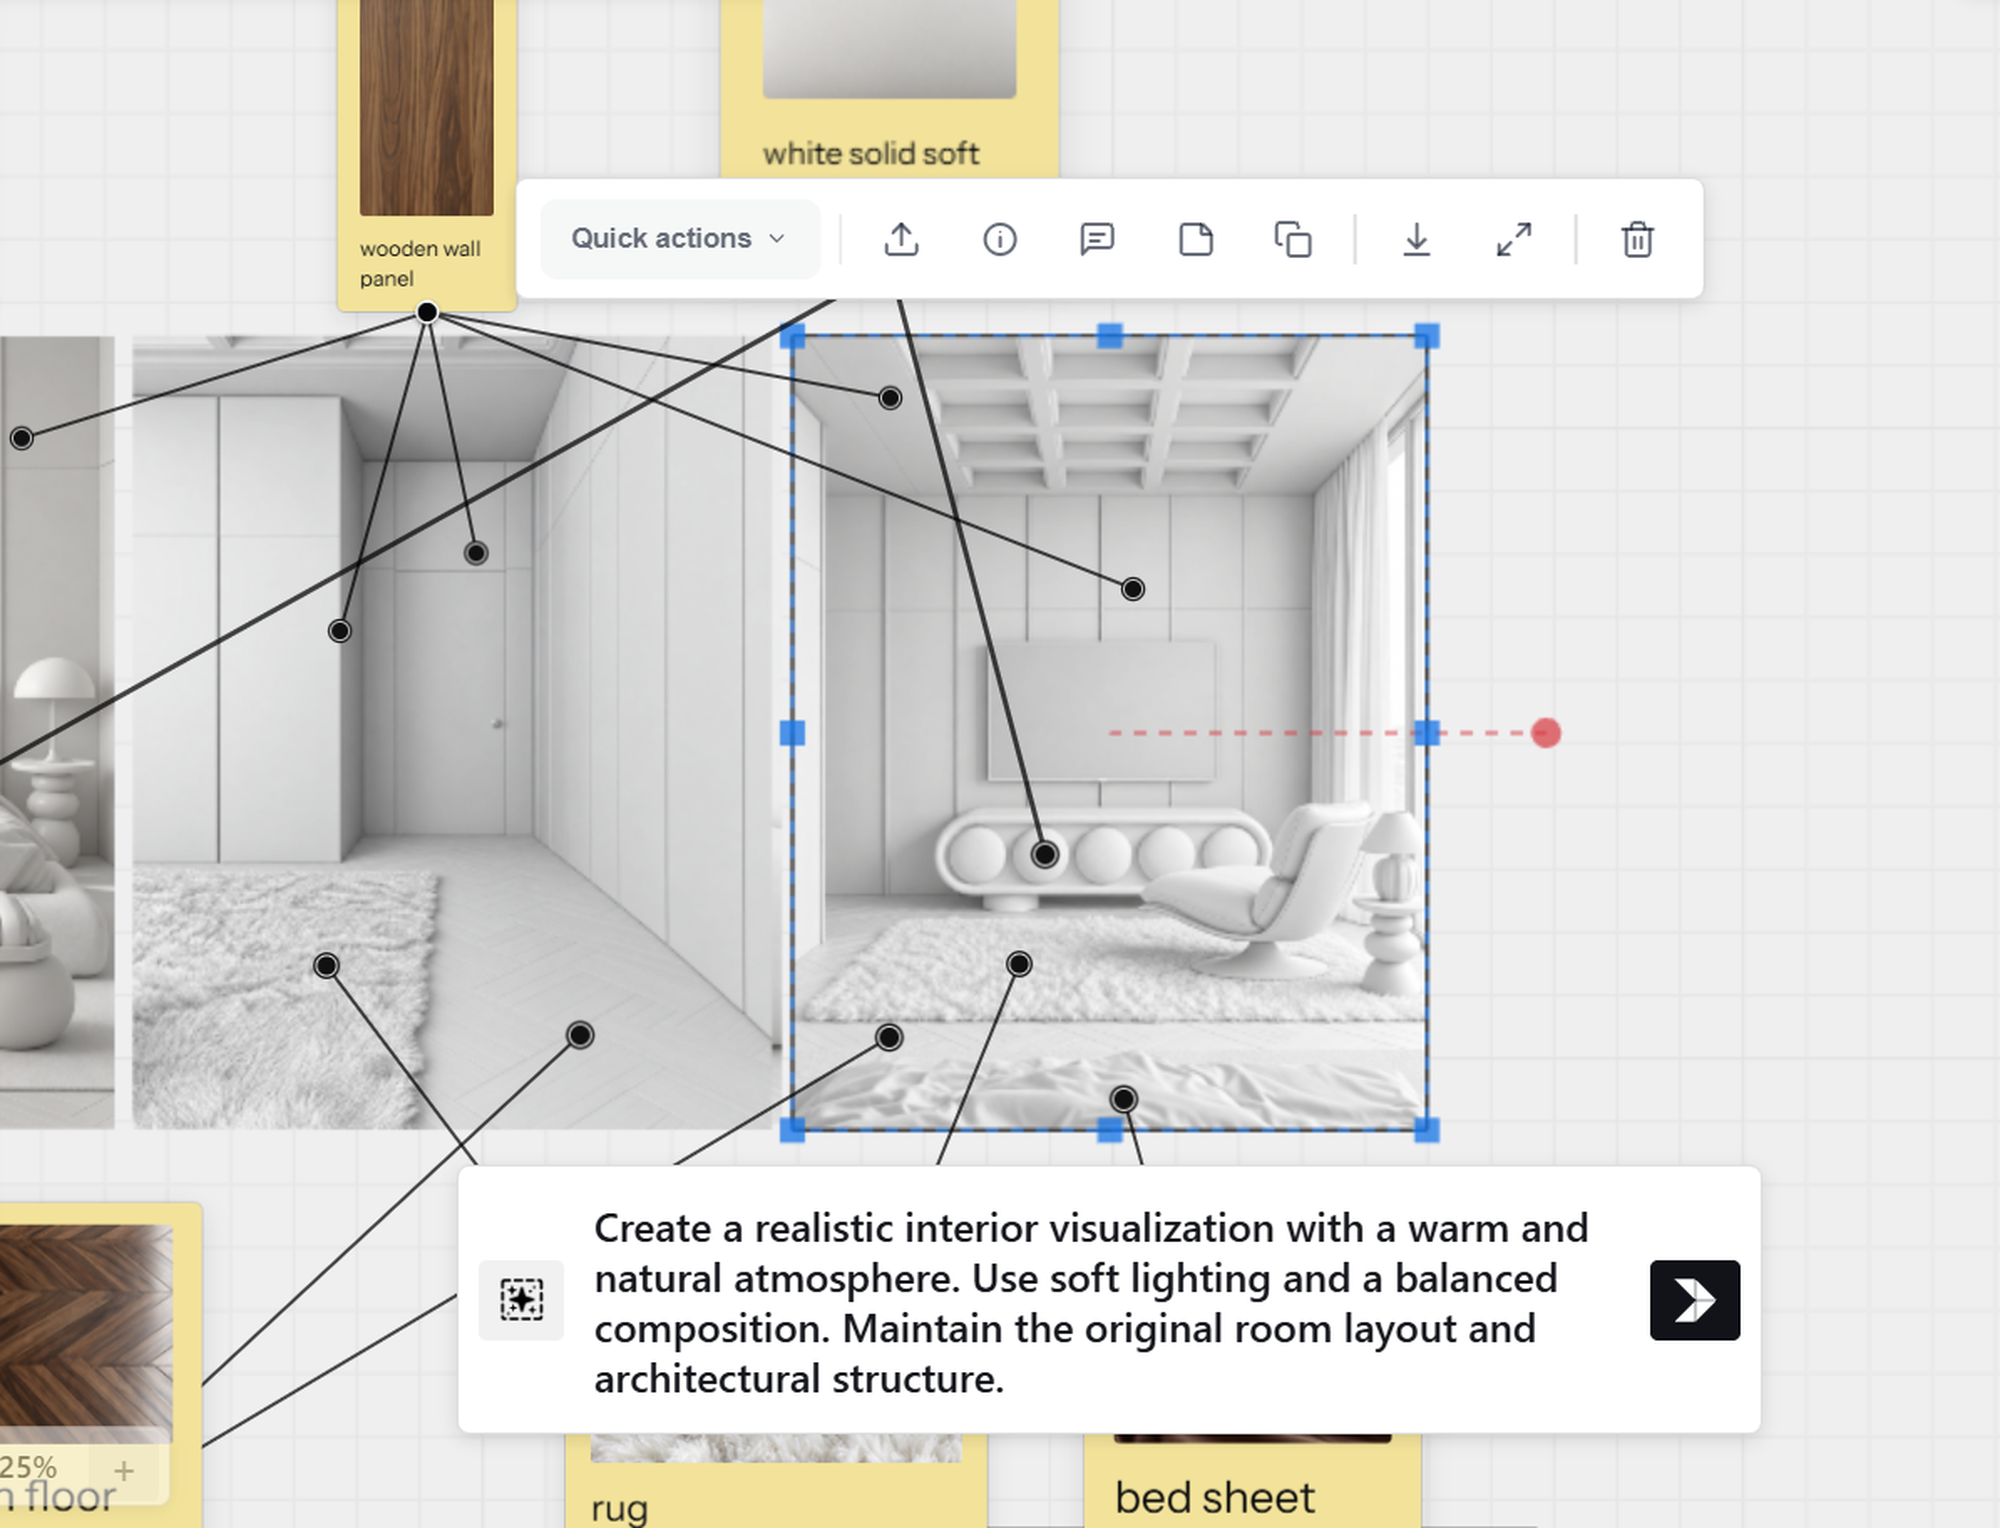
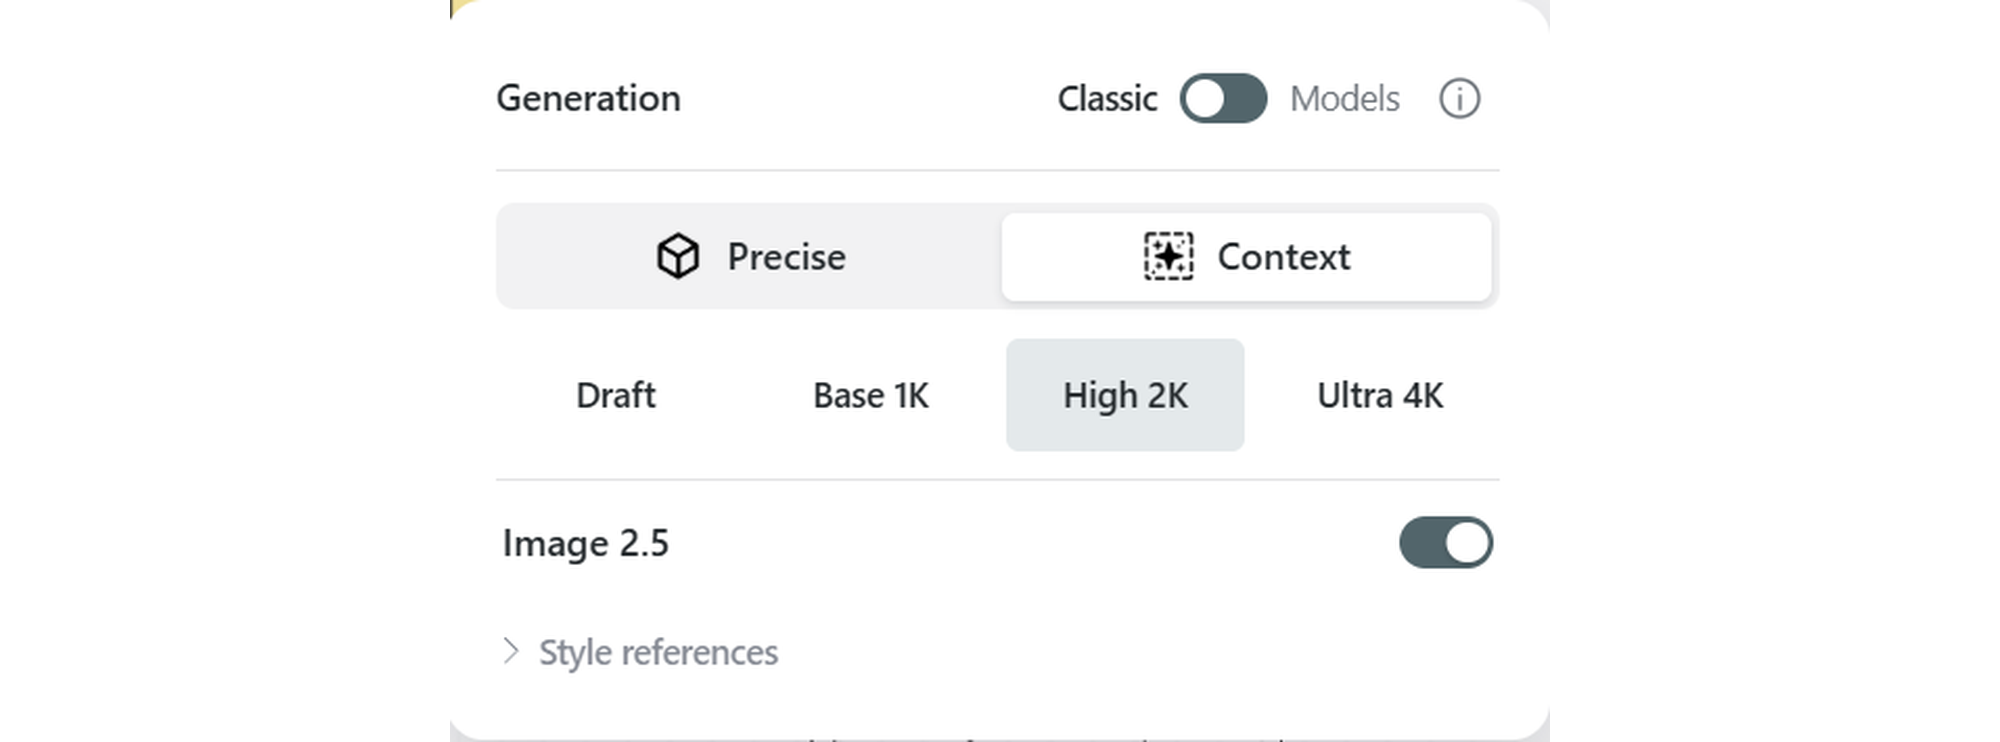
The existing example uses the following settings. Check the options in the current interface and use a test generation before increasing output quality.
Generation Mode: Classic
Context: Context
Resolution: High 2K
Image 2.5: On
Generate each room view and compare all four results before continuing.
Check the room layout, materials, lighting and design across the different angles. Use a specific correction for a detail that does not match, then review the next version.
04 — Connect the supporting views
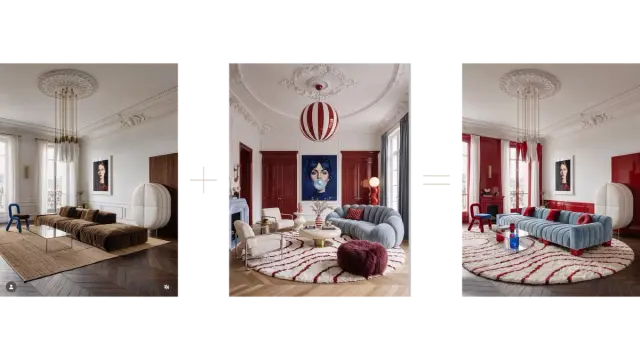
Choose one generated image as the main camera view. Use the other three views as supporting references for the parts of the room outside that camera angle.
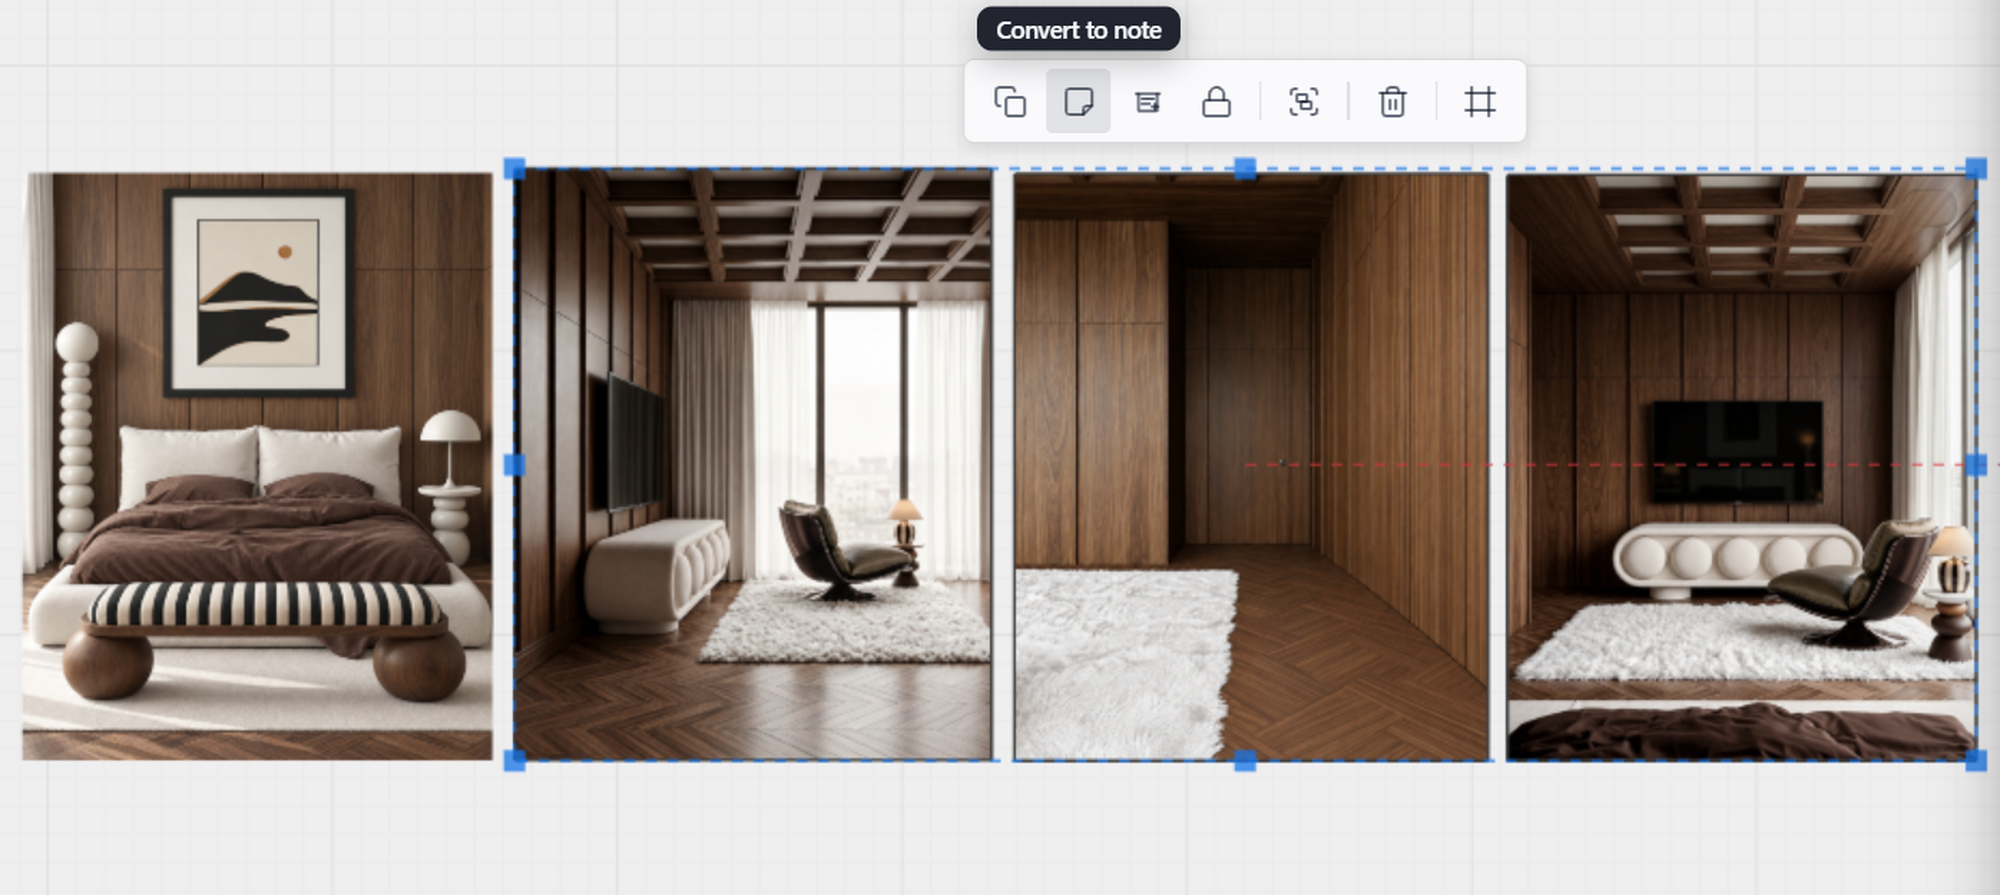
Select the three supporting views, right-click and choose Convert to Note.
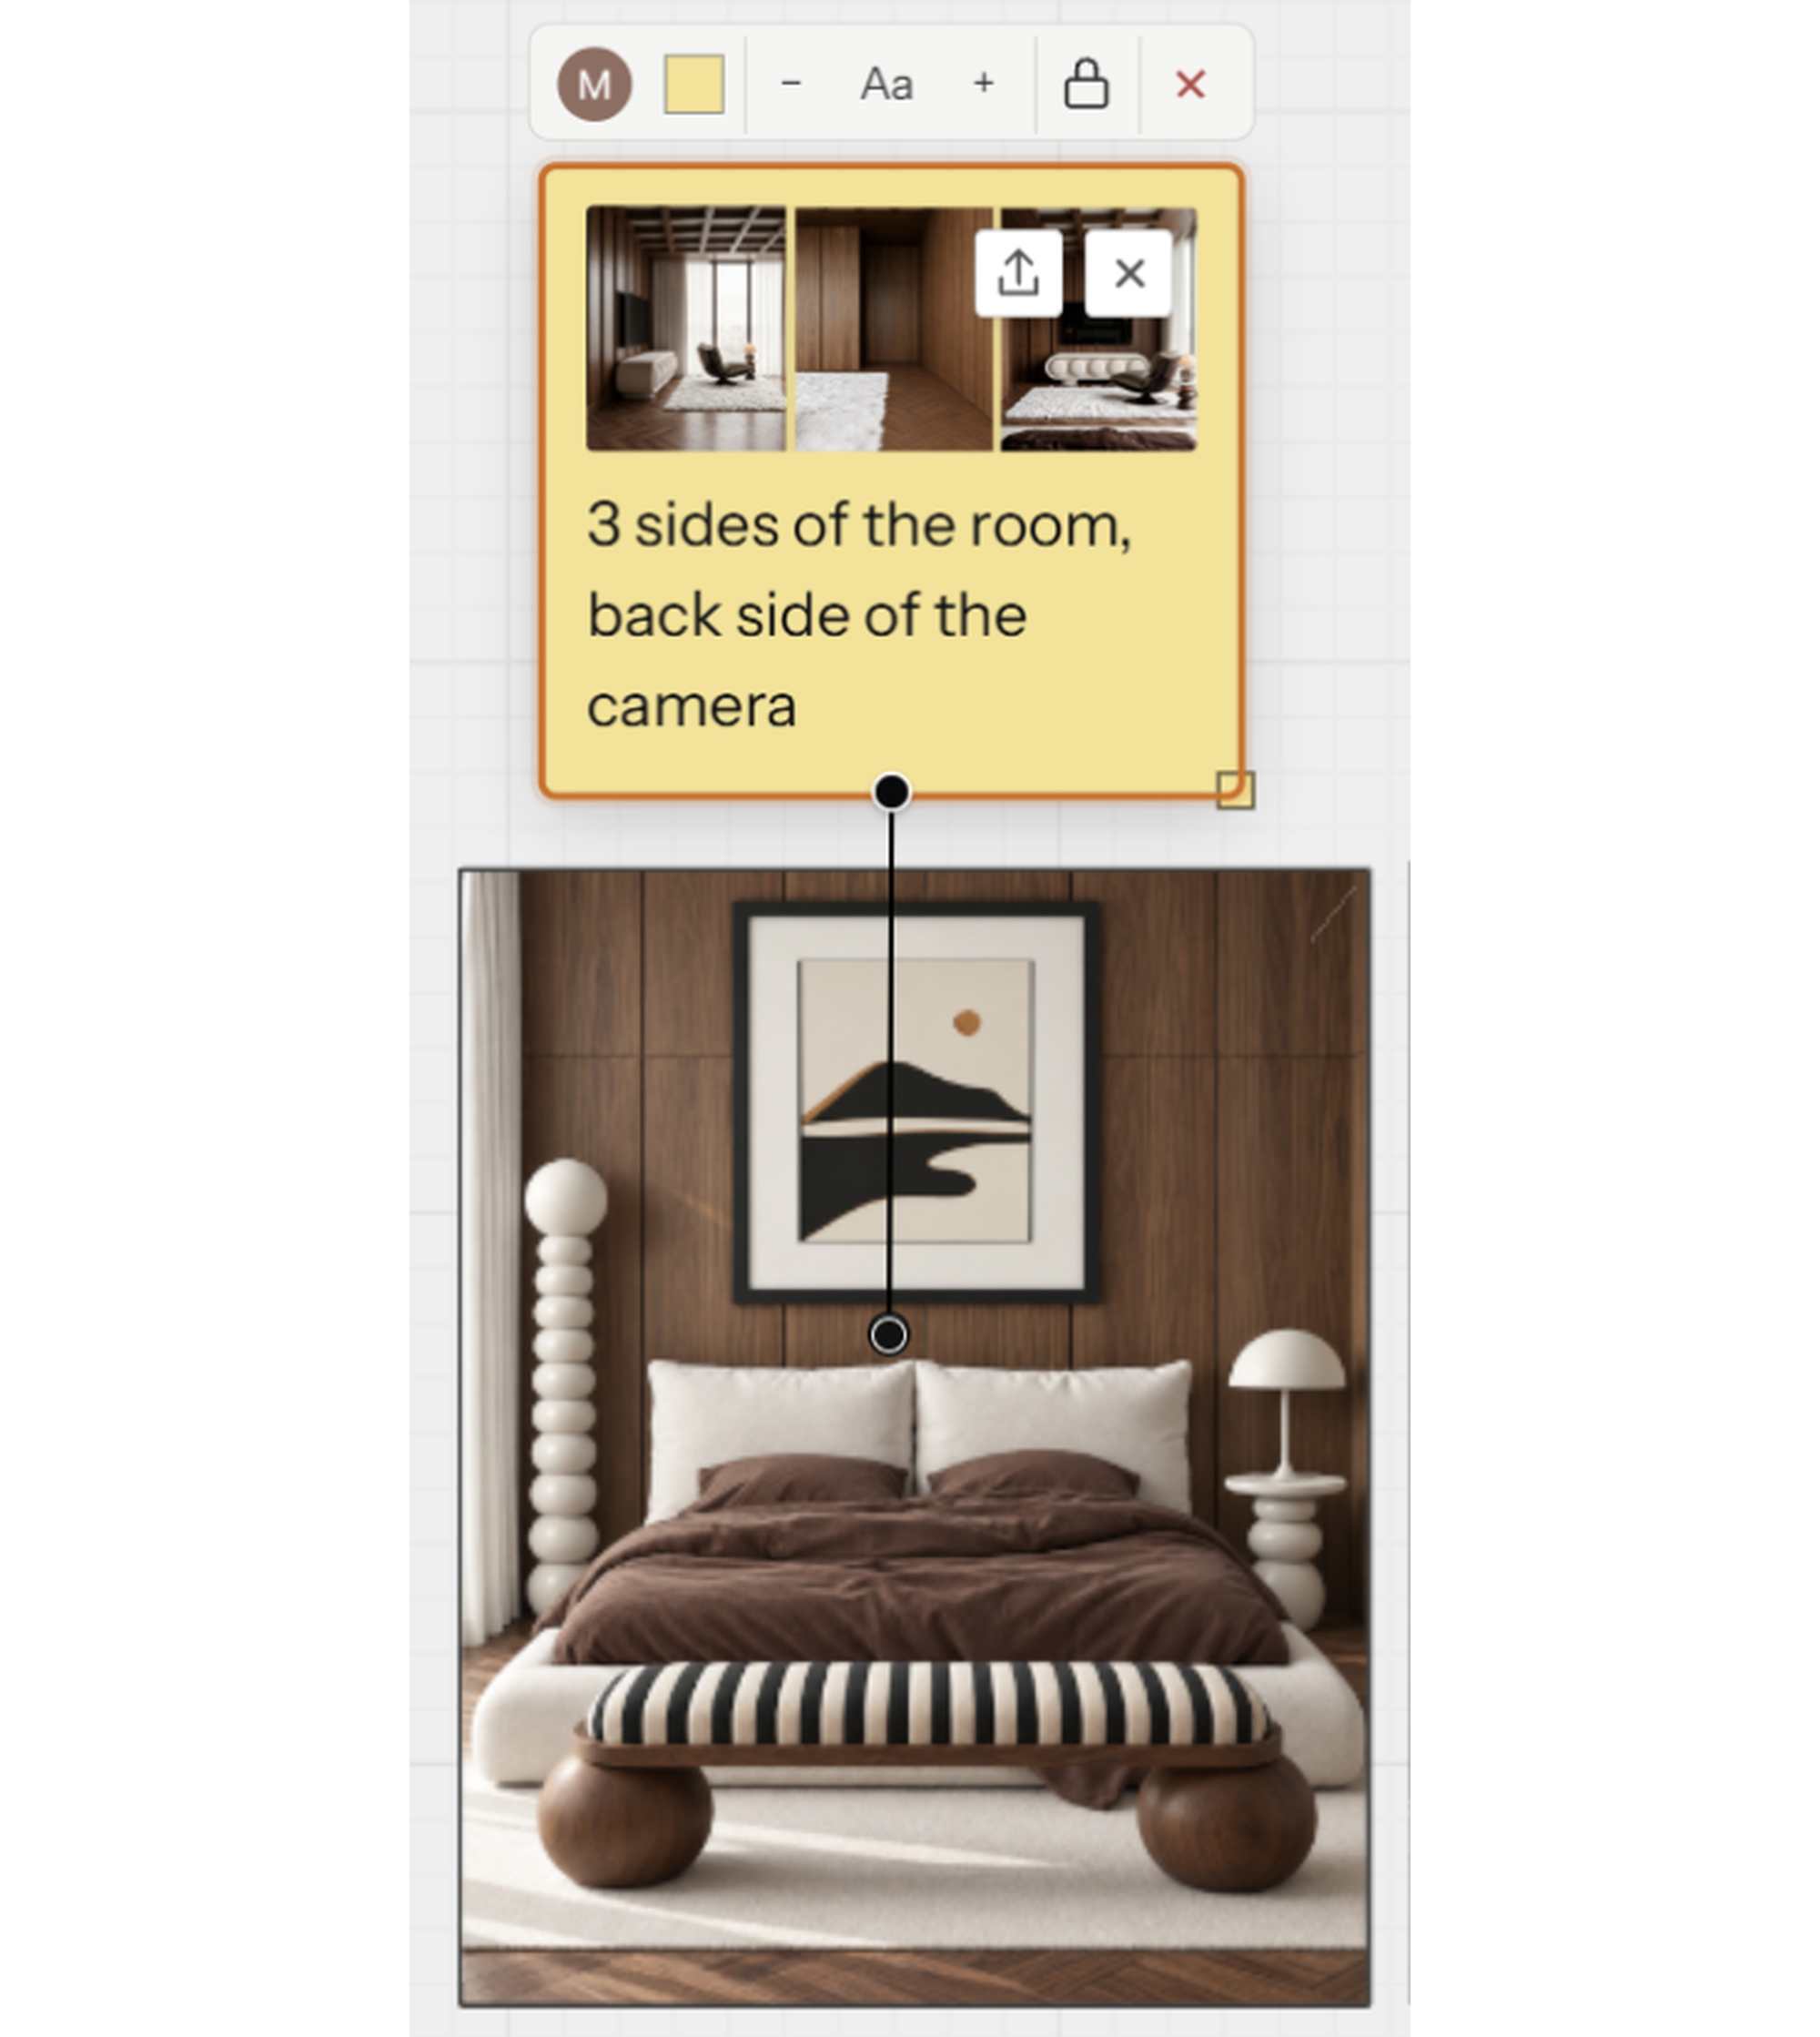
Attach the supporting-view notes to the main camera view. Enter “3 sides of the room” in the note description to explain the references. Review all four images for a consistent layout and design before generating the panorama.
05 — Generate, review and share
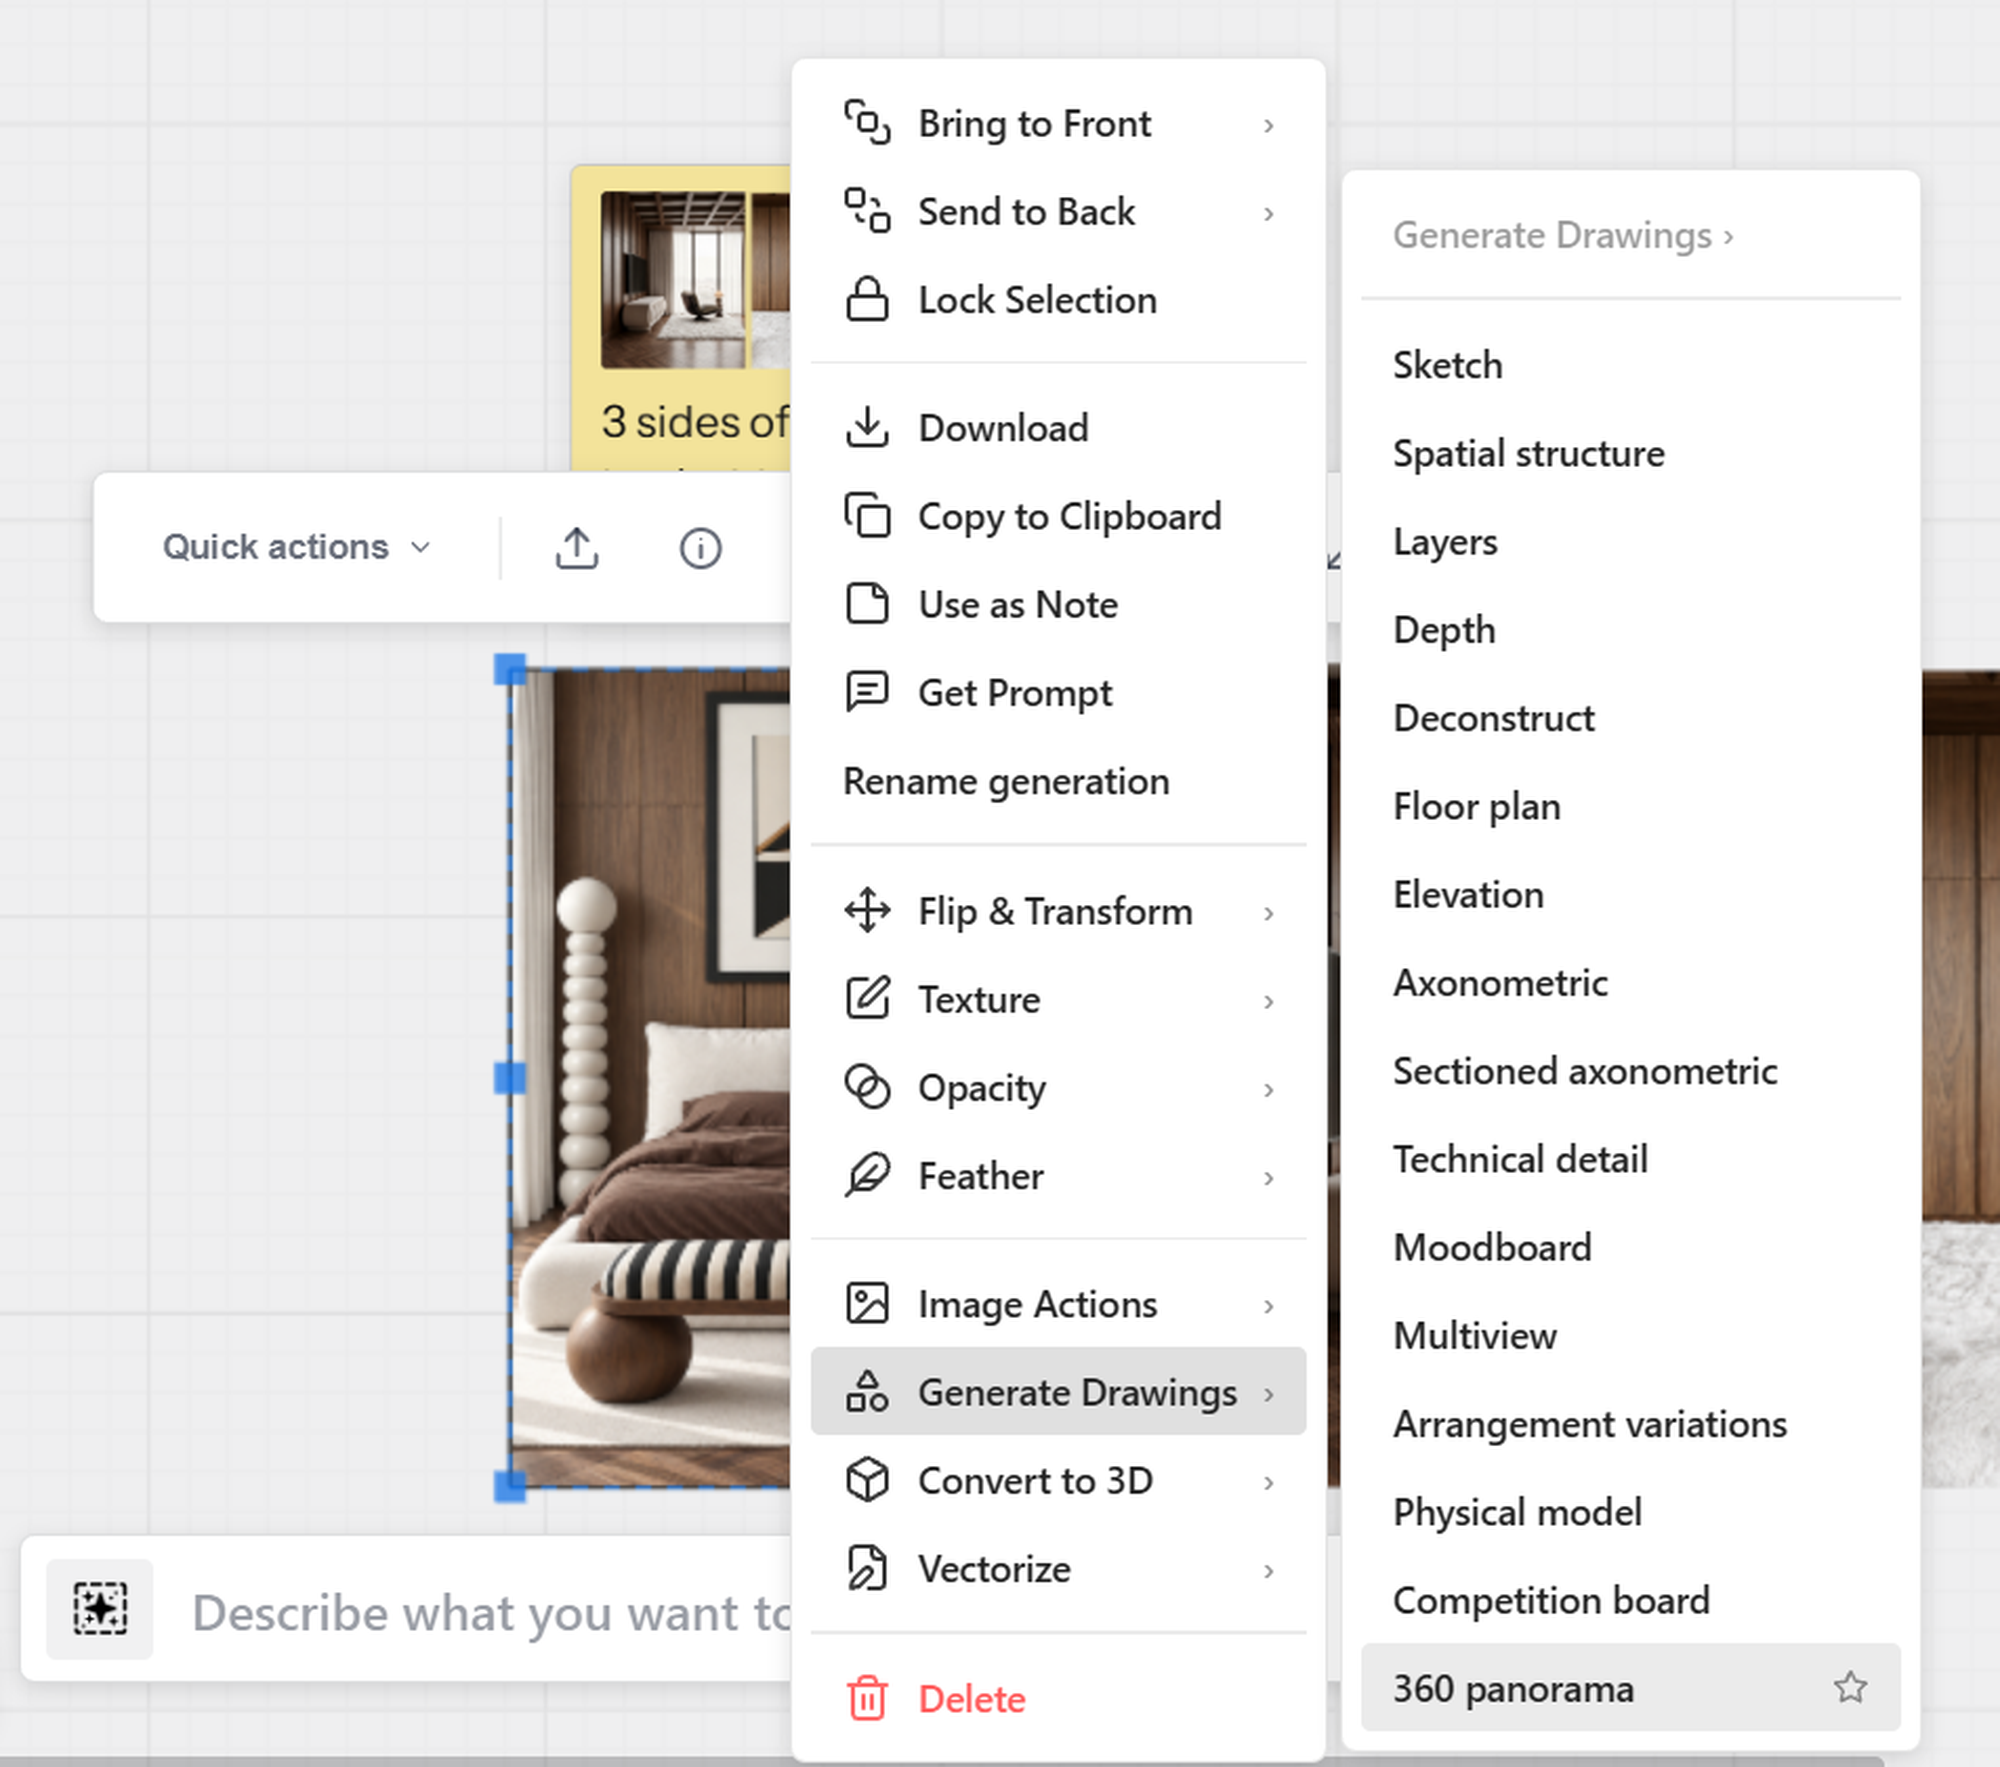
Right-click the main camera view and select Generate Drawings. Choose 360 panorama to generate the panoramic image using the supporting views.
Compare the panorama with your reference views. Check the layout, materials, furniture and lighting, along with the transitions between room sides. Look for missing objects or distorted surfaces and refine the references if needed.
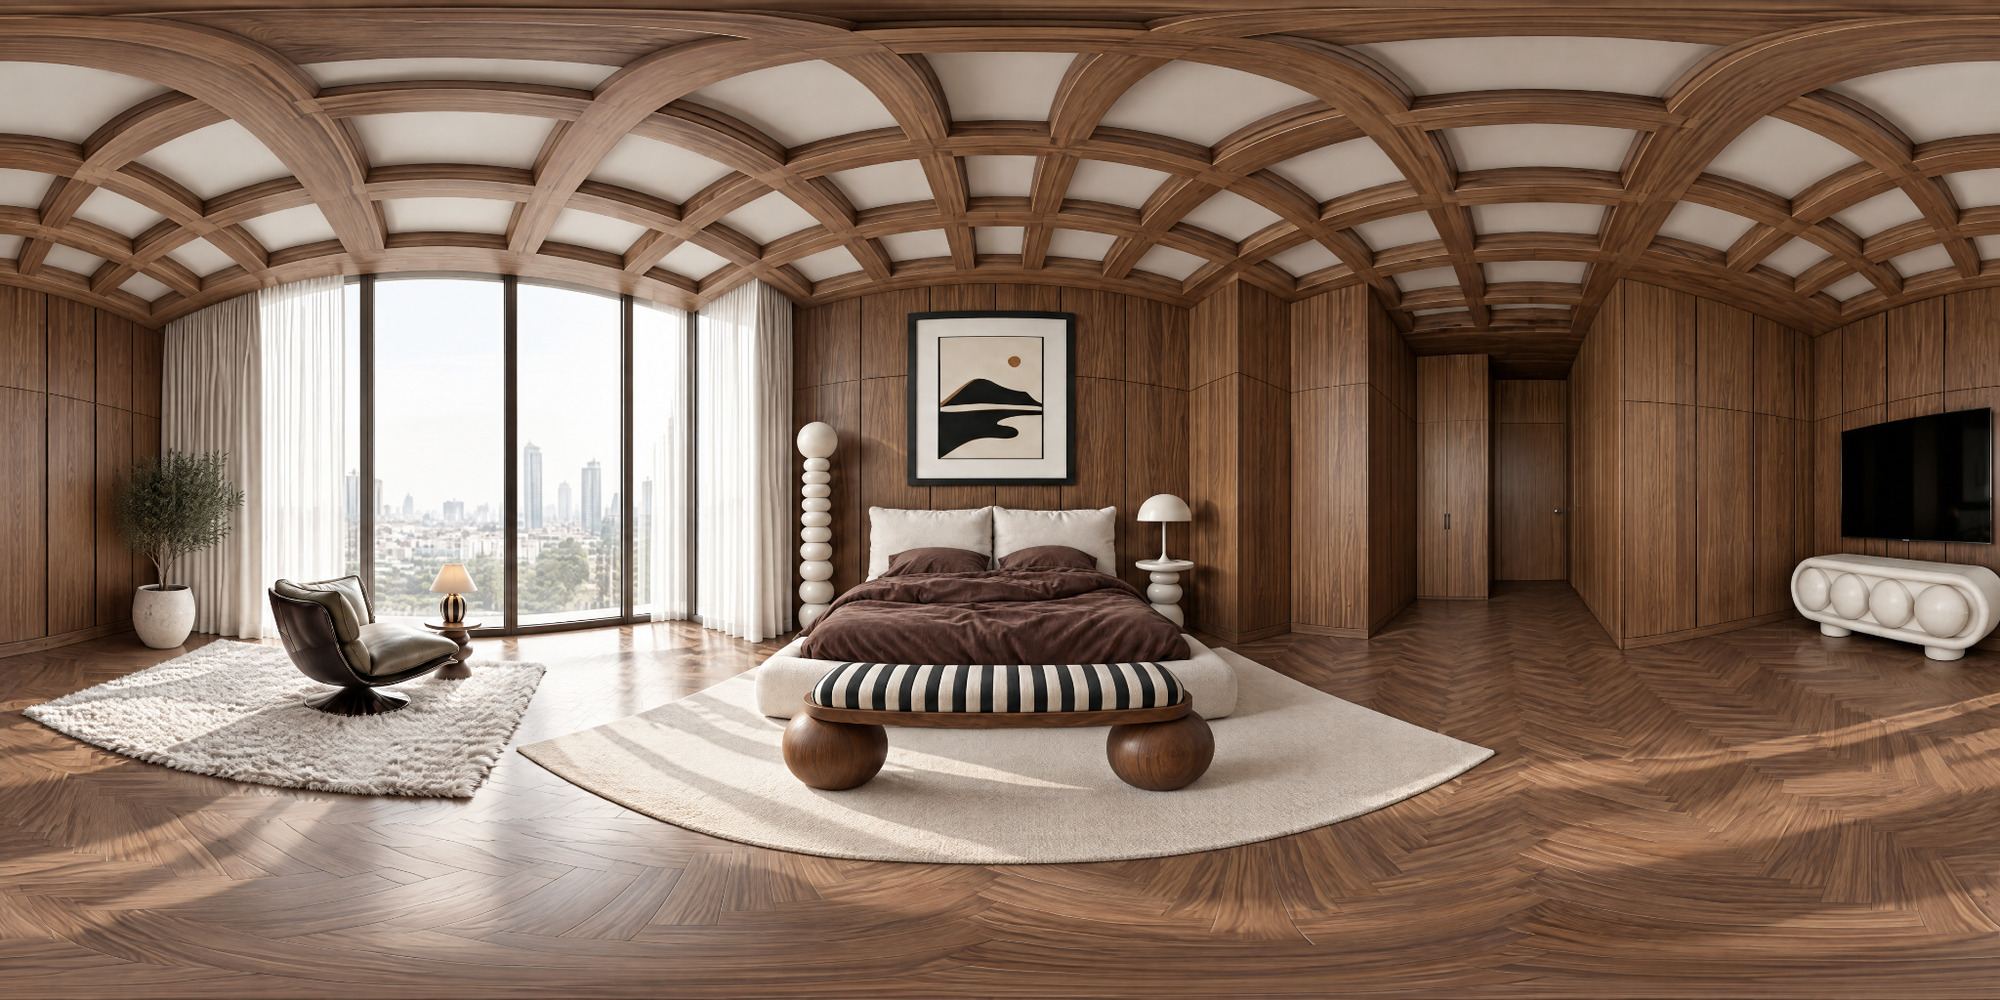
When you are happy with the result, click Share on the generated image to share the panorama with your team or clients.
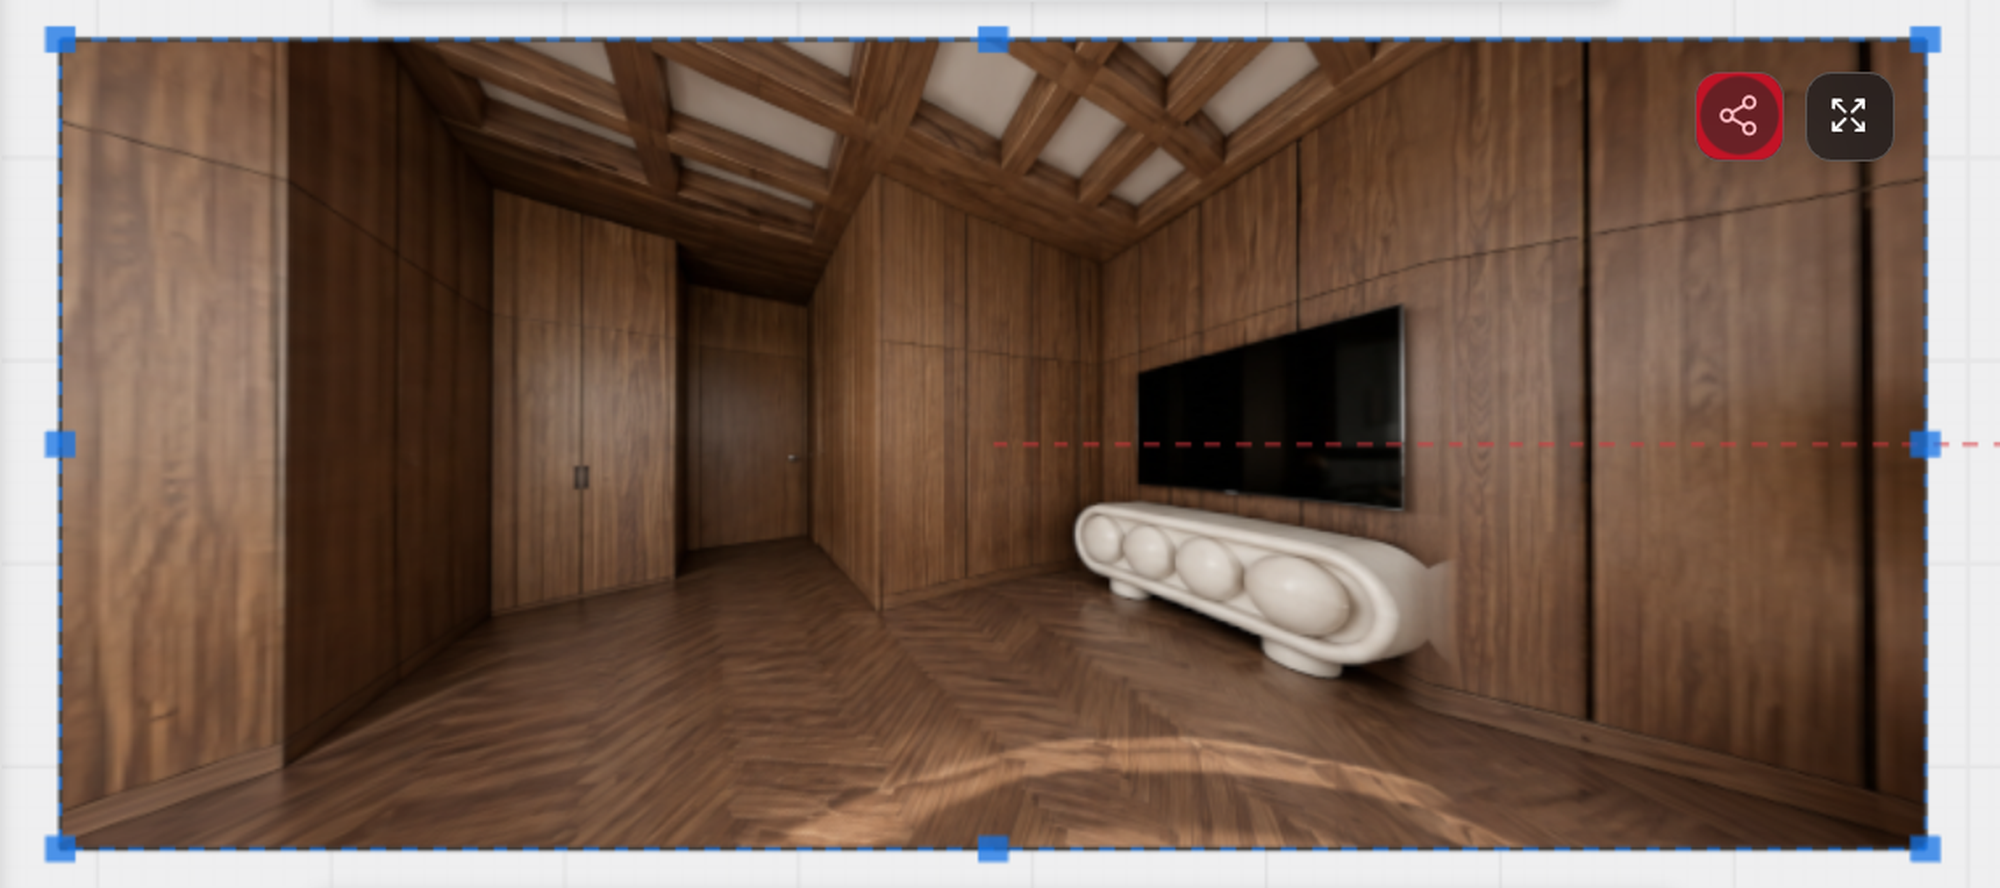
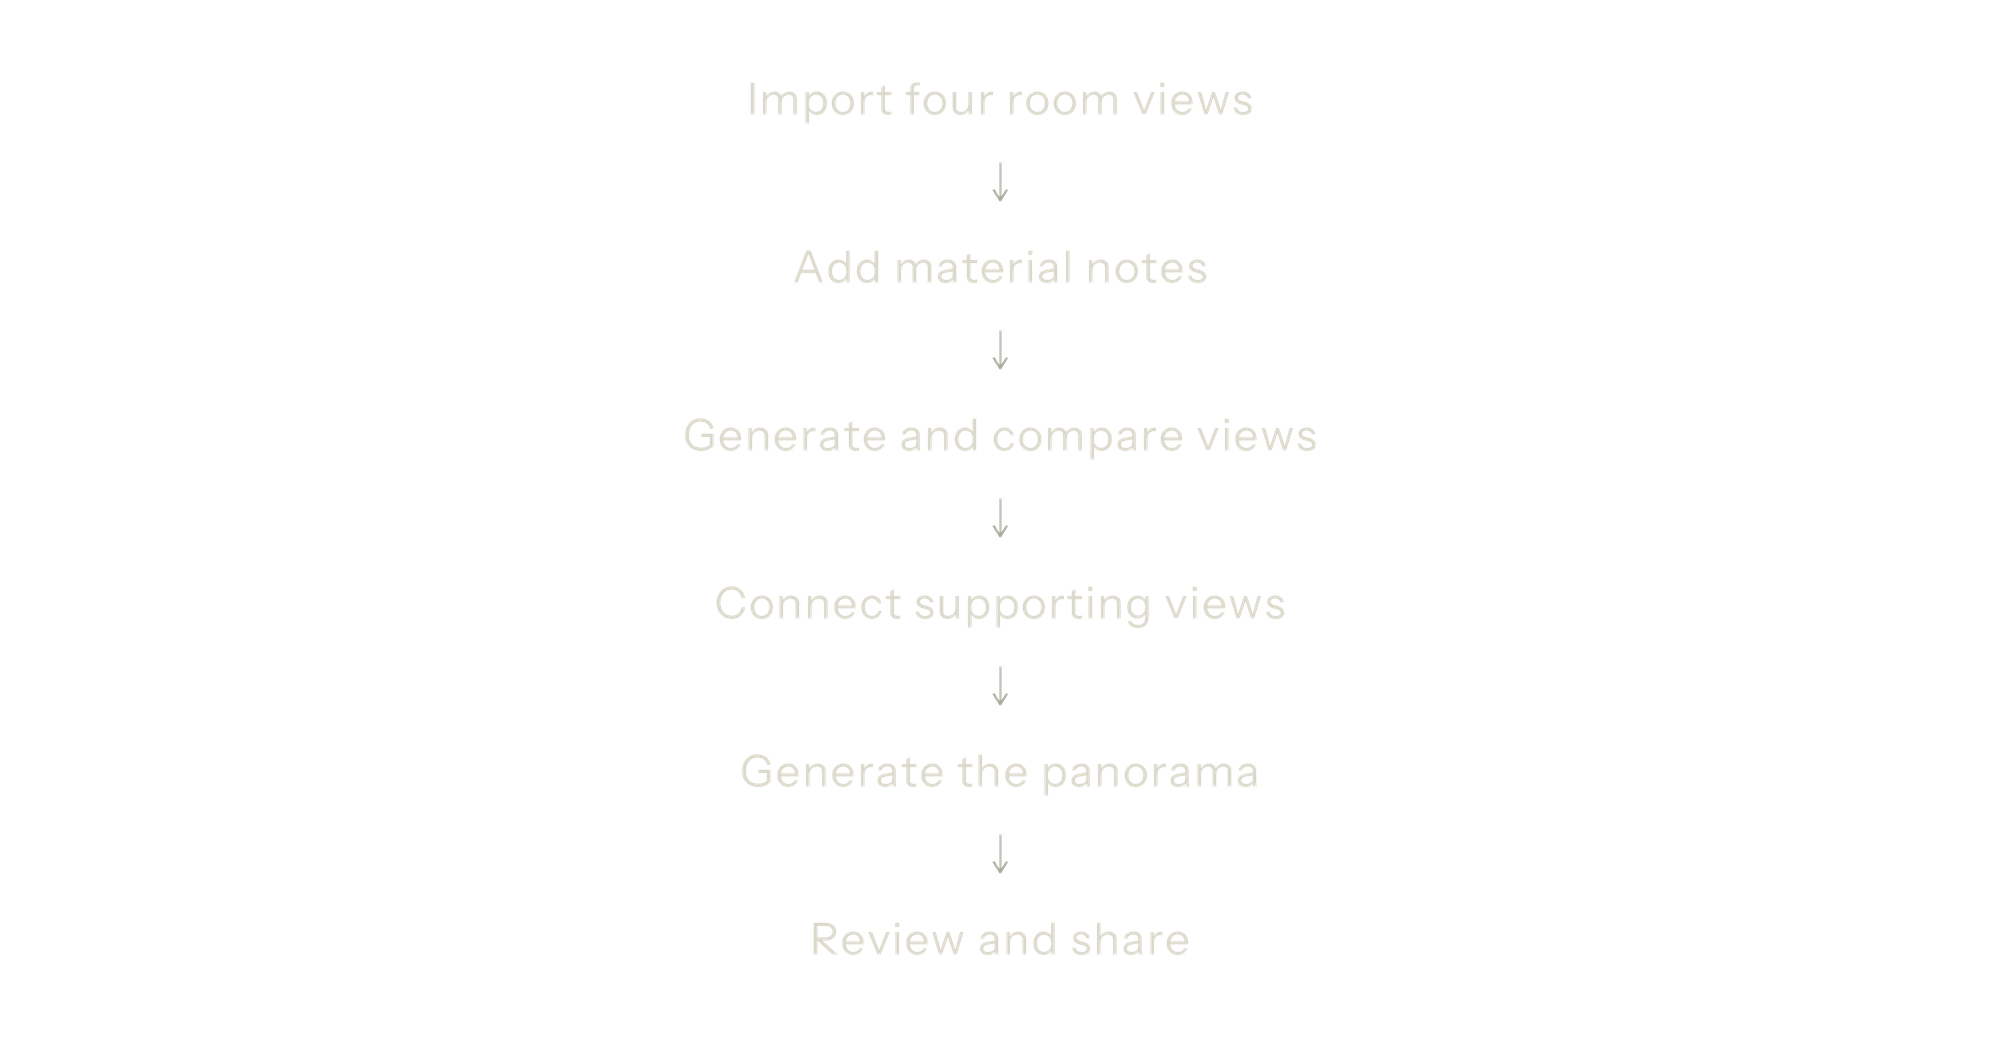
06 — Workflow at a glance