Mini Apps: How to render 3D model screenshots
Use the Screenshot 3D to Render mini app to turn model screenshots into architectural renders. Upload your views, choose an output size, and add a style reference or short instructions when needed.

Use the Screenshot 3D to Render mini app to turn model screenshots into architectural renders. Upload your views, choose an output size, and add a style reference or short instructions when needed.
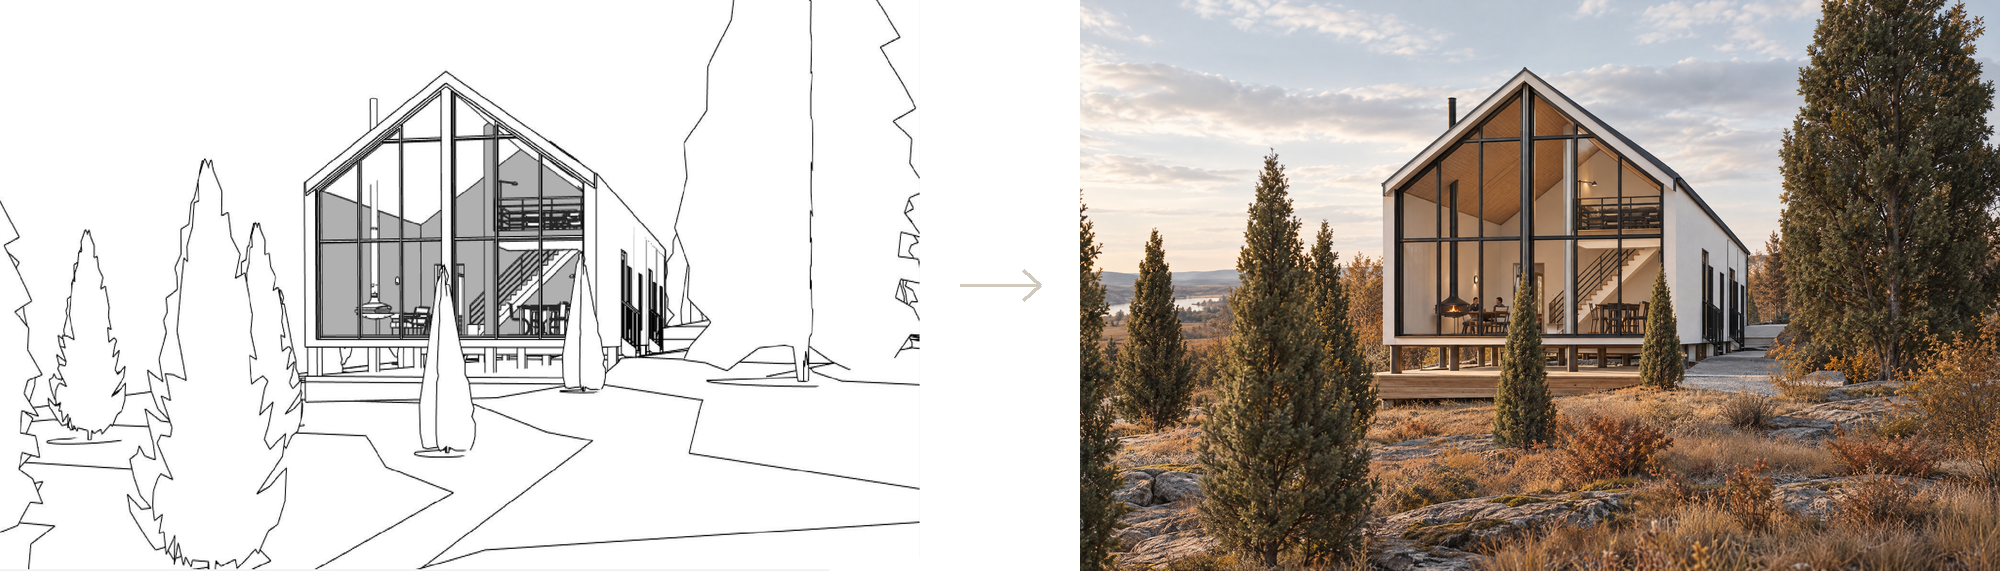
01 — Open Screenshot 3D to Render
Open Formas Apps and select Screenshot 3D to Render.
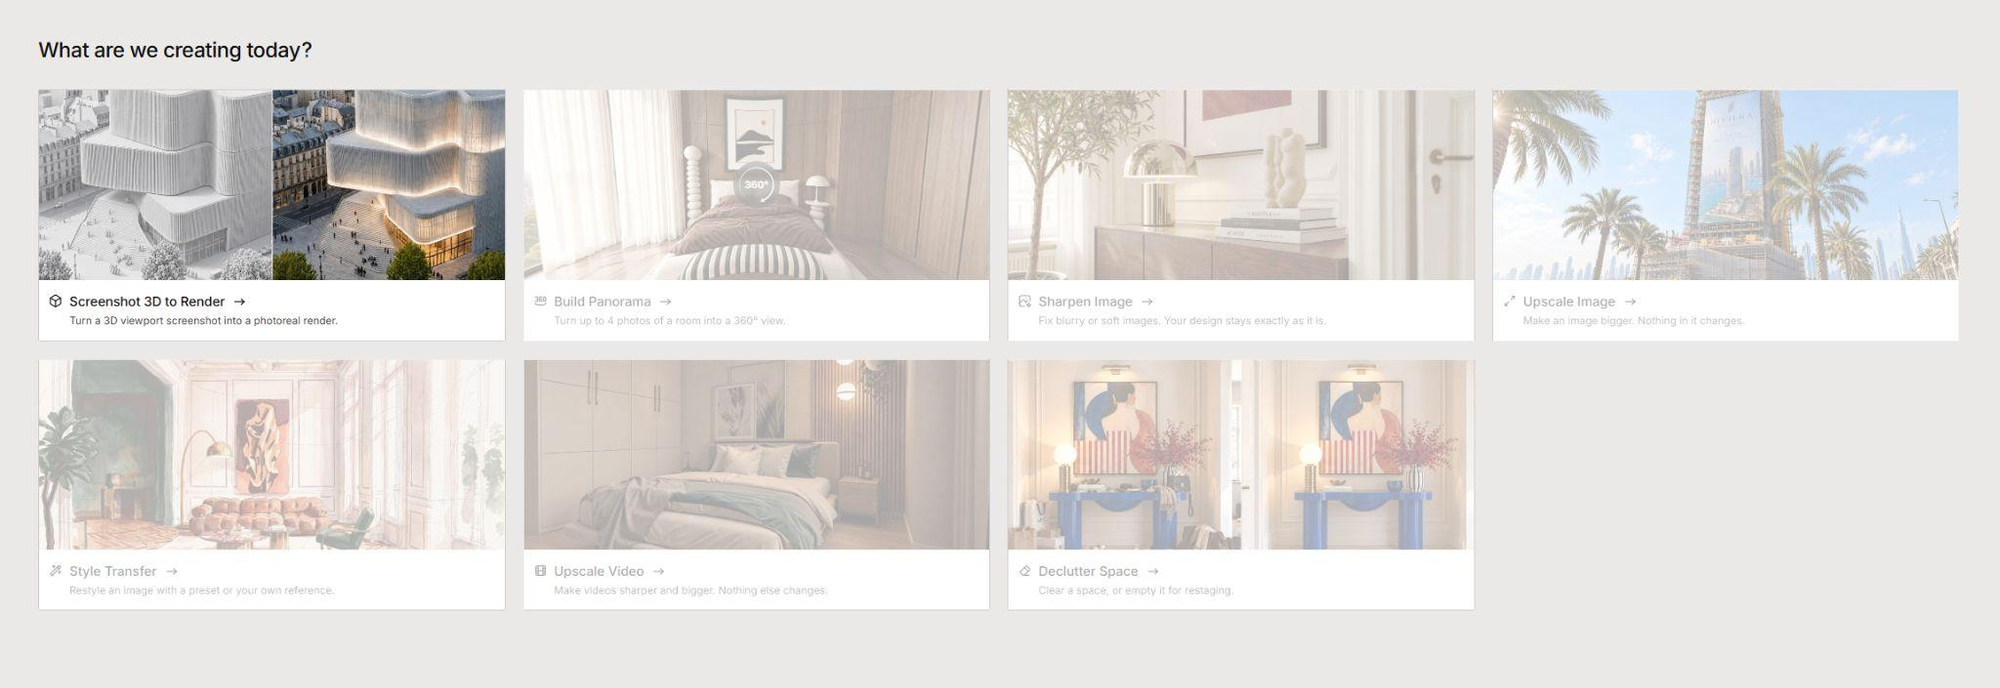
02 — Upload your model screenshots
Drag your screenshots into Your images. You can upload up to 10 images. Choose clear views that show the building form and the details you want to retain.
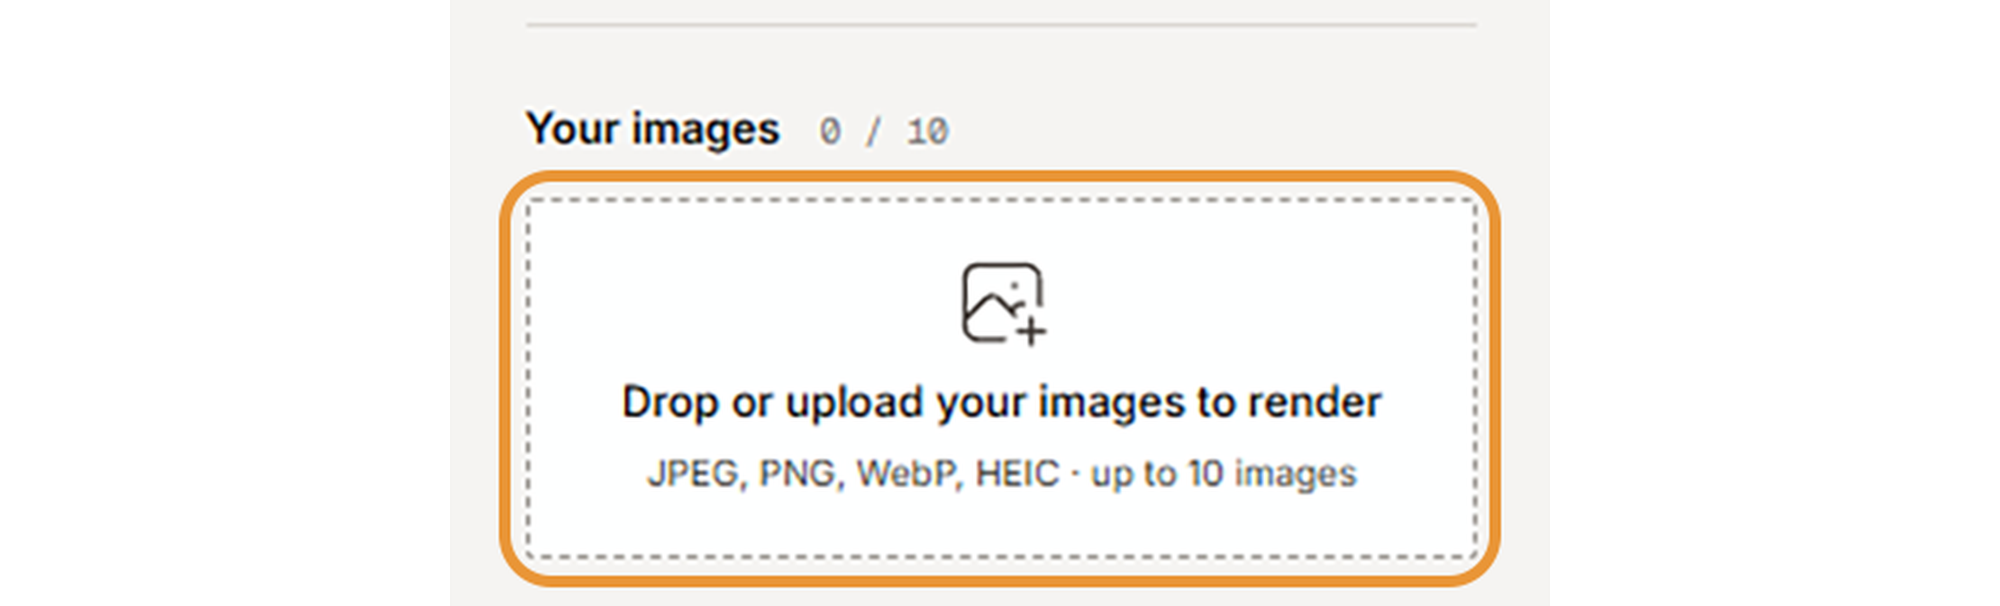
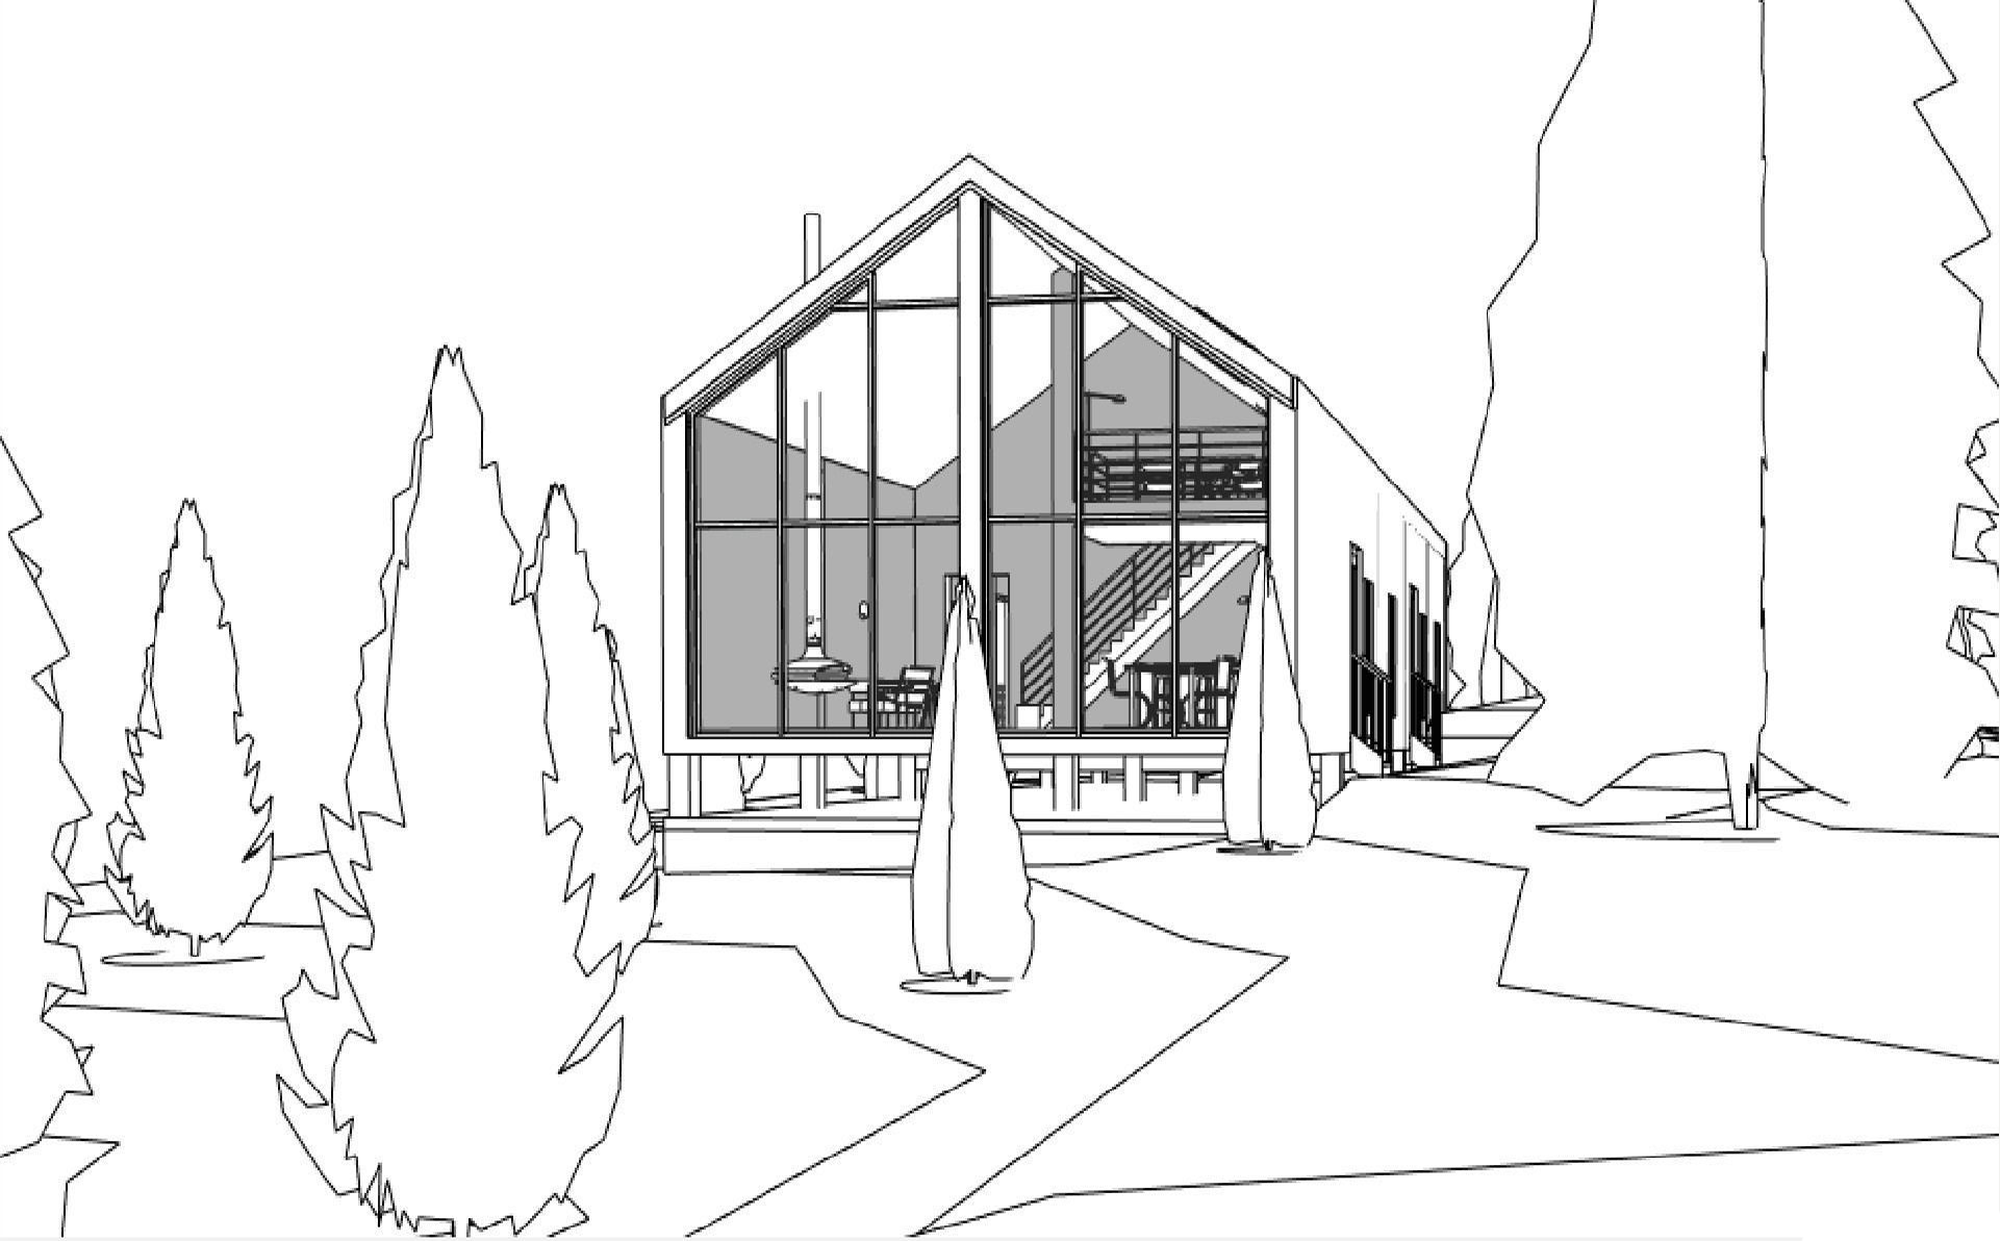
03 — Choose an output size
Under Output size, select a resolution such as 2K. Start with a test image before processing the rest of your views.

04 — Add a style reference (optional)
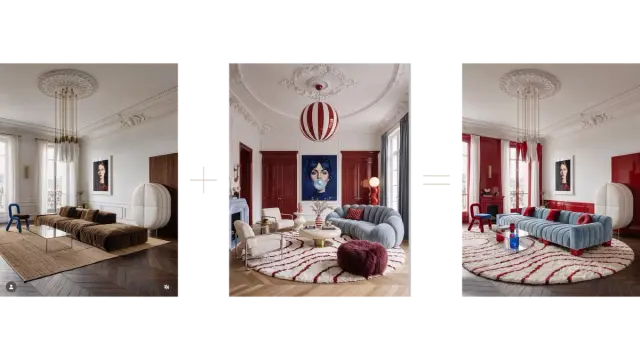
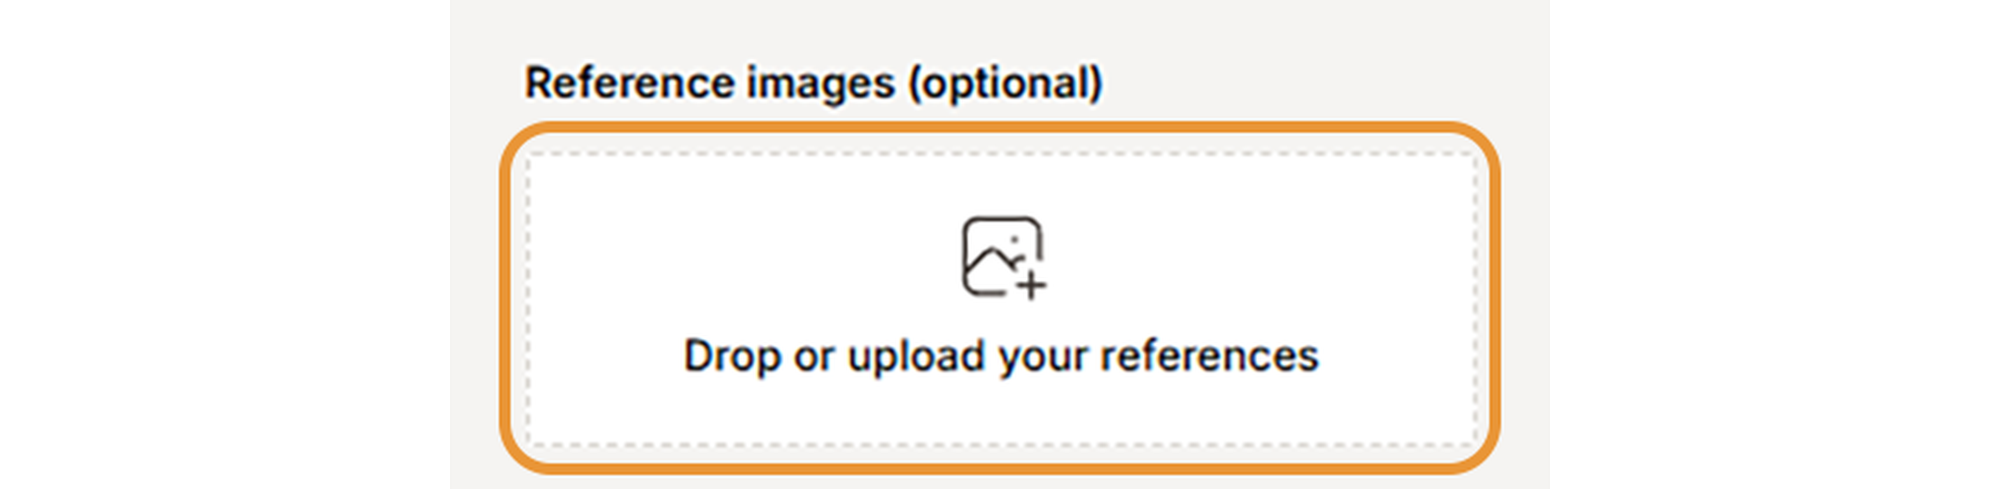
Upload an image under Reference images to show the materials, lighting or atmosphere you want. Choose a reference that supports your design direction.

05 — Describe the result you want (optional)
Use Instructions to describe the building, materials, surroundings and lighting. Focus on details that are not clear from the screenshot or reference image.

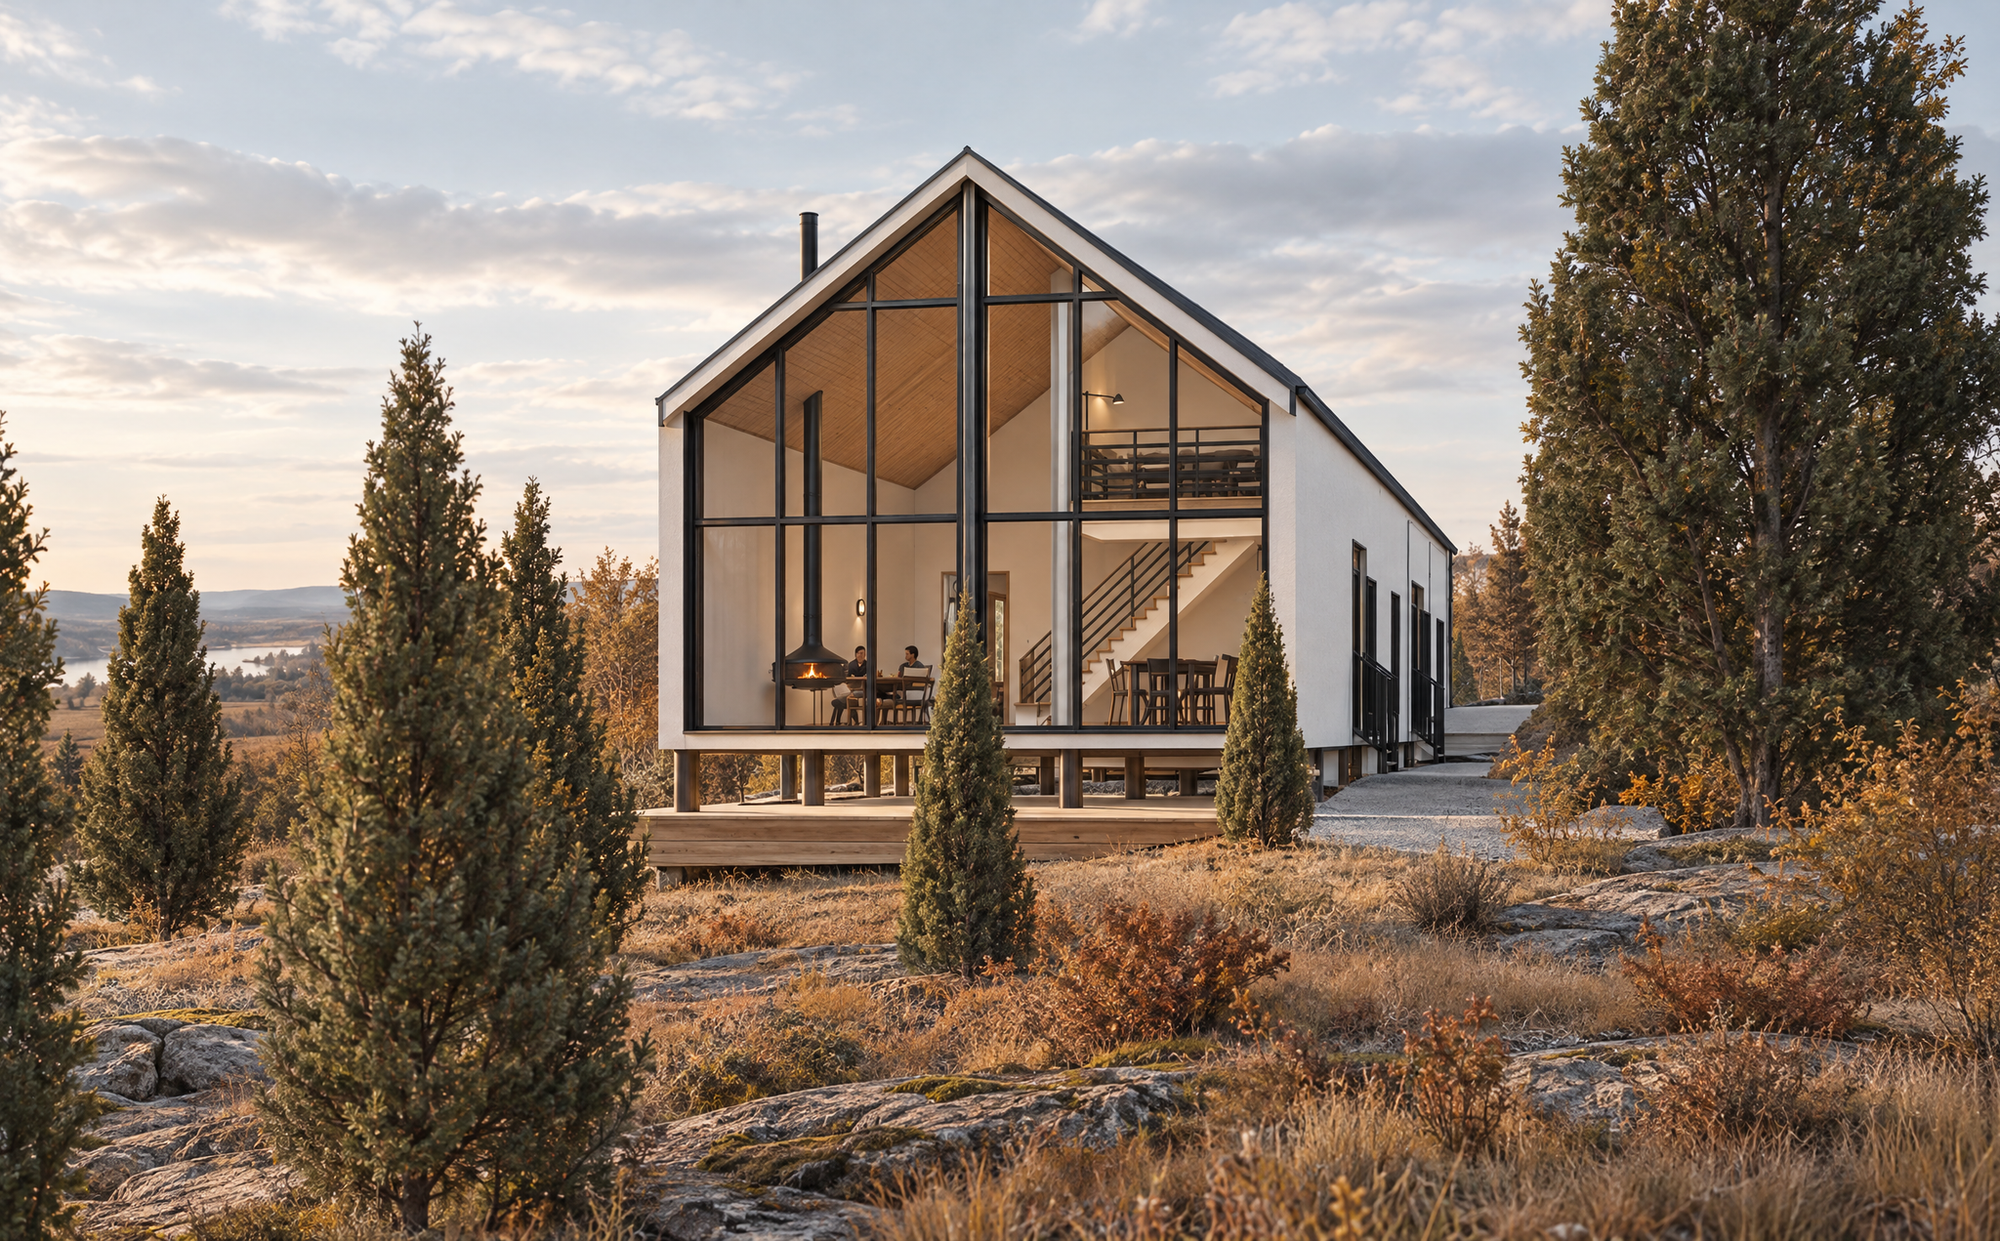
Create a contemporary Scandinavian countryside house with a pitched charcoal-black roof, honey-oak timber cladding, white plaster walls and floor-to-ceiling glazing with slim black frames. Include a double-height interior and black chimney. Add dry golden grasses, sparse shrubs, exposed stones and muted autumn vegetation in soft late-afternoon light. Include a few interior objects and people.
06 — Generate and review
Click Generate. Compare the render with your source screenshot. Check the roof, openings, proportions and materials.
07 — Workflow at a glance