How to turn a hand sketch into a realistic visualization
Turn a sketch into an architectural visualization using Freeform Studio. Upload an existing sketch or draw directly on the canvas, add a few design notes, and generate a first result.

Starting sketch and generated visualization of a circular villa.
01 Upload or draw your sketch
Open Freeform Studio. To use a paper sketch, photograph or scan it clearly and upload the image. Crop away the surrounding desk or paper edges. If you prefer to draw on the canvas, start with a blank light or dark board.
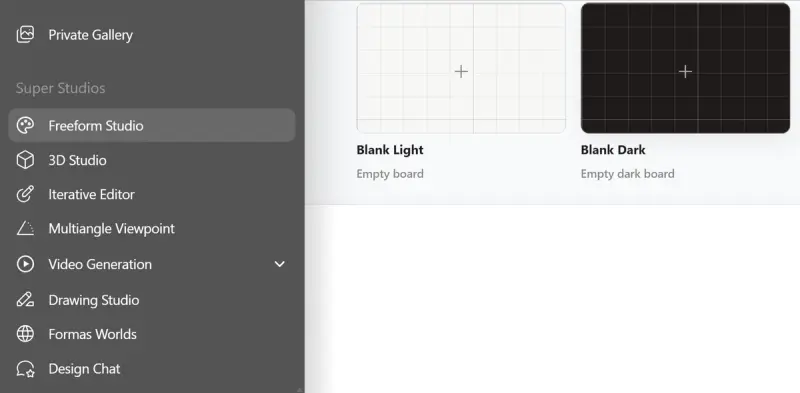
Use Brush for freehand lines, Line for straight edges and simple shapes where helpful. Draw the main form, openings and surrounding context. Clear proportions matter more than small details.
Click and hold a tool to see related options. Select a line if you need to adjust its thickness, smoothness or colour, or to duplicate or delete it.
02 Add a few Smart Notes
Attach notes to details that need explanation. The sketch communicates the form; the notes identify materials, objects or features that are hard to infer from lines alone. Attach a reference image when a specific product or material matters.
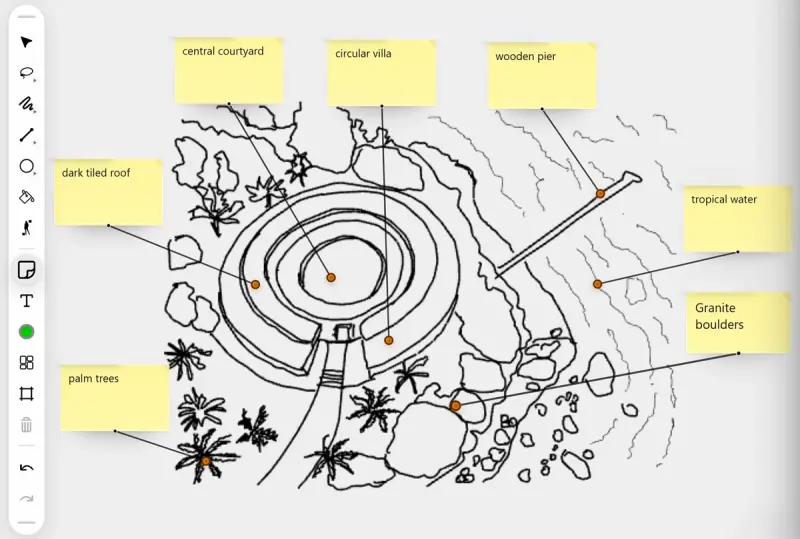
Smart Notes identify the courtyard, roof, pier and surroundings.
For this example, the useful notes include a central courtyard, dark tiled roof and wooden pier. Keep each note short. Check that notes remain attached to the intended elements; the original example uses the Magnet control.
03 Frame the image and choose settings
Use Define crop region to frame the part of the sketch you want to generate. Choose an aspect ratio that suits the composition.
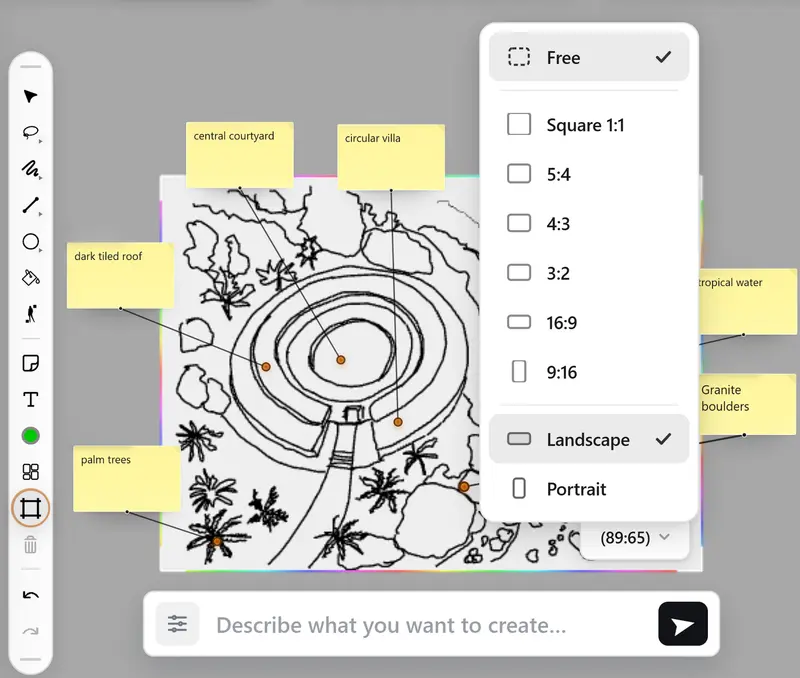
Define the generation region around the sketch.
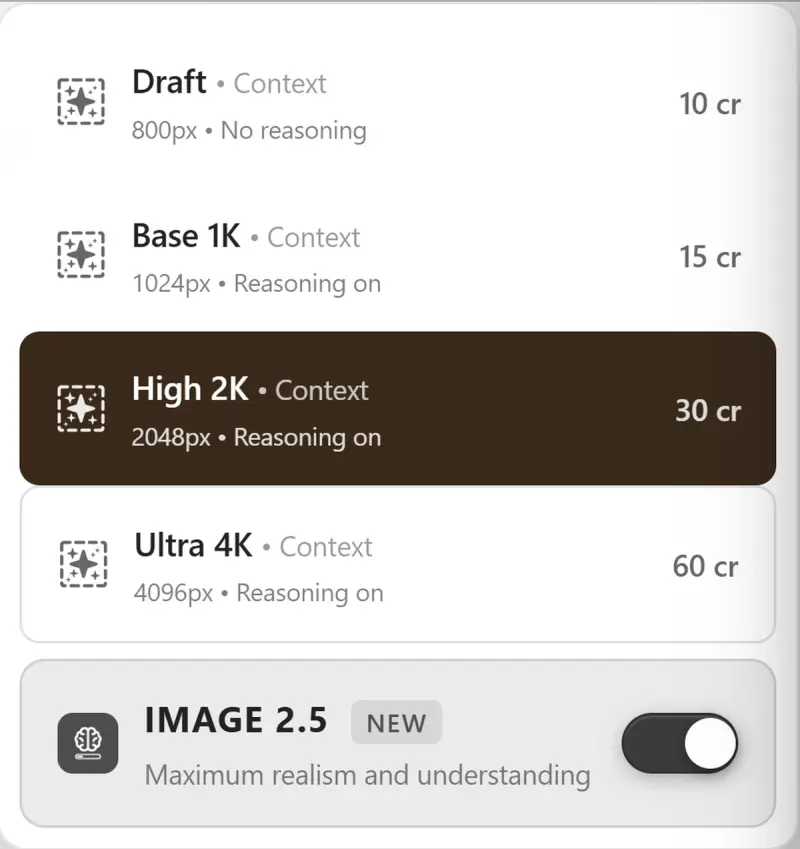
The existing example shows Context mode and Image 2.5. Choose a test resolution before increasing quality for the final image. Check the available settings in the current interface.
04 Write a short prompt and generate
Use the main prompt for the overall view and appearance; avoid repeating every Smart Note. The short prompt recorded in the original example is:
Generate a drone shot of a circular modern villa. Follow the notes.
Select the intended sketch region and click Generate. If more guidance is needed, add only the relevant material, lighting or context details.
05 Compare, refine and save
Compare the result with the sketch. Check the building form, proportions, courtyard, pier and other features named in the notes. Look for changes you did not request.
If one feature is wrong, update its note or describe a targeted correction before generating another version. For example, here we are adding additional details to a render using notes.
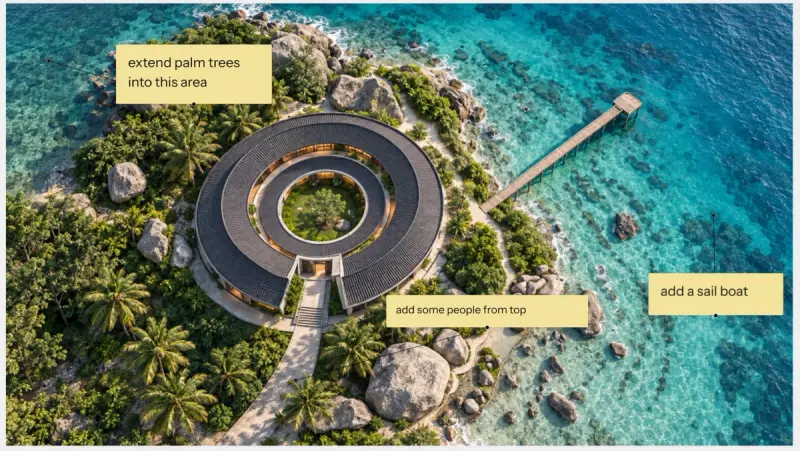
Smart Notes identify the changes to make before generating another version.

Initial render → refined result after requesting changes to the planting, people and boat.
Download the version that best communicates your design. Remember to check the output rather than assuming that a plausible image has preserved every proportion from the sketch.
Working with an existing room photo
How to redesign a room by sketching over a photo
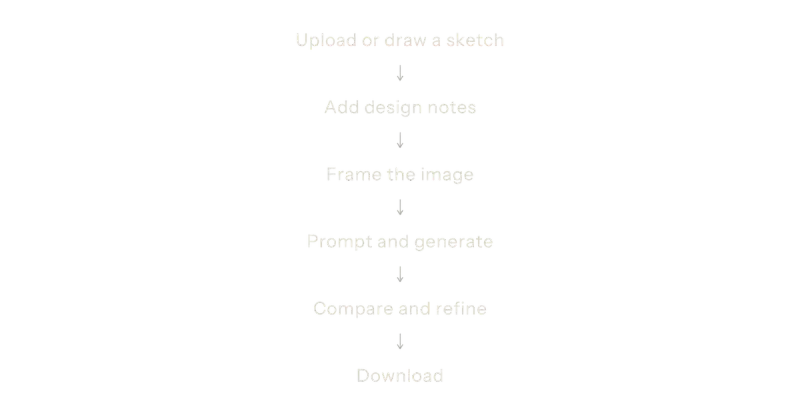
06 – Workflow at a glance