How to turn a 3D model screenshot into a realistic render
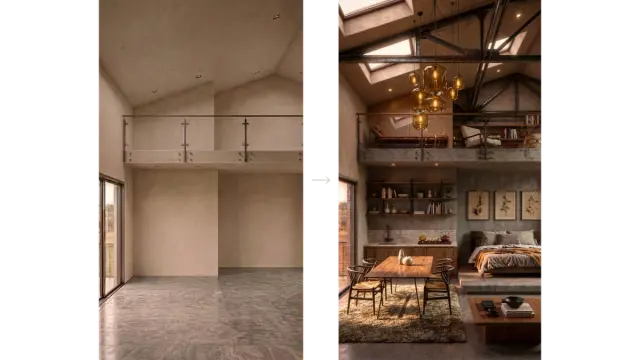
Turn a screenshot of your 3D model into a realistic architectural render. This example starts with a SketchUp view; you can also use a clear image exported from Rhino, Revit, Vectorworks or another modelling tool.

A model view exported from SketchUp and the resulting render created in FORMAS.AI.
01 Prepare a clear model view
Choose the camera angle you want to render. Frame the room so its walls, openings, furniture and major materials are visible, then export the view as an image or take a clear screenshot. Crop away menus and unrelated workspace.
The model does not need to be fully rendered. Clear geometry, proportions and material differences give the generation a useful starting point.
02 Upload and generate
Step 2.1 Upload the image
Open Freeform Studio and drag your exported image onto the canvas. Select the image you want to use as the reference.
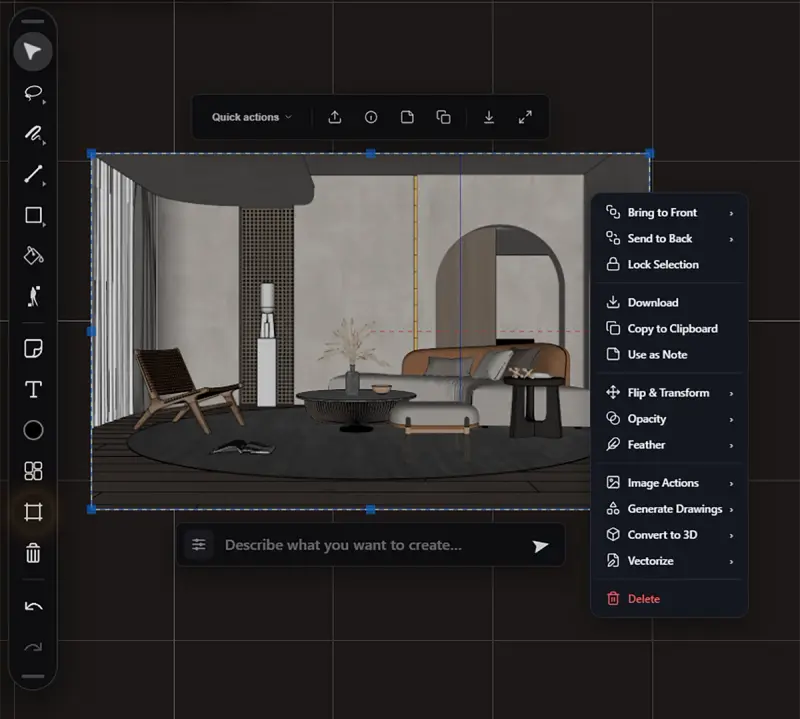
Upload the model view to Freeform Studio.
Step 2.2 Write a short prompt
Start with one simple request. The prompt below is recorded in the original example.
Generate a hyperrealistic render of this place.
The simple-prompt example uses Context mode. Choose a test quality before spending credits on the final output, then click Generate.
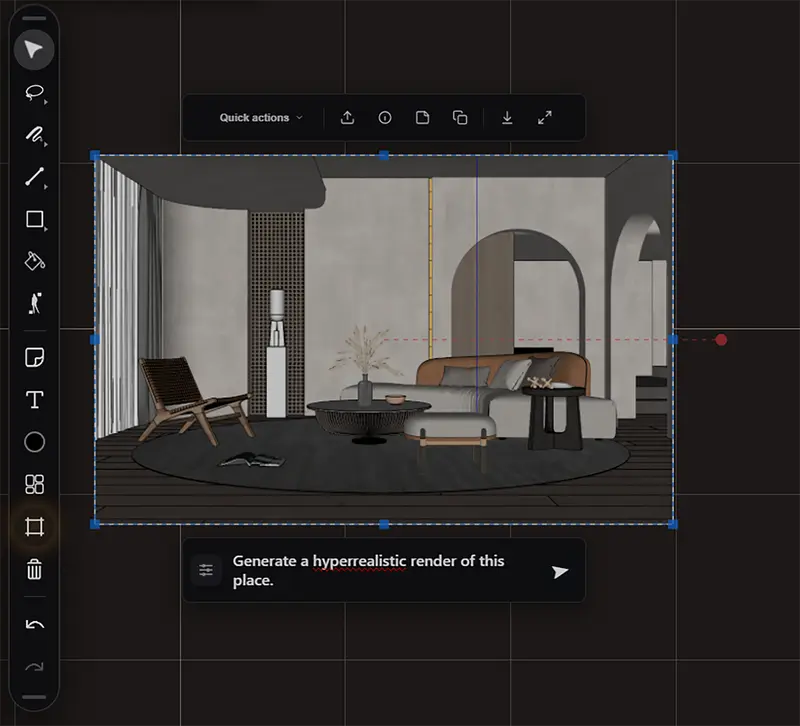
Source image and prompt before generation — this is a setup screenshot, not the finished render.
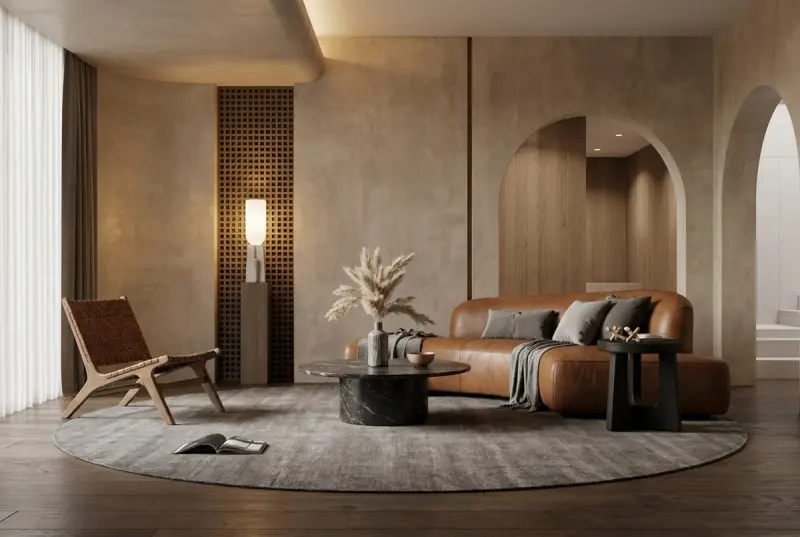
03 Check the result and make a targeted correction
Compare the result with your model view. Check the openings, furniture positions, room proportions and materials. Look for missing objects, distorted shapes or changes you did not request.
For a local correction, open the result in the Iterative Editor and select the area you want to change. Describe that change clearly.
Keep the existing architecture unchanged. Replace only the wall finish with a warm textured plaster.
Compare the revised image with the original result before keeping it. Instructions to preserve the architecture guide the generation; check that the output actually follows them.
04 Add Smart Notes when a detail needs more guidance
Use Smart Notes when a particular material or object needs an explanation. Pin a note to that part of the image, add a short instruction, and attach a reference image if useful. Keep each note focused on one change.
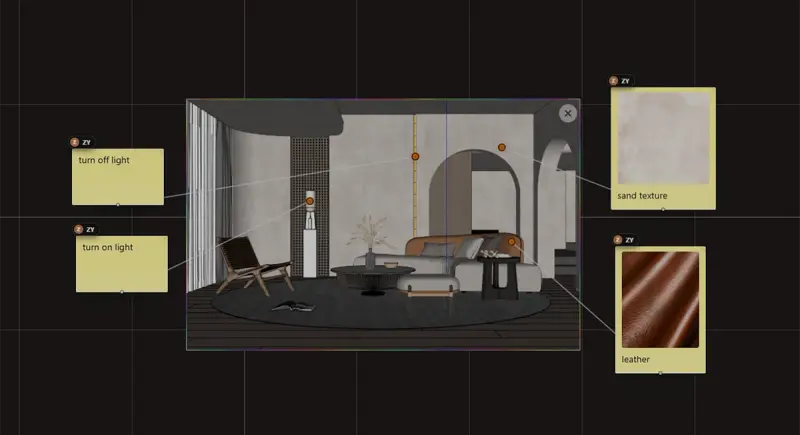
Smart Notes attached to materials and lighting in the example.
05 Save your render
Choose the version that best matches your design and download the image. To render another room, export its own camera view and repeat the same steps.
Optional Turn your render into a short video
Start with the final still you have checked. Use the linked Video Shots tutorial for a separate template-based video workflow.
How to turn one architectural image into a short video
06 – Workflow at a glance