How to turn an empty room photo into a furnished interior
Upload an empty-room photo, describe the furniture and finishes you want, and generate a furnished concept. Then refine individual areas or add a specific furniture reference.

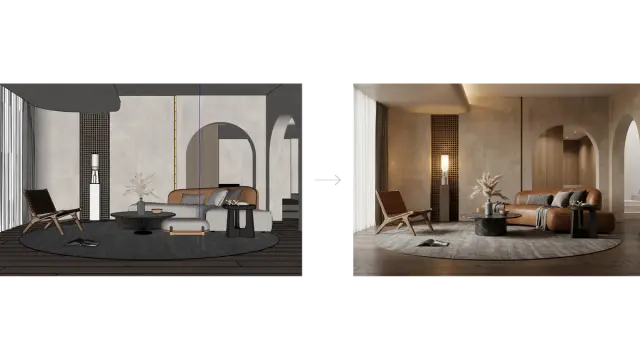
Starting room and furnished result from the existing example. This example also explores changes to the ceiling and lighting.
01 Upload your room photo
Choose a clear photo showing the floor, walls, ceiling and openings. Open Freeform Studio and drag the image onto the canvas. Select it as your starting reference.
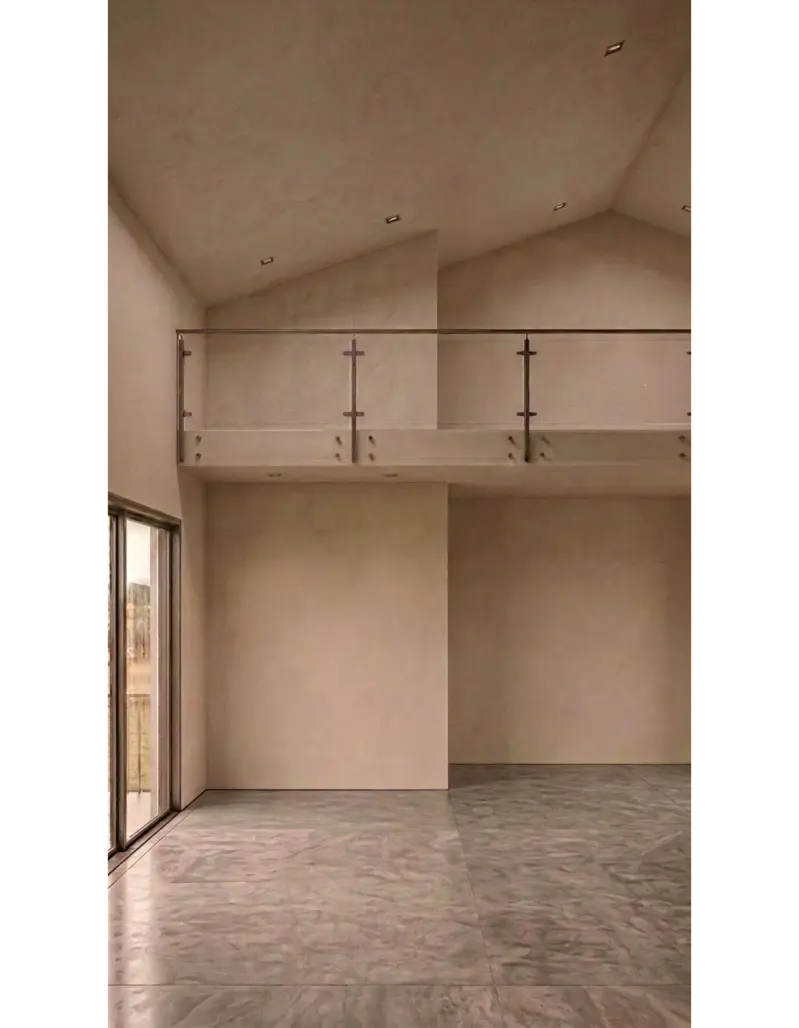
Decide which features should stay: the camera view, room boundaries, windows and entrances. State those requirements in your instructions and check them in the result.
02 Describe the first furnishing layout
Start with the main furniture and finishes. Add Smart Notes to areas that need specific guidance, or attach a product reference to the relevant note. Keep the first layout simple enough to compare with later versions.
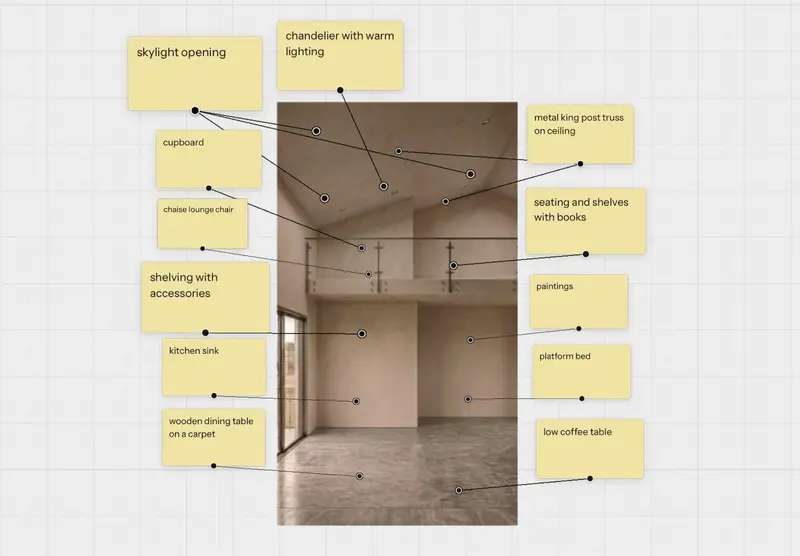
Suggested prompt to test:
Create a furnished interior concept from this room photo. Keep the current camera view, room boundaries, window and entrance positions. Add a dining table with chairs, a seating area and warm timber finishes. Use warm lighting and follow the Smart Notes for placement.
Choose a test output quality and generate the image. The original example used Context mode with GOOD 2K or BASE 1K and IMAGE 2.0. Available model names and quality options may differ in the current interface.
03 Check and refine the result
Compare the image with the starting photo. Check the room shape, openings, furniture placement and circulation space. If only one area needs work, select that area in the Iterative Editor and describe the correction.
Use Enhance Realism if you want to explore a more realistic lighting and material treatment. Compare the new result with the previous image; the tool does not establish dimensional or structural accuracy.
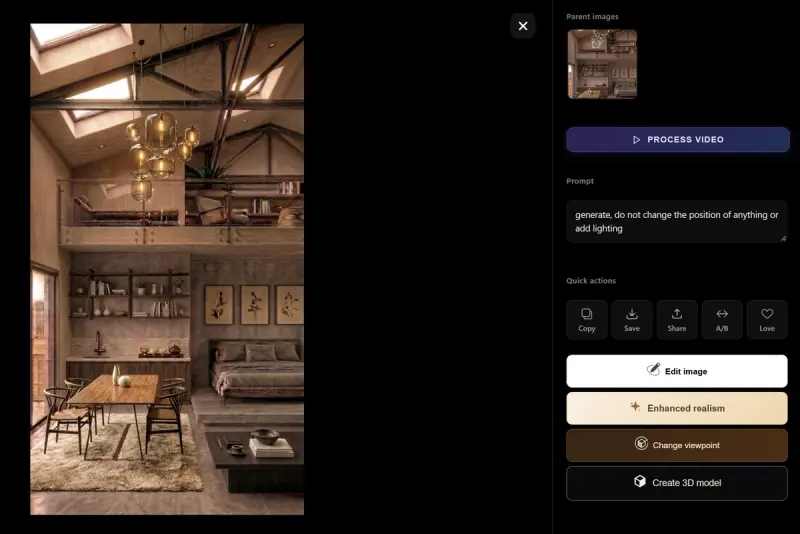
Enhance Realism and review controls in the original example.
04 Add a specific furniture piece if needed
Upload a clear image of the furniture piece. If it is part of a larger scene, use the appropriate extraction or background-removal tool to isolate it. Deconstruct and Convert to 3D are separate operations: inspect the extracted objects before converting the item you need.
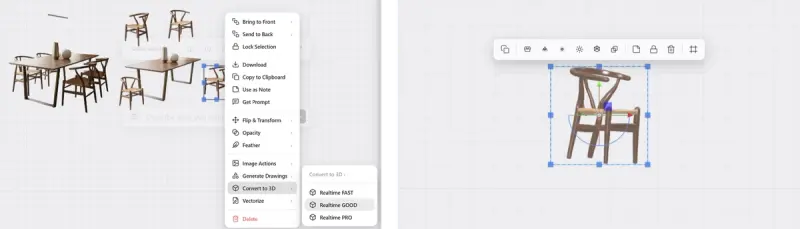
Convert the isolated item to 3D, then inspect the generated object.
Review its shape and orientation. Check the item in your Asset Library and verify any generated dimensions or product details against the actual reference. A generated asset is a visual interpretation of the source.
If using a scale bar, set it from a known dimension in the scene and check the item’s apparent size after placement. Move and orient the object where it should appear, select the generation area and describe the change.
Generate the perspective with the new dining table and chairs placed. Do not redesign the space. Keep the lighting mood the same.
05 Save the furnished concept
Choose the version that best communicates your design and download it. Compare it with the starting photograph once more before using it in a presentation.
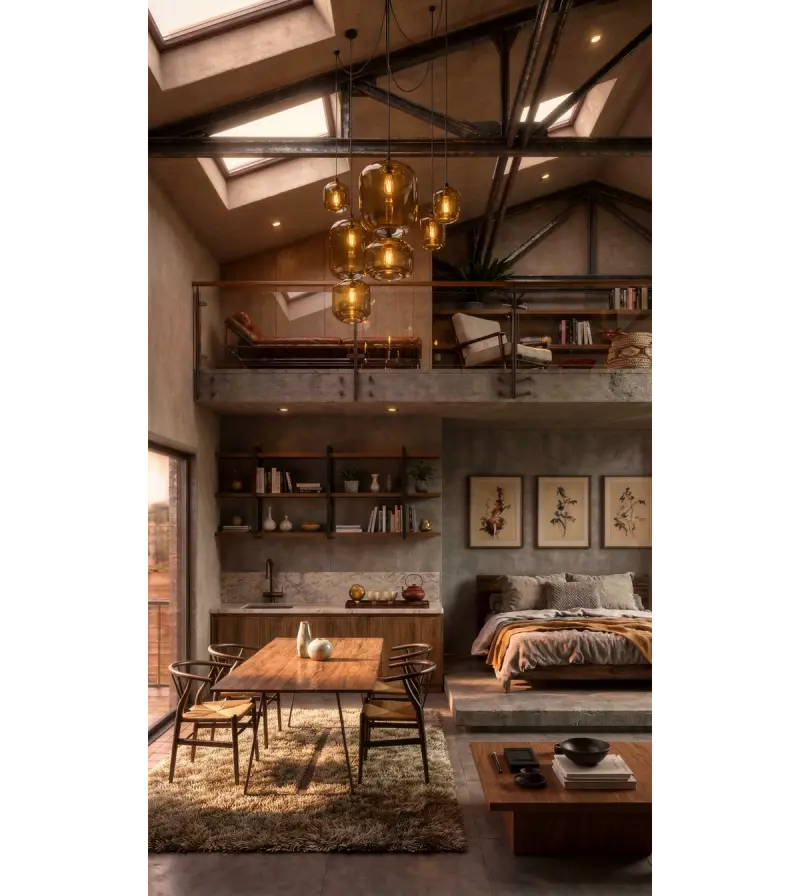
Finished furnished concept from the existing example.
Optional Explore architectural changes
The original example also adds skylights and exposed beams. Treat these as a separate design exploration, rather than a required furnishing step. A generated image does not verify whether a proposed opening or structural alteration can be built.
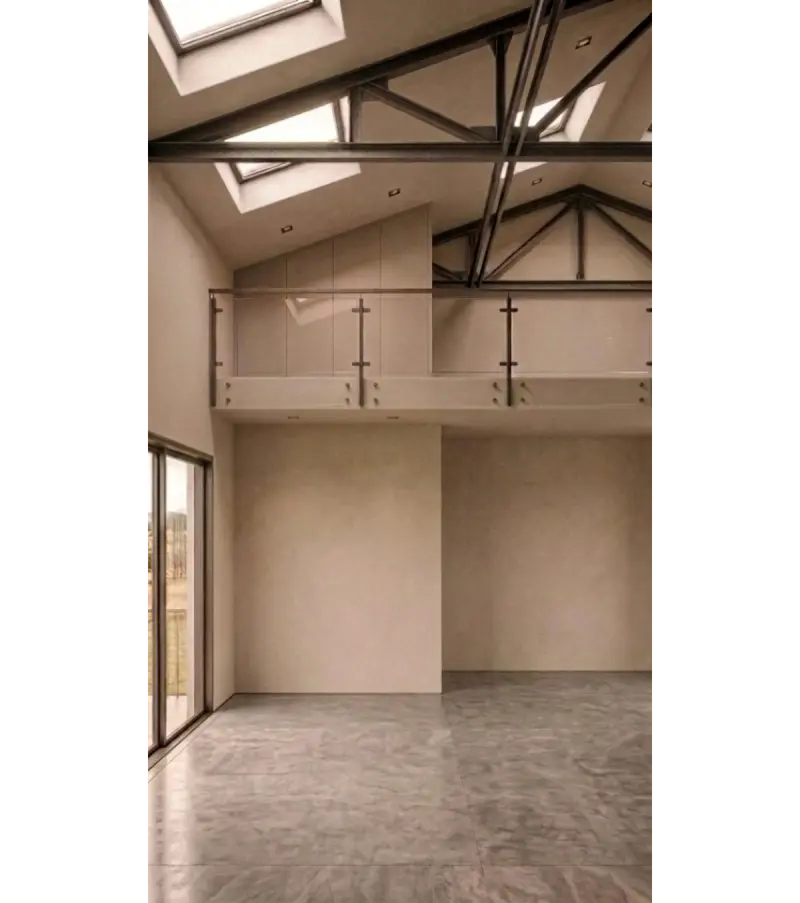
Optional ceiling concept with skylights and exposed beams.
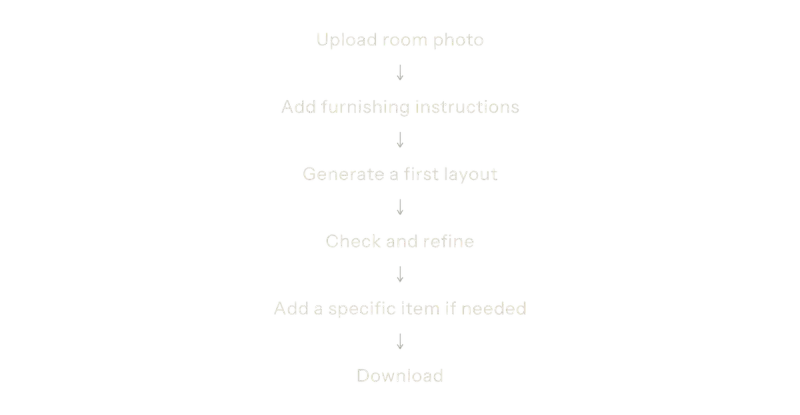
06 – Workflow at a glance