How to redesign a room by sketching over a photo
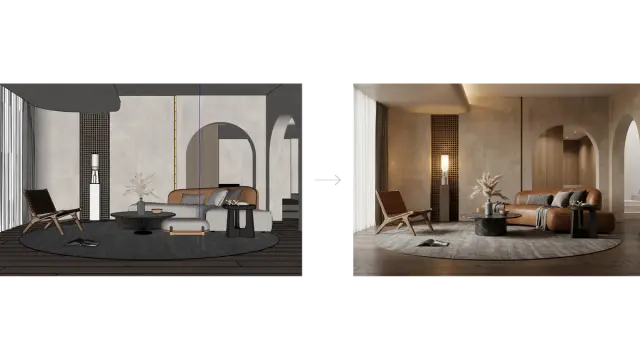
Sketch your design ideas directly over a room photo, then turn them into a realistic interior concept. This example develops an unfinished bathroom using a sketch, product references and Smart Notes.

Sketch over the existing bathroom photo and the generated bathroom concept.
01 Upload the room photo and sketch your changes
Step 1.1 Open Freeform Studio
Open Freeform Studio and choose a blank light or dark canvas. Use a clear photo that shows the room boundaries, openings and the area you want to redesign.
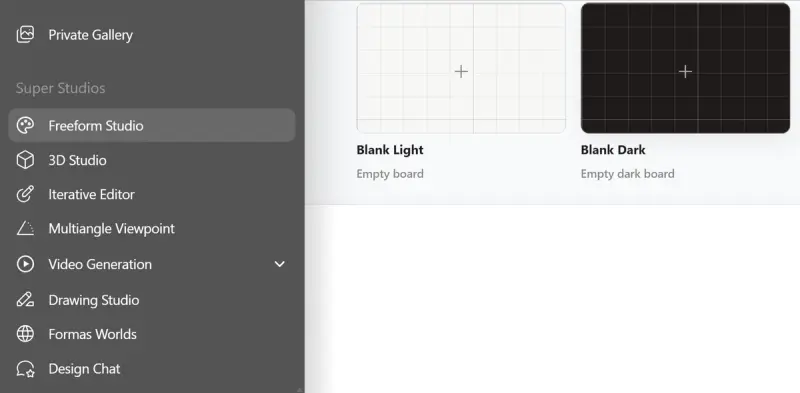
Open Freeform Studio and choose a canvas.
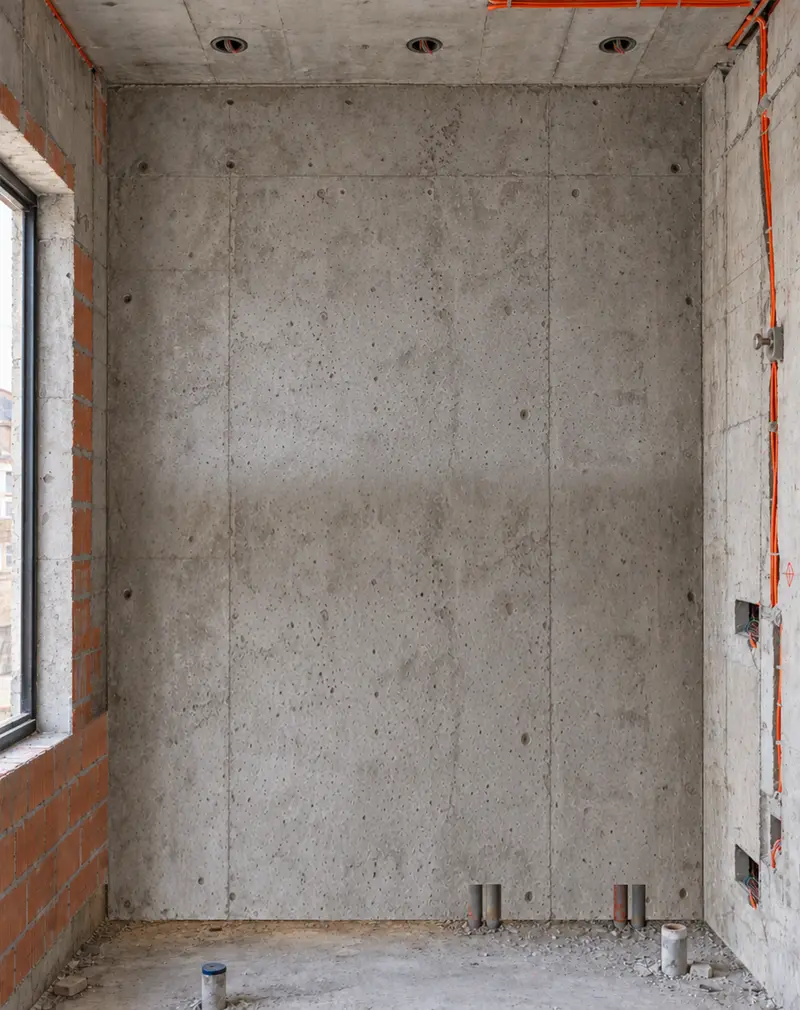
Choose a clear photo of the room you want to redesign.
Step 1.2 Upload and lock the photo
Drag the photo onto the canvas. Right-click it and select Lock Selection so you do not accidentally move it while drawing. This locks its canvas position; it does not guarantee that a generated image will preserve the architecture.
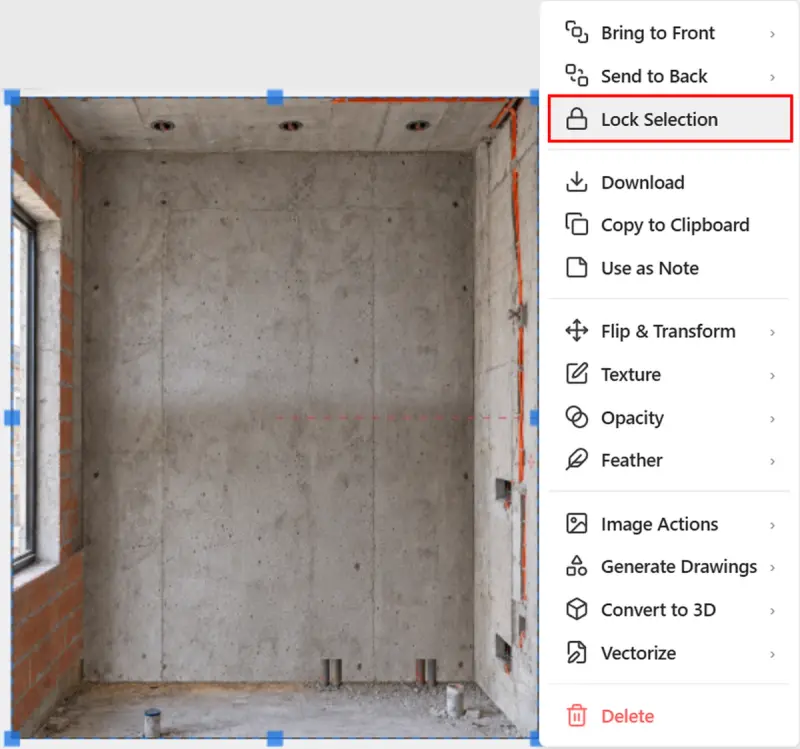
Lock Selection keeps the source photo in place while sketching.
Step 1.3 Sketch the proposed changes
Select Brush and draw the main elements over the photo. In this bathroom example, sketch the vanity, mirror and fittings. Focus on position and proportion before small details.
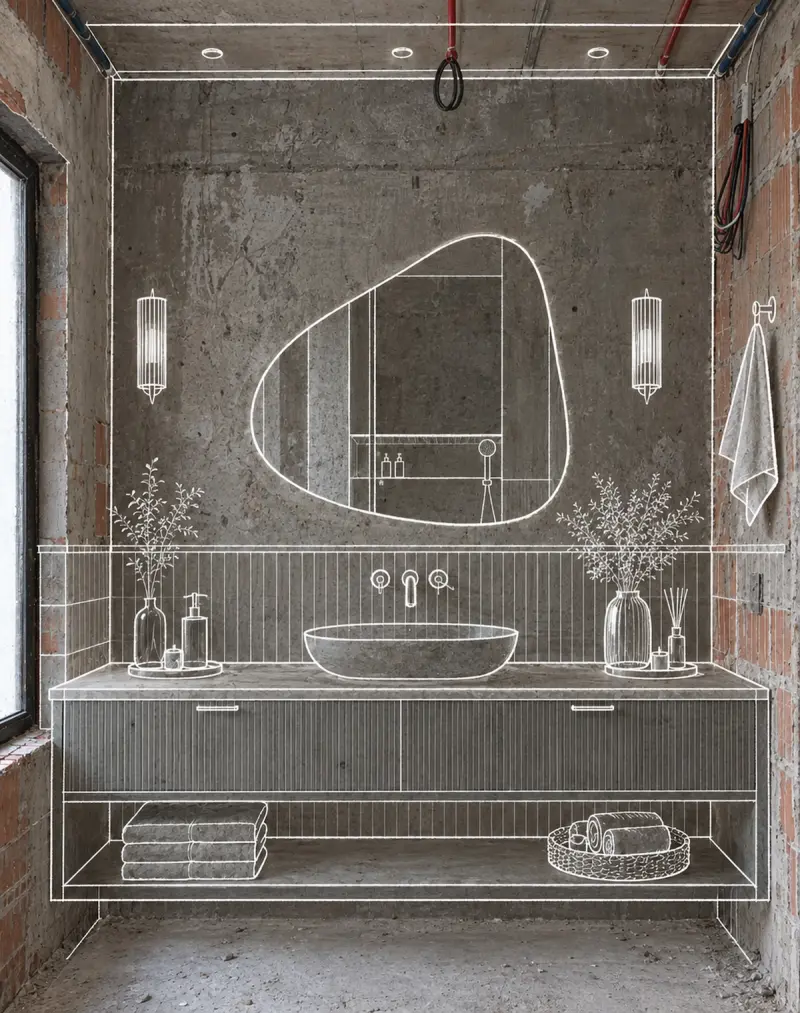
02 Add materials and product references
Attach Smart Notes to details that need explanation. For this bathroom, identify the mirror lighting, green vanity, wall finishes and brass fittings. Hover over a note and use Add Image when you want to attach a reference.
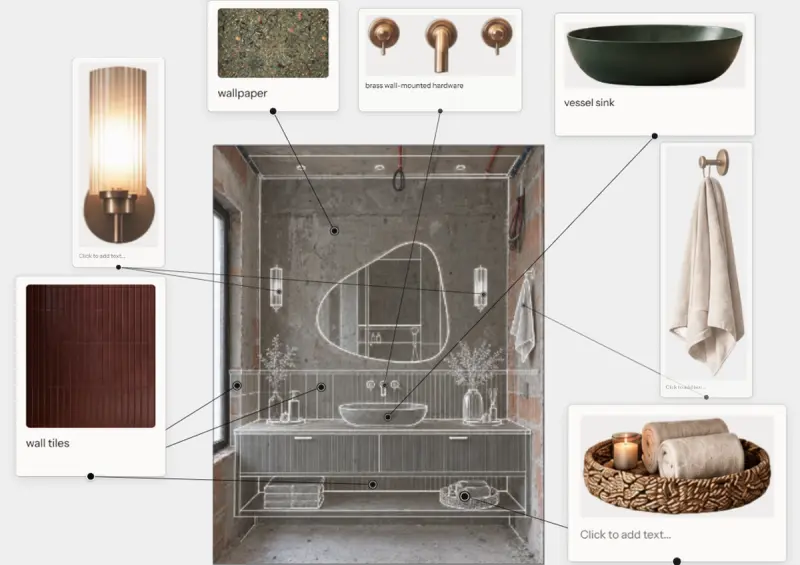
Bathroom sketch with references for materials, fittings and accessories.
Keep each note focused. For example: “Use a backlit mirror” or “Use a dark green vessel sink.” Avoid unrelated instructions about adding new windows unless that is part of this design.
03 Frame the image and choose settings
Use Define crop region to include the bathroom area you want to generate. Choose an aspect ratio that keeps the important features in the frame.
The existing example shows Context, High 2K and Image 2.5. Check the settings in the current interface and use a test generation before increasing output quality.
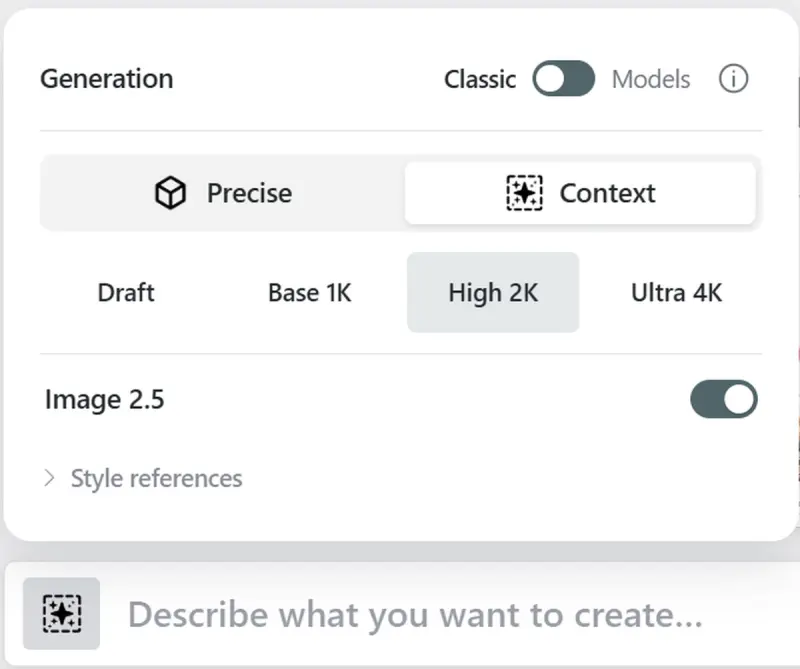
Generation settings shown in the existing example. Context is selected.
04 Write your prompt and generate
Use the sketch to communicate placement and Smart Notes for specific products and materials. Keep the main prompt focused on the overall result. Suggested prompt to test:
Create a realistic bathroom visualization from this photo and sketch. Keep the existing room shape and window position. Follow the Smart Notes for the vanity, mirror, finishes and lighting. Use warm ambient light.
Select the intended image region and click Generate. Compare the result with the original photo and sketch before accepting it.
05 Compare, refine and download
Check that the window, room boundaries and camera view still make sense. Compare the vanity, mirror, materials and lighting with your notes. Use a specific correction for a detail that does not match, then review the next version.
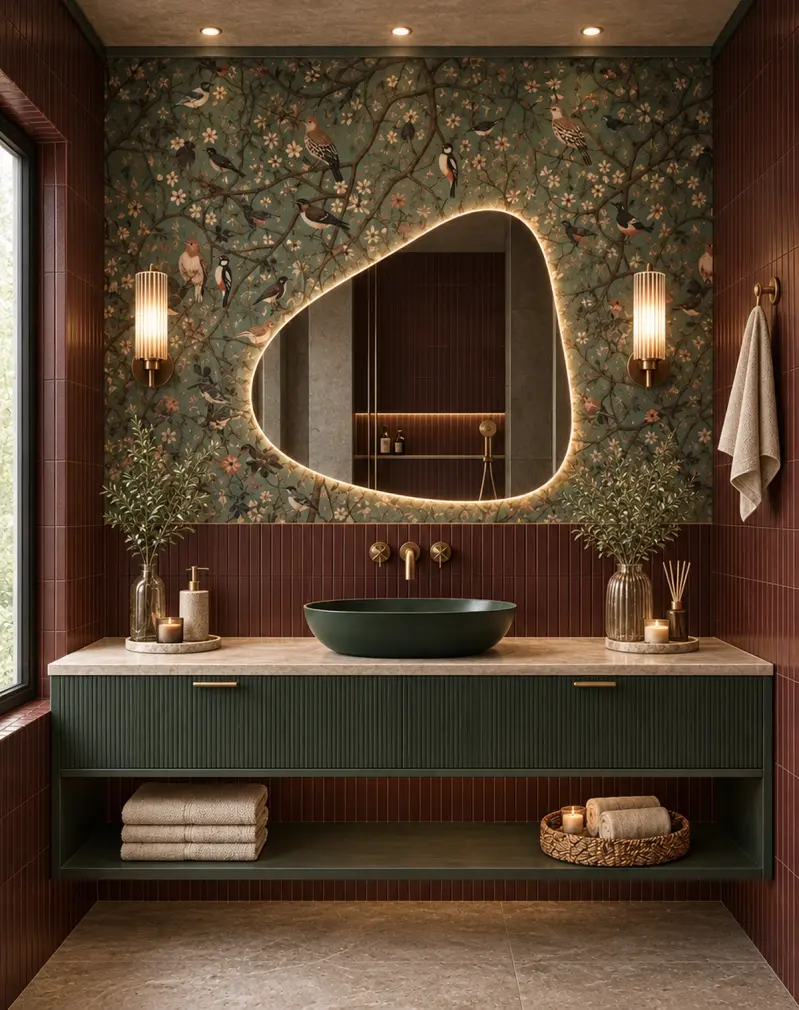
Generated bathroom concept from the original example.
Download the version that best communicates your design. Treat details inferred from the photo as a design concept, not a measured record of the existing room.
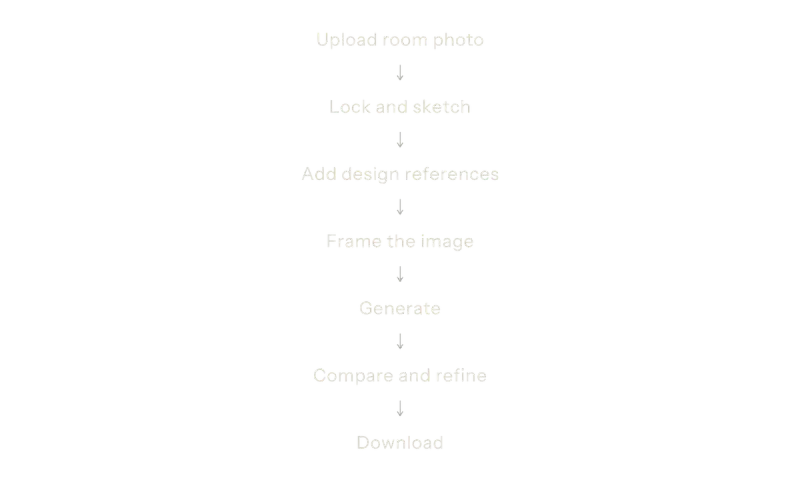
06 – Workflow at a glance