How to create a custom material moodboard template
Build a reusable style template that turns interior images into material moodboards. Start with moodboard references, test the template on a project image, and reuse it for another room.

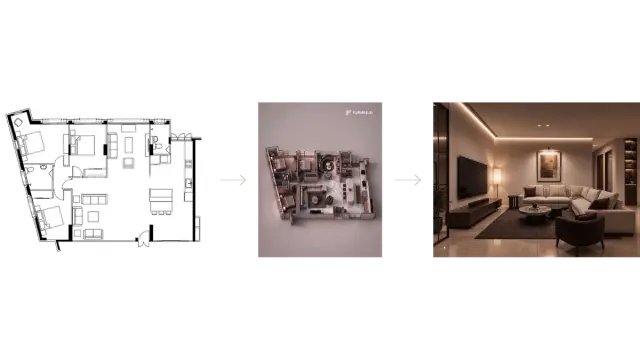
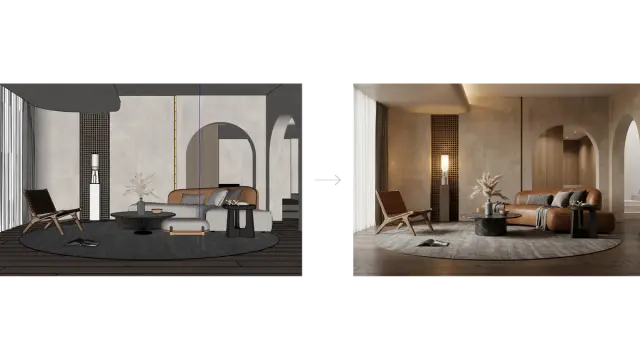
The source interior and one generated material moodboard from the example.
01 Create a reusable style
Open Drawing Studio and select Create a new drawing style. This creates an Agentic Drawing Style: a reusable set of instructions for the visual treatment you want.
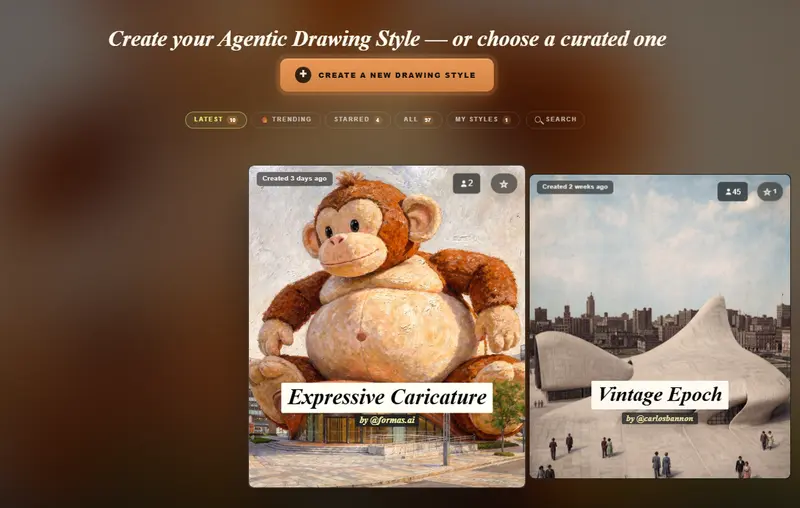
Create a new drawing style in Drawing Studio.
Name the style Material Moodboard. Upload references that clearly show the arrangement, layering, lighting and viewpoint you want. A top-down flat lay makes these choices easy to see.
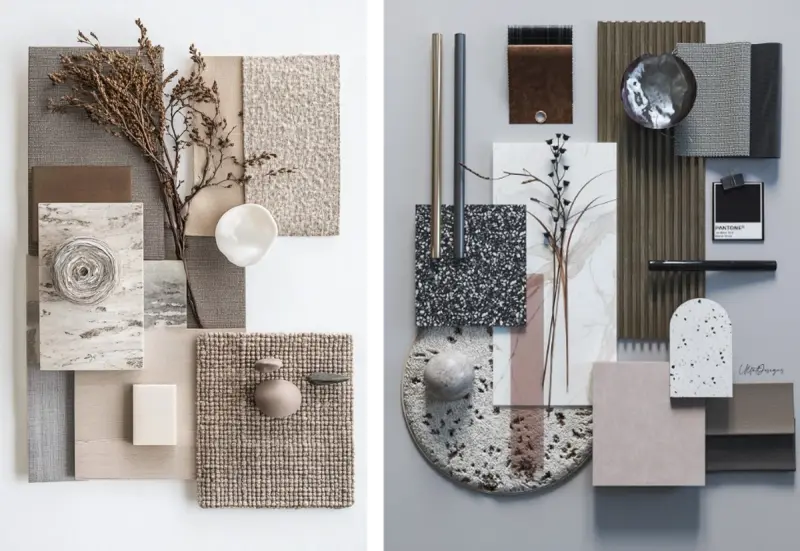
Inspiration references — these guide the layout and are not generated results.
02 Describe the layout and finish
Step 2.1 Set the main instruction
Under Layer 1, describe what the template should extract and how it should arrange the materials. Suggested wording to test:
Extract the main materials from the interior and arrange them as overlapping samples in a top-down moodboard.
Select the structure cues that support that instruction, such as a top-down composition, layered arrangement and soft studio lighting. Add a missing cue only when it is useful to the result.
Step 2.2 Describe the finish
Under Layer 2, explain the final appearance. For example:
Use realistic material textures, soft shadows and balanced overlapping samples. Vary the sample sizes while keeping the composition harmonious.
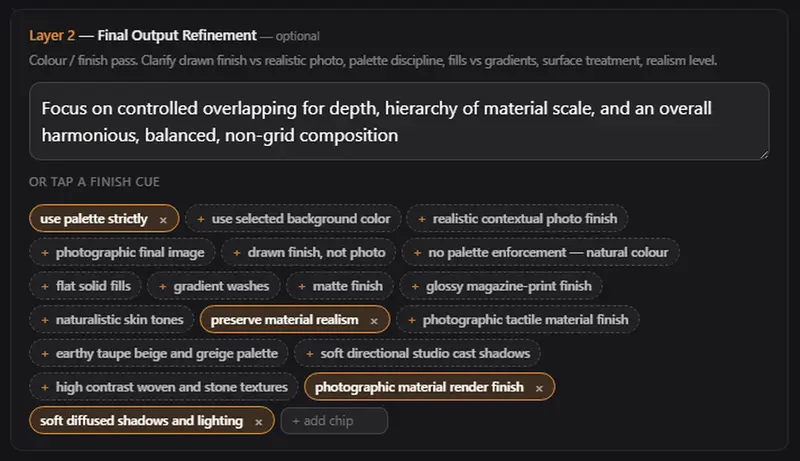
Layer 2 and finish cues in the original example. The sample wording above is a starting point to test.
Step 2.3 Add rules and draft the recipe
Use the rules section to request exclusions such as no text or labels. These are instructions to the model, so still inspect the result for unwanted additions. Click Draft the recipe.
03 Test the template on an interior
Add a clear interior image and click Test style. Compare the generated board with both the interior and your layout references.
Check whether the main materials and colours are represented, whether the board resembles the intended layout, and whether the sample textures and lighting look believable. If a detail is wrong, refine the instructions or adjust the relevant cues and test again.
More variation in the layout, but keep it harmonious.
Test a second interior to see whether the template works beyond one image.
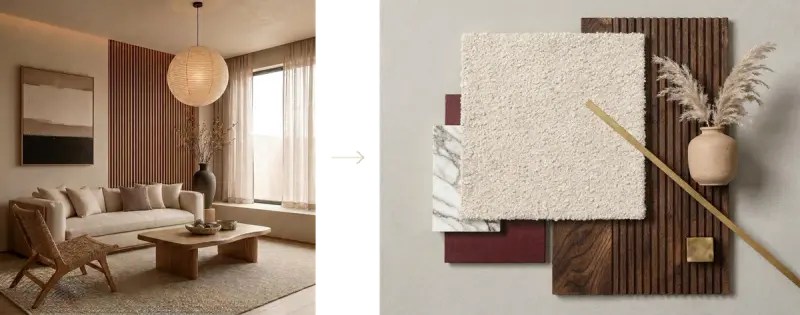
Test the template with a second interior and compare the materials represented in the result.
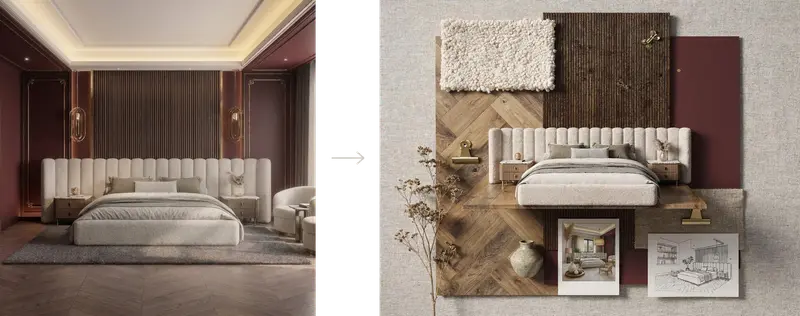
Bedroom reference and a generated moodboard from the updated example.
04 Save and choose visibility
Give the template a clear name, description and cover image. Use preview images that show what it produces. Choose Private for your own use or Public - Community if you want to share it, then complete the save or publish action shown in the interface.
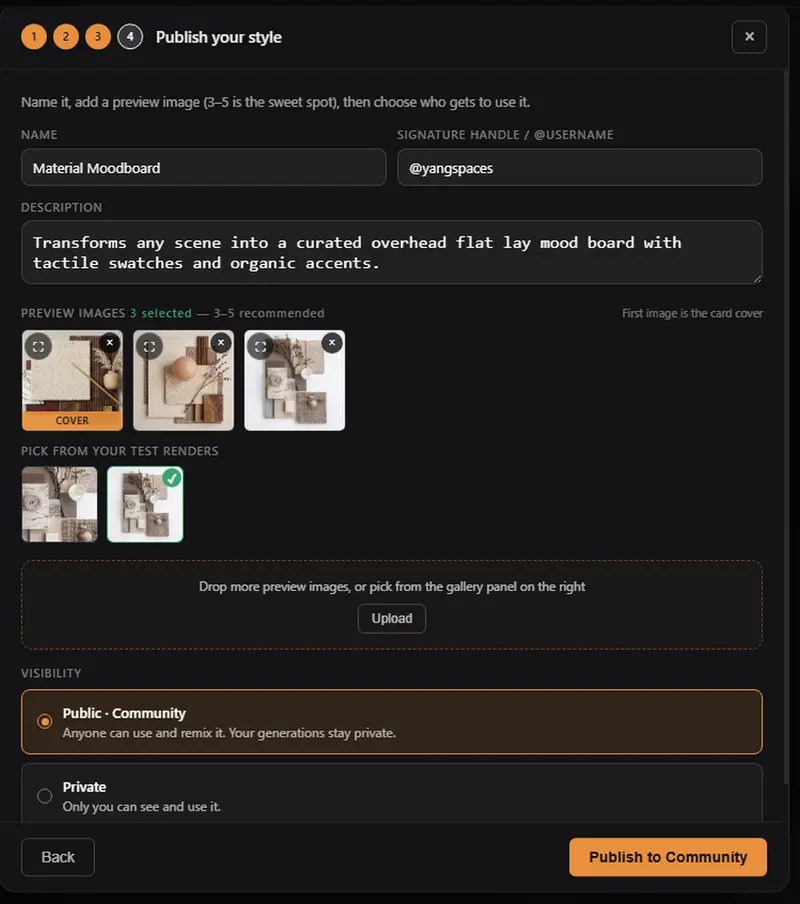
Template publishing and visibility controls.
05 Apply the template to another project
Find the template under MY STYLES. Choose a colour palette or provide a palette reference, then add the new interior image. Keep the palette consistent when generating several boards for one project.
Choose a test quality first. Add a short instruction only when you want to emphasize particular materials, then generate.
Prioritise the dark timber shelving, warm off-white wall finish and ribbed glass panels. Use flooring and furniture materials as smaller secondary samples.
Review the available results and download the one that best represents the project. If the interface offers Pass 1 and Pass 2, compare them; do not assume that every setting always returns the same number of options.
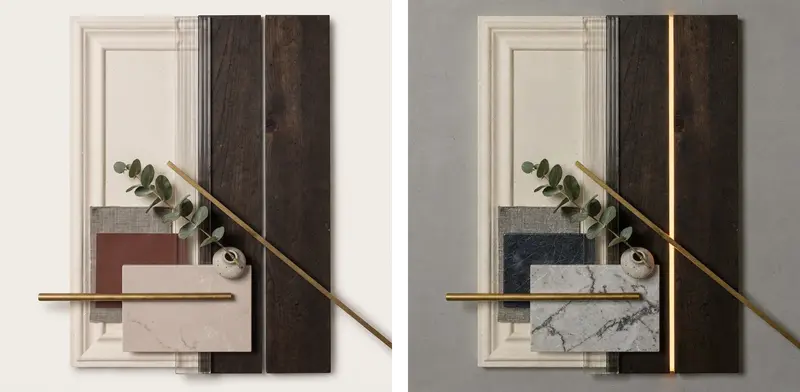
Finished moodboard options. Choose the one that best reflects the source interior.
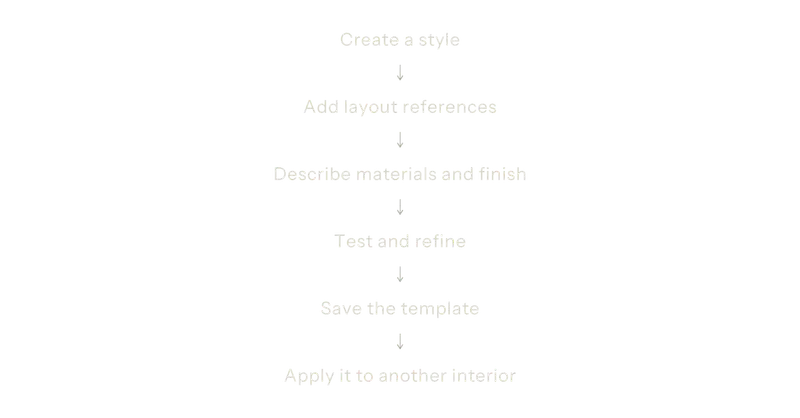
06 – Workflow at a glance