How to turn a floor plan into interior renders
Use a floor-plan image to develop a rendered plan and an interior perspective. Supply the materials and atmosphere you want, then check each generated view against the original layout.

Floor plan → rendered plan → interior perspective, from the existing example.
01 Upload and label your floor plan
Use a clear plan with readable walls, openings and room boundaries. Open Freeform Studio and drag the plan image onto the canvas. Add Smart Notes to label the rooms and any important design instructions.
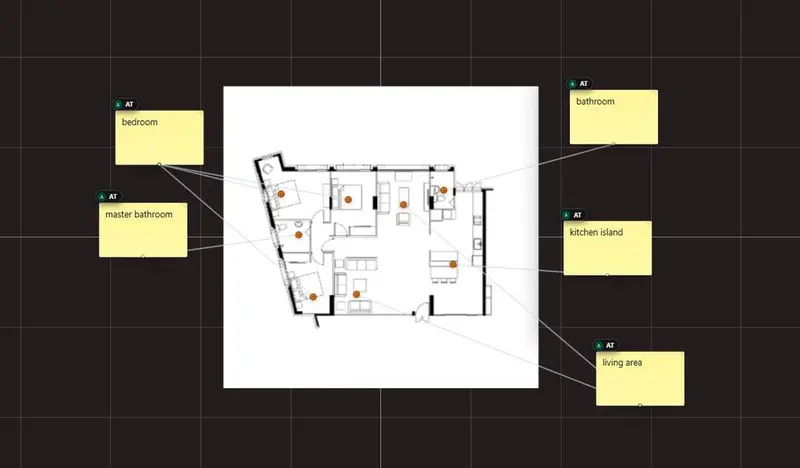
Smart Notes identify the rooms and design requirements.
Choose one material direction before generating. For this tutorial, use a warm interior with dark walnut, warm beige stone, taupe upholstery, dark metal and soft concealed lighting. Apply the same direction in the plan and all interior views.
02 Generate a rendered plan
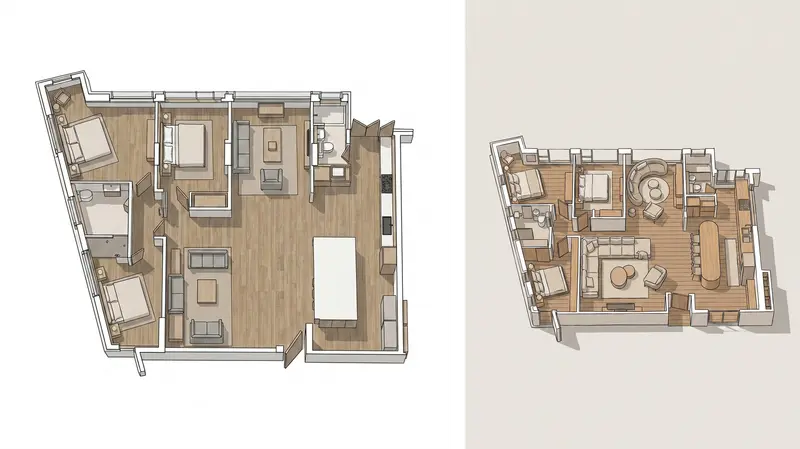
Write a prompt describing the view, materials and lighting. Use the original plan as the layout reference.
Create a rendered floor plan from this drawing in an orthographic top-down view. Follow the existing walls, openings, room boundaries and furniture positions. Use dark walnut, warm beige stone, taupe upholstery and dark metal, with soft warm lighting. Keep the layout clearly readable.
The earlier simple example uses Context mode. Choose a test quality, generate the plan, and compare it with the drawing before continuing.
03 Correct the plan before generating a room view
Check for moved doors, missing walls, changed furniture or inconsistent materials. Open the Iterative Editor to correct a specific area instead of restarting the whole image. Select only the area that needs work and describe the change.
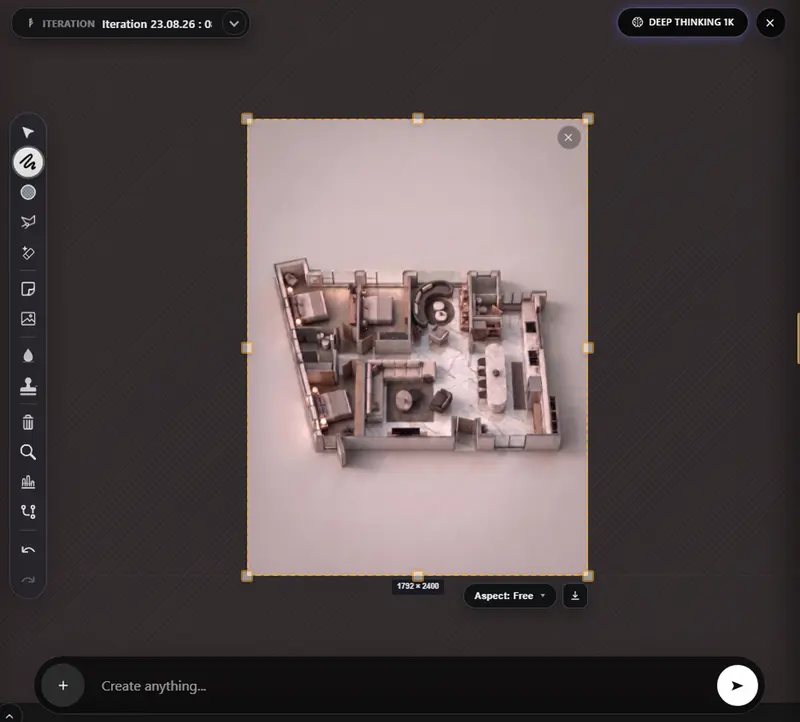
Inspect the rendered plan in the Iterative Editor before generating a room view.
04 Generate an interior perspective
Use the checked rendered plan as the reference in Freeform Studio or Design Chat. Name the room and state where the camera should sit and what it should face. Keep the material direction consistent.
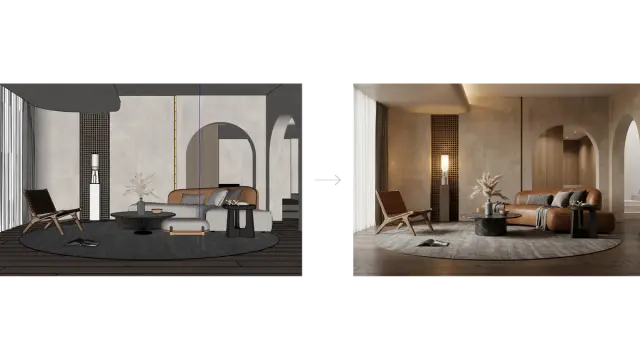
Using this plan as the reference, create an eye-level view of the living room from the entrance, looking towards the seating area. Follow the room boundaries, openings and furniture arrangement. Use the same dark walnut, warm beige stone, taupe upholstery and warm concealed lighting.
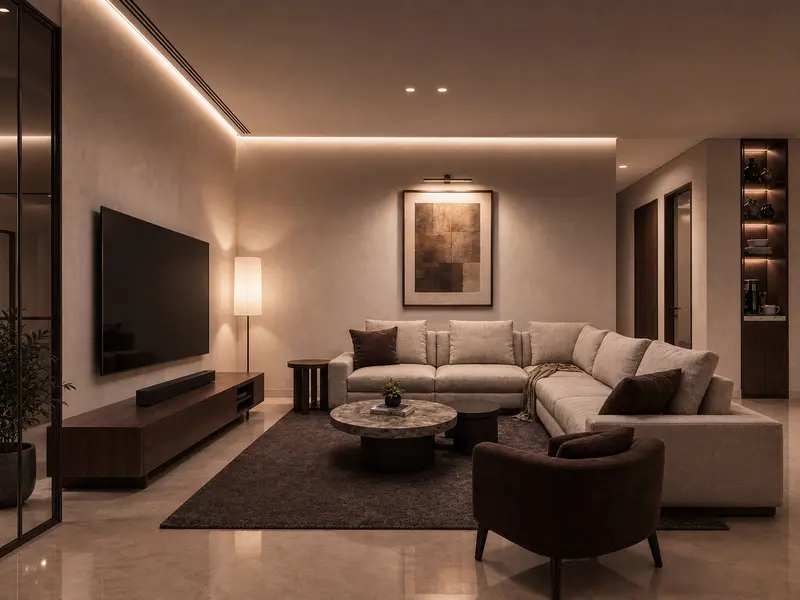
Living-room perspective from the existing workflow.
Compare the generated perspective with the plan. Check the openings, furniture positions and proportions, then refine the parts that do not match. A generated perspective is a design visualization, not a measured reconstruction.
05 Refine a specific furnishing or material
If you need a particular item, upload its reference image and isolate it with the appropriate extraction tool. Convert to 3D is a separate step when you need to orient a generated object before placing it in the scene.
Check its shape and any generated product details. If you use a scale bar, base it on a known dimension and review the apparent size after placement. Select the area to regenerate and describe only the intended change.
Generate the perspective with the new ceiling lamp placed. Do not redesign the space. Keep the lighting mood the same.
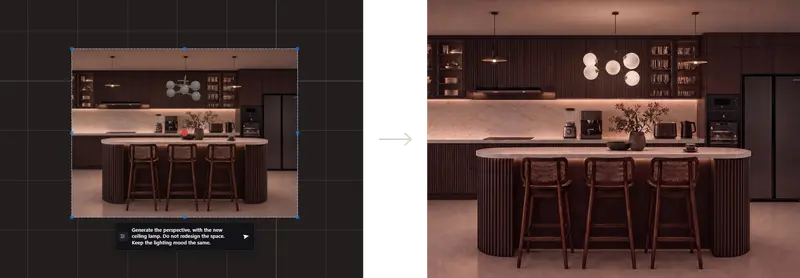
Example of a placed light fitting and the finished kitchen concept.
06 Save the result
Download the selected interior render after checking the layout and materials. For another room, return to the same plan and material direction, then define a new camera position.
Optional Explore another viewpoint
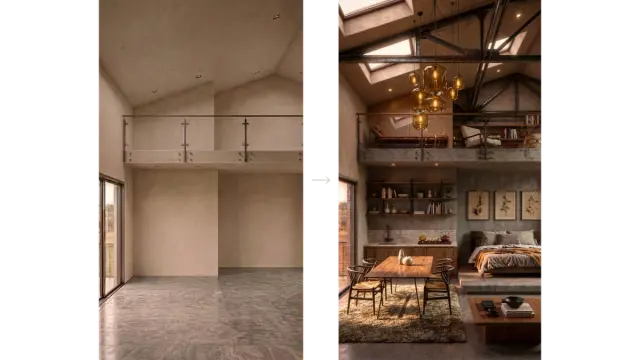
Use Angle Control to explore a different viewpoint, or Target Camera to specify a camera position and target. Choose either an eye-level view or an overhead view in each instruction; do not request both at once.
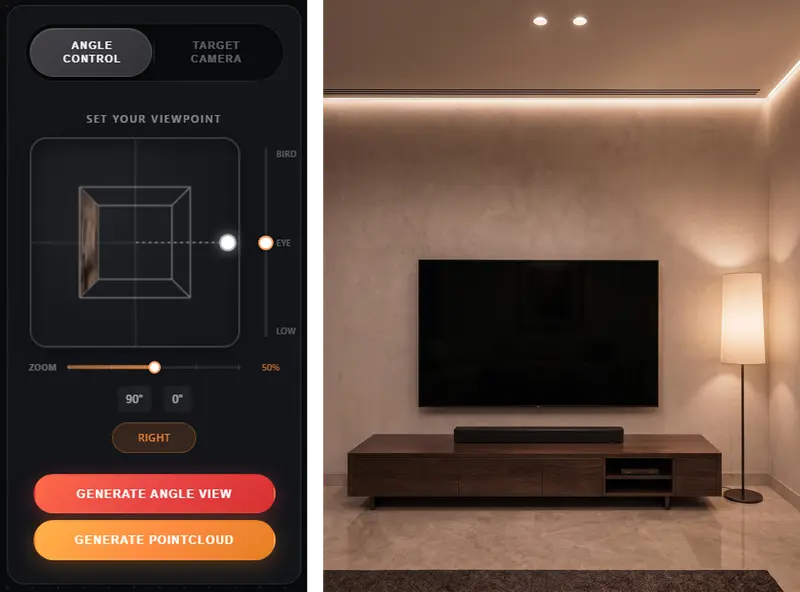
Angle Control and an alternate view from the existing example.
Compare the new image with your original room view. Areas that were not visible in the input may be interpreted by the AI and need checking.
Optional Create a short video
How to turn one architectural image into a short video
Use a final still you have checked as the reference, then follow the linked Video Shots tutorial.
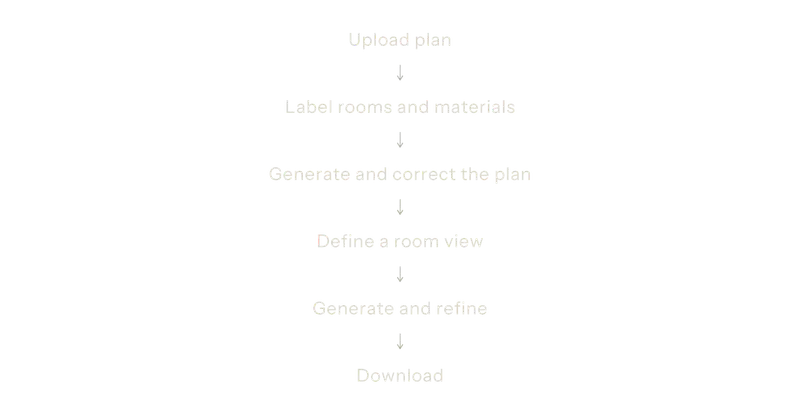
07 – Workflow at a glance