How to Create a Custom Material Moodboard Template
Build a reusable Agentic Drawing Style that turns any interior render into a consistent material moodboard.

Turn an interior reference into a repeatable material moodboard generator with FORMAS.AI. This workflow shows you how to build a reusable Agentic Drawing Style that converts project images into consistent material moodboards. Instead of relying on a one-off prompt, the template stores the visual logic of the moodboard: composition, material arrangement, camera view, colors, and overall presentation style.
01 – Open Drawing Studio and create a new style
Step 1.1 – Open Drawing Studio
Go to Drawing Studio from the FORMAS.AI sidebar.
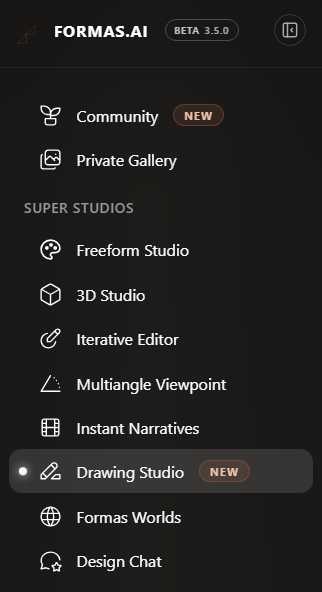
Tip: Drawing Studio has many preset templates. Explore them first. Build a custom drawing style when you want to hold the same moodboard layout and presentation language across different rooms or projects.
Step 1.2 – Create a new drawing style
Click Create a new drawing style. This builds your own reusable template rather than starting from a preset.
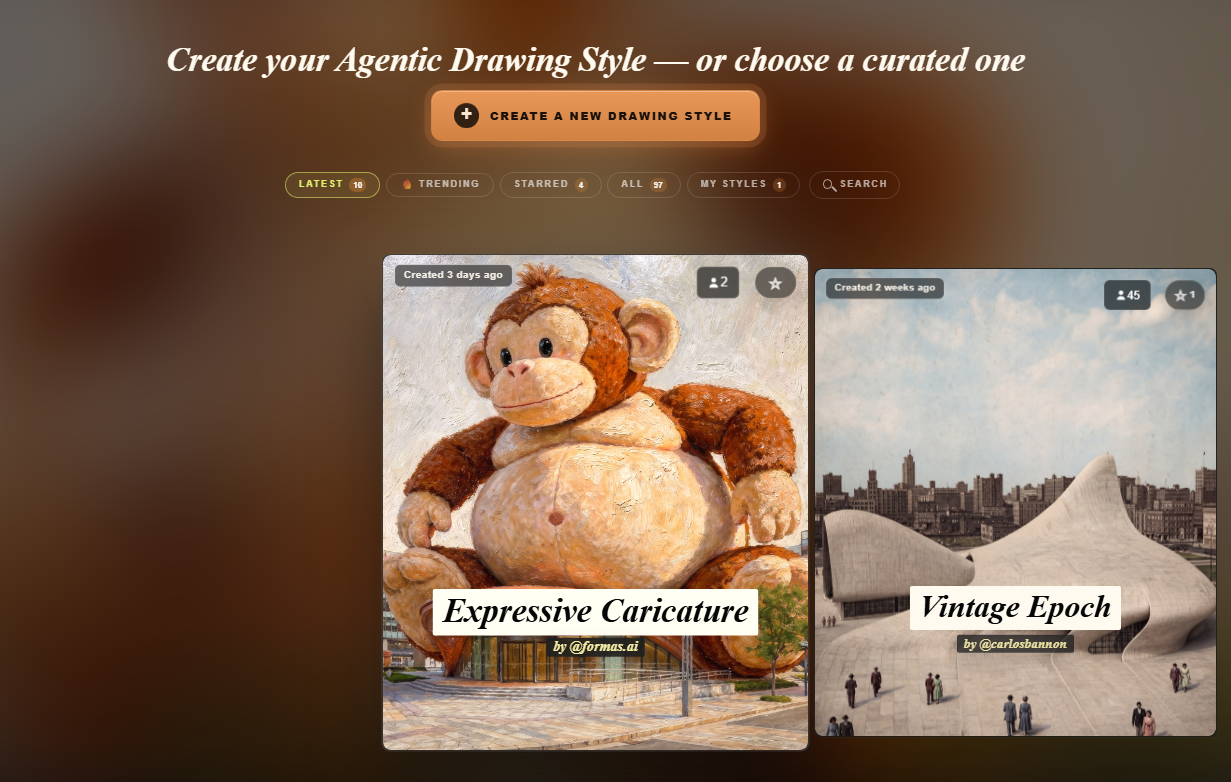
02 – Prompt your moodboard style
Step 2.1 – Describe the style you want to create
In the Style Description field, describe the style in words. The description also tells FORMAS.AI the general purpose of the custom style.
Style description used in this workflow:
Material Moodboard
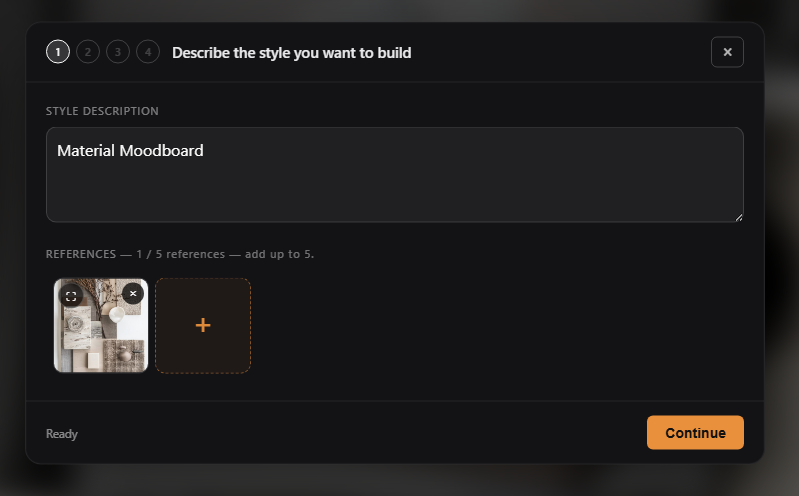
Step 2.2 – Upload your reference images
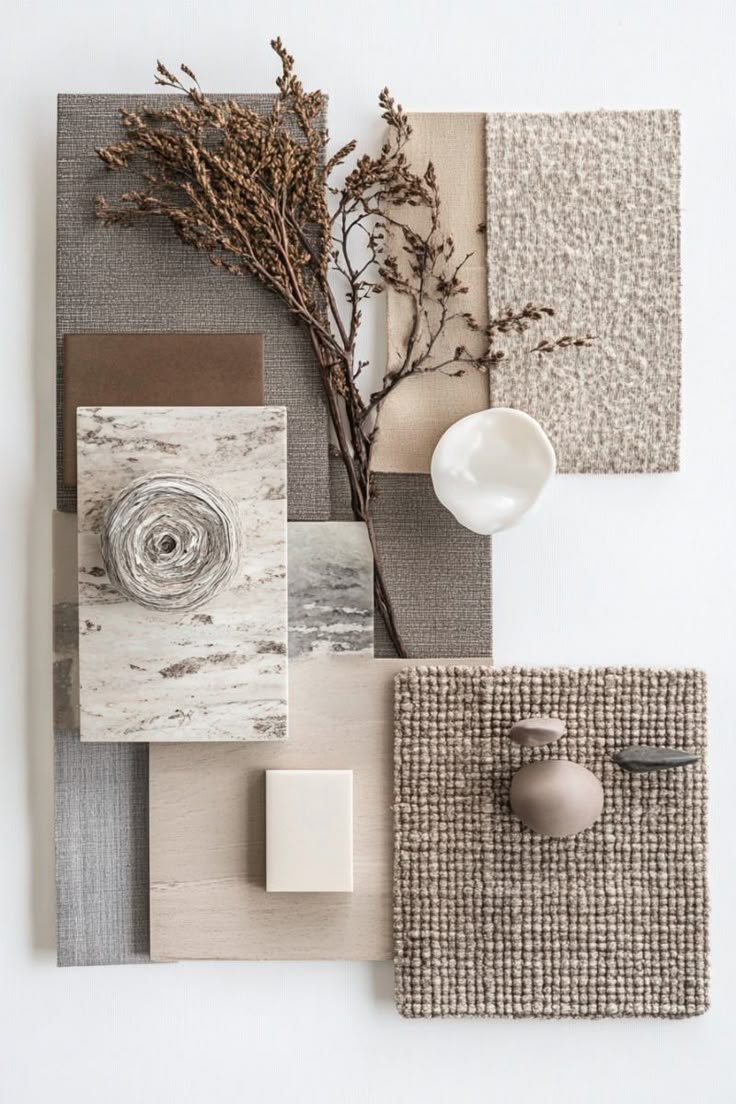
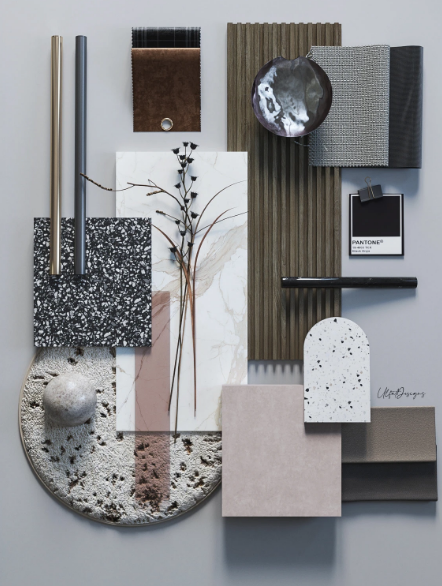
Upload one or more moodboards that represent the visual style you want FORMAS.AI to learn. You can use up to five reference images.
Your reference should clearly show:
- Material arrangement
- Sample sizes
- Layering and overlapping
- Background treatment
- Lighting and shadows
- Camera viewpoint
- Overall composition
Tip: For material moodboards, use references with a clear top-down flat-lay composition. FORMAS.AI reads how the samples are organized more easily that way.
03 – Draft your style recipe
FORMAS.AI analyzes your reference and identifies characteristics it can use to build the custom style. Refine the recipe by defining what it should extract.
Step 3.1 – Describe the structure of the moodboard
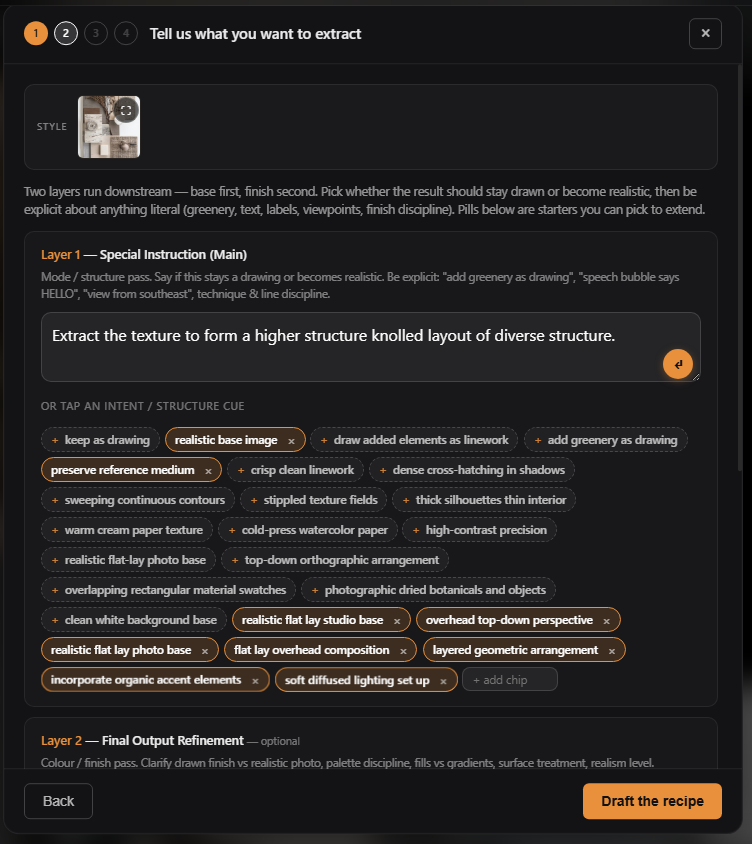
Under Layer 1, give one short main instruction explaining what FORMAS.AI should focus on.
Prompt used:
Extract the texture to form a higher structure knolled layout of diverse structure.
Step 3.2 – Select the relevant structure cues
FORMAS.AI generates a list of structure cues you can add to the custom style.
Cues selected in this workflow:
- Realistic flat lay studio base
- Overhead top-down perspective
- Preserve reference medium
- Realistic base image
- Realistic flat lay photo base
- Flat-lay overhead composition
- Layered geometric arrangement
- Incorporate organic accent elements
- Soft diffused studio lighting setup
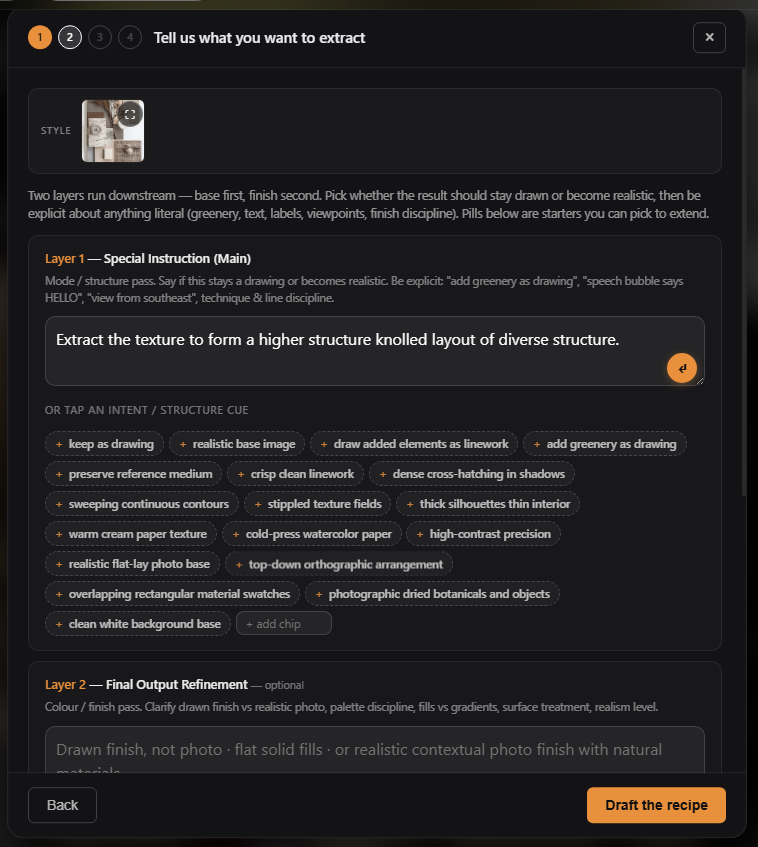
Tip: If a cue you want is missing, click add chip at the end of the list and type it in.
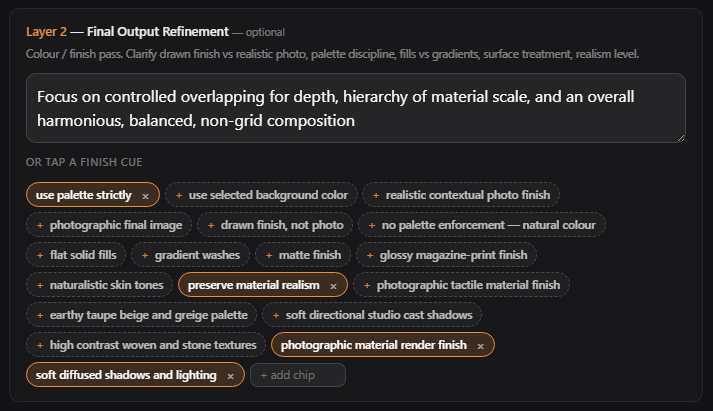
Step 3.3 – Describe the final output refinement
Under Layer 2, describe the finish you want to see consistently.
Prompt used:
Focus on controlled overlapping for depth, hierarchy of material scale, and an overall harmonious, balanced, non-grid composition.
Cues selected:
- Preserve material realism
- Photographic material render finish
- Soft diffused shadow and lighting
- Use palette strictly
Step 3.4 – Set your deal breaker cues
At the bottom of Step 2 there is a section for rules the model must never break. Click or type any cues you want to enforce.
Cues selected:
- Never add text or labels
- No hallucinated elements
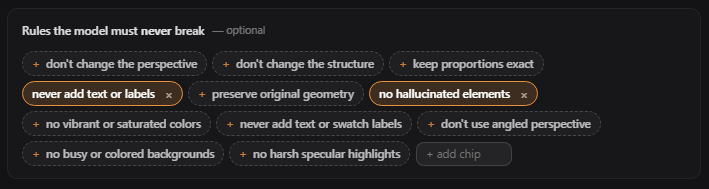
Tip: Reach for this when an earlier draft generated something you do not want to see again.
Step 3.5 – Draft the recipe
Once your characteristics are set, click Draft the recipe. FORMAS.AI translates your references, instructions, and selected cues into a reusable drawing style. The recipe controls how future images are interpreted and transformed.

04 – Test your custom style template
Test the style against a real interior before you save it. This is where you spot what the style gets right and what it does not.
Step 4.1 – Add a test image
Drag and drop an interior perspective into the testing area. Use an image from a project you are currently designing.
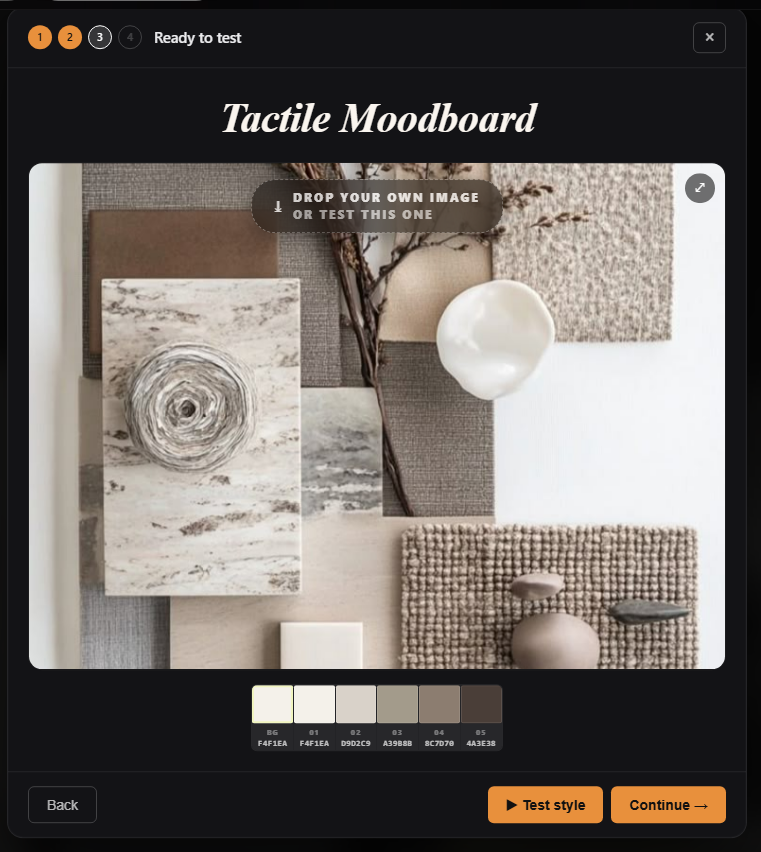
Step 4.2 – Click Test style
FORMAS.AI analyzes the interior and generates a material moodboard using your custom style.
For a material moodboard, it reads elements such as timber, stone, upholstery, metal finishes, colors, textures, and overall atmosphere, then reorganizes them using the layout of your reference.
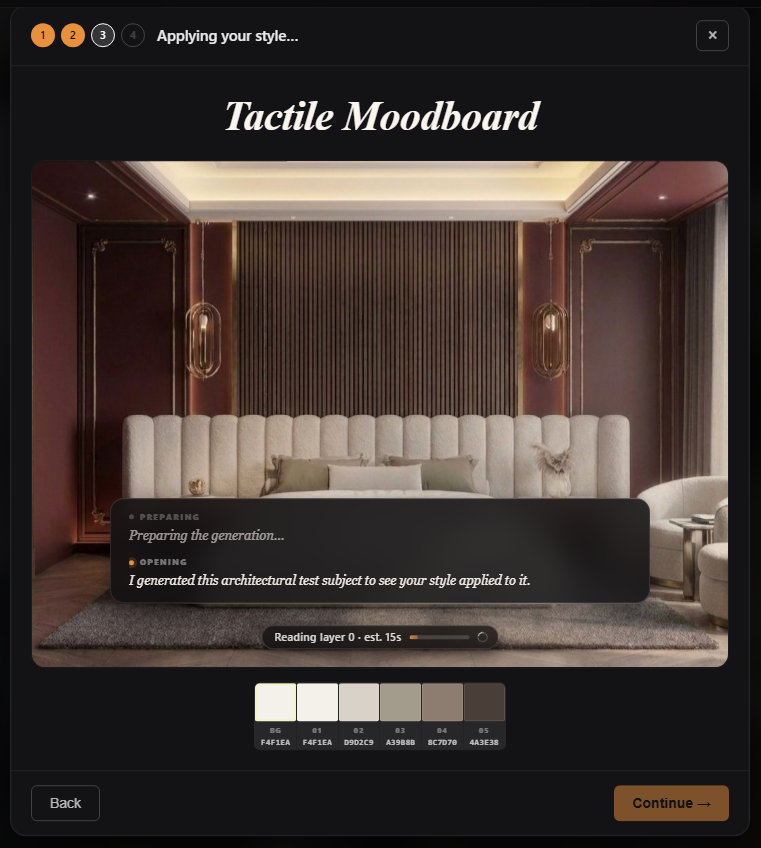
Tip: A clear interior render produces a better moodboard, because the major materials and colors are easier to identify. Test a few different images to check for discrepancies.
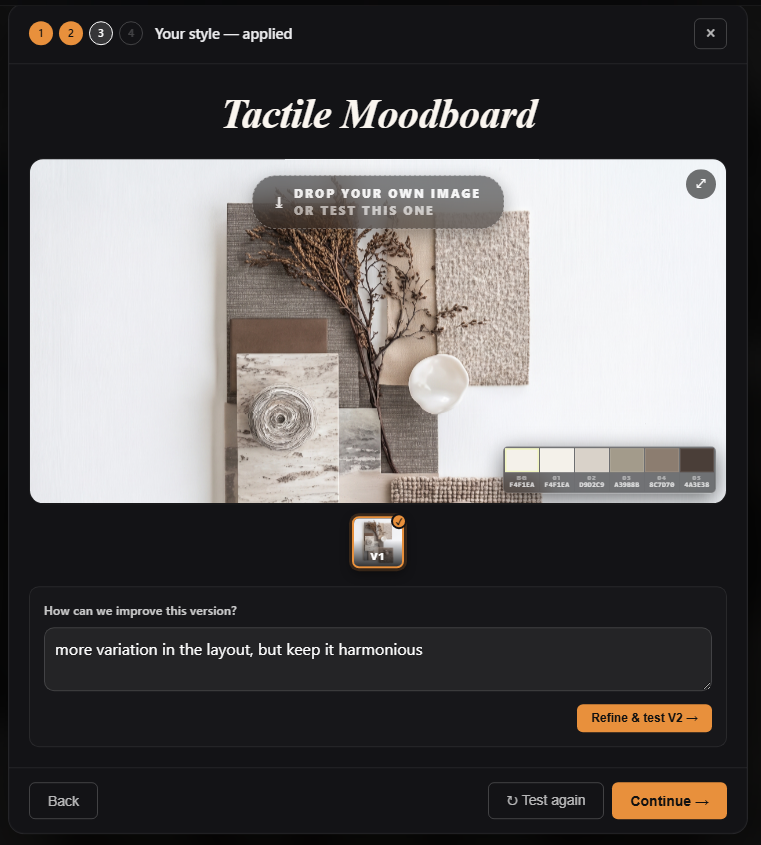
Step 4.3 – Review the generated moodboard
The first generation does not have to be the final version. Check:
- Are the main materials represented?
- Are the colors related to the original interior?
- Does the composition resemble the reference moodboard?
- Are both hard and soft materials included?
- Does the material scale feel believable?
- Are the shadows and lighting realistic?
- Does the board still feel connected to the original project?
If the result falls short, refine by prompting or return to the style recipe and adjust your cues or references.
Method 1: Refine by prompting
Prompt used:
more variation in the layout, but keep it harmonious
Method 2: Go back and adjust structure cues
Use this when there are too many elements to fix by prompting alone.
05 – Publish your custom style template
Once the recipe works, save and publish your style.
Step 5.1 – Add descriptions and cover images
Name the style, write a short description, and add three to five preview images. The first image becomes the card cover.
Step 5.2 – Set the visibility
Choose Public - Community to share the template, or Private to keep it to yourself. Public templates earn you FORMAS.AI credits every time someone in the community uses them.

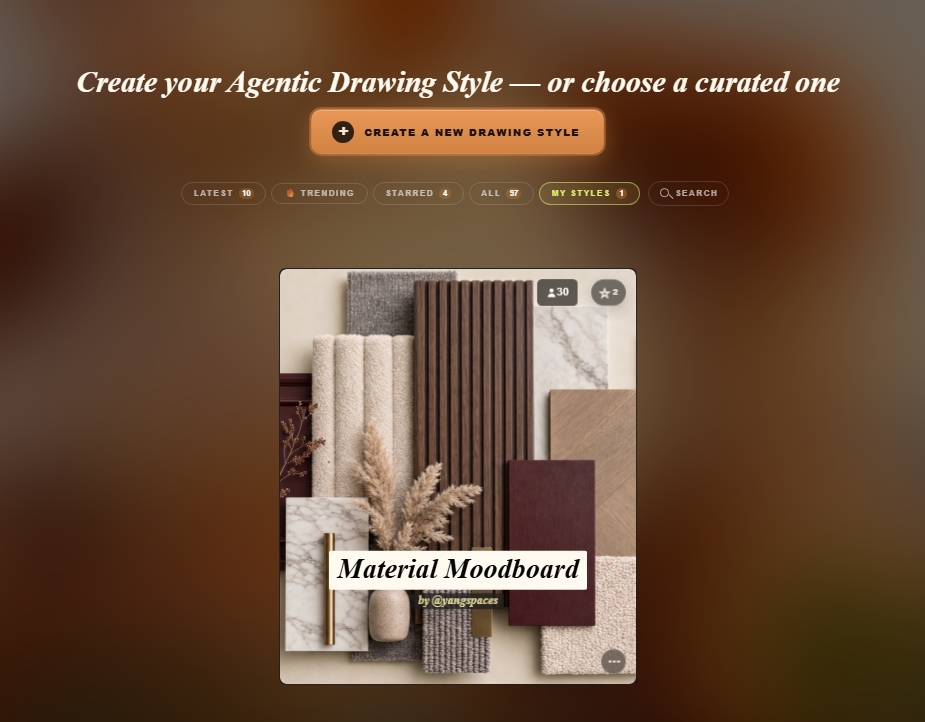
06 – Apply your style template to a new project
Your published template lives under MY STYLES. Additional controls are available before you generate.
Step 6.1 – Choose the color hues
Use the color controls to guide the palette of the generated moodboard.
Method 1: Select from the palette. Pick your preferred color scheme.
Method 2: Use a reference image. Drag a reference image or color into Step 2: Choose Your Color Hues. FORMAS.AI generates a palette from the dominant colors in the render.
You can also change hues, save a palette, load an existing palette, and lock selected hues.

Tip: Lock the palette when generating several moodboards for one project. It keeps different rooms visually consistent.
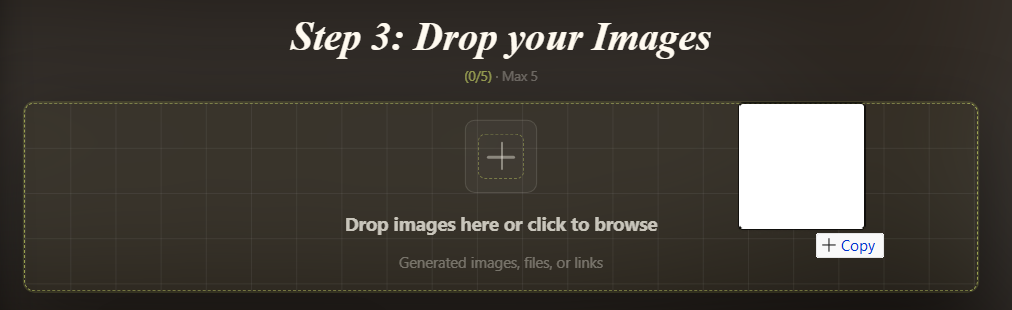
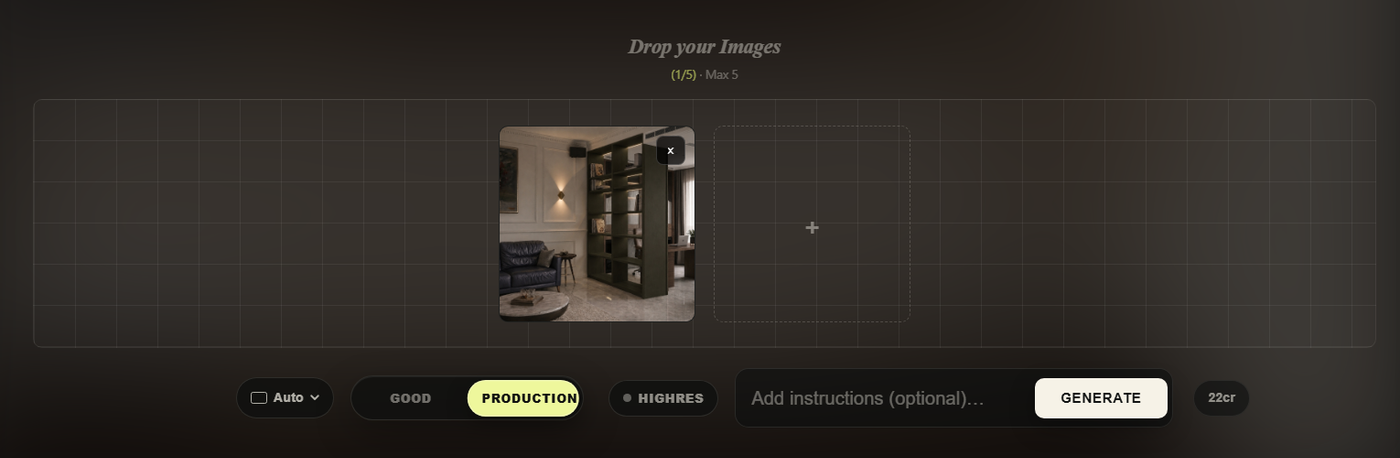
Step 6.2 – Drag and drop your interior images
Drop the interior image you want FORMAS.AI to analyze into Step 3: Drop your Images.
These images tell FORMAS.AI about the project's materials, colors, furniture, textures, lighting, and general atmosphere.
Step 6.3 – Select your output quality and dimensions
Choose your output settings before generating:
- GOOD – fast, for testing the style
- PRODUCTION – balanced, for most work
- HIGHRES – highest quality, for final presentation images
Step 6.4 – Add optional instructions
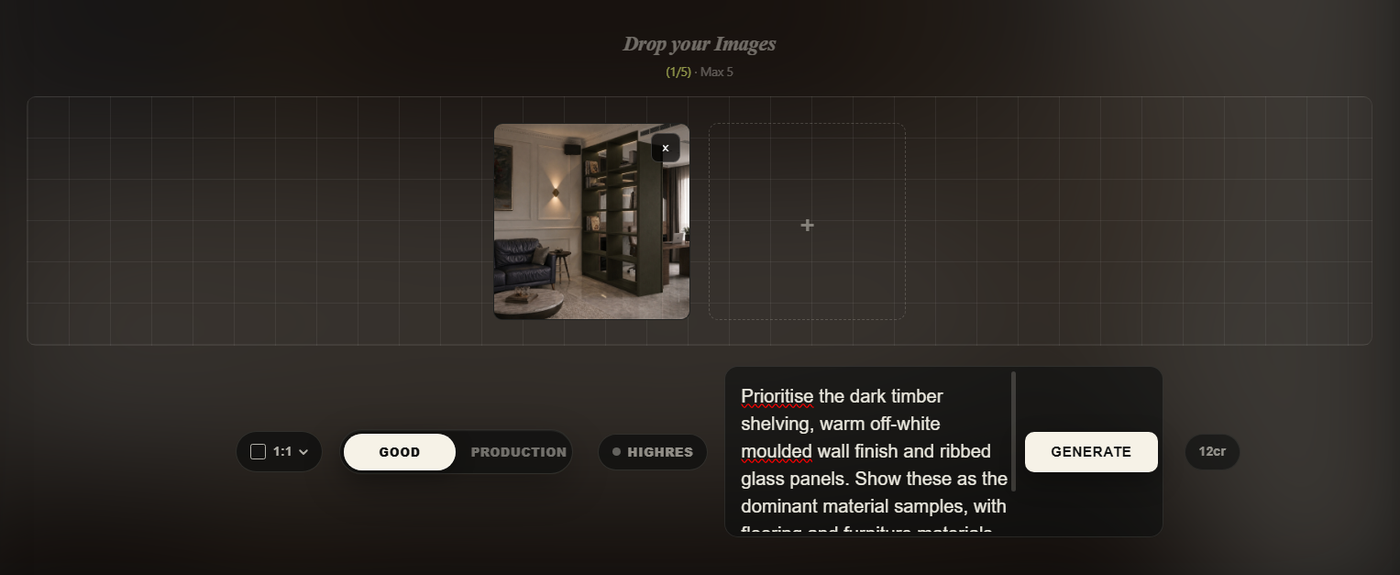
Add extra instructions when you want the moodboard to emphasize a particular part of the project, then hit Generate.
Example:
Prioritise the dark timber shelving, warm off-white moulded wall finish and ribbed glass panels. Show these as the dominant material samples, with flooring and furniture materials as smaller secondary accents.
Step 6.5 – Generate multiple images at once
While a generation runs, you can add more perspectives to the drawing queue.

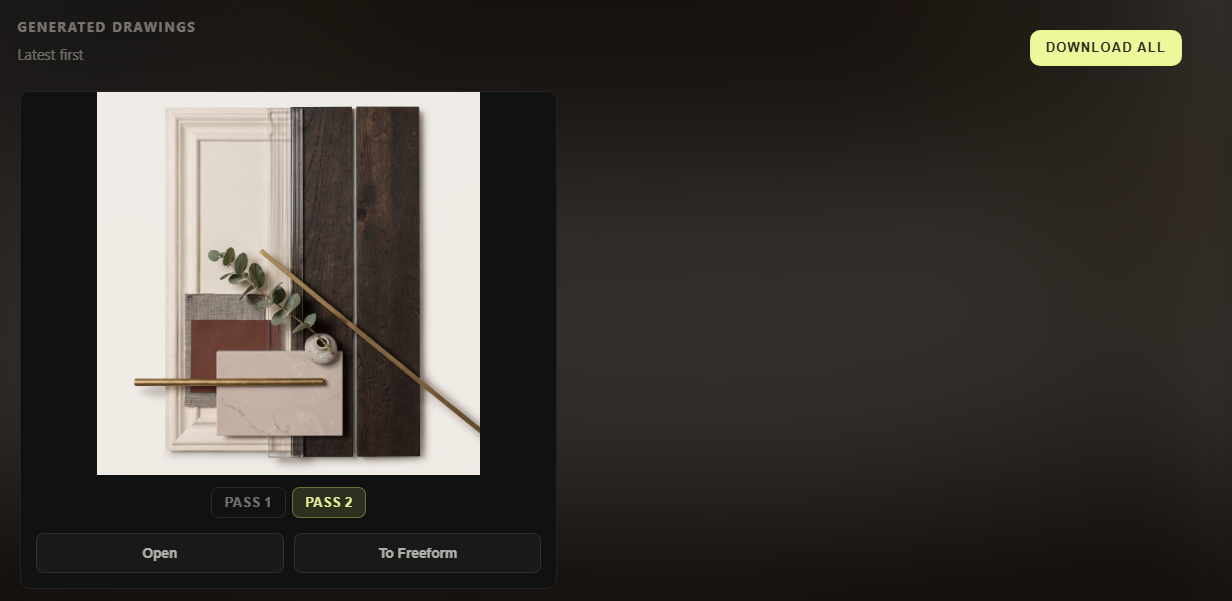
Step 6.6 – Choose your final output
Every generation returns two options. Choose between Pass 1 and Pass 2.

07 – Workflow at a glance
Create a new drawing style
↓
Prompt your style and upload image references
↓
Draft your style recipe
↓
Test your custom style template
↓
Publish your custom style template
↓
Apply your style template to a new project